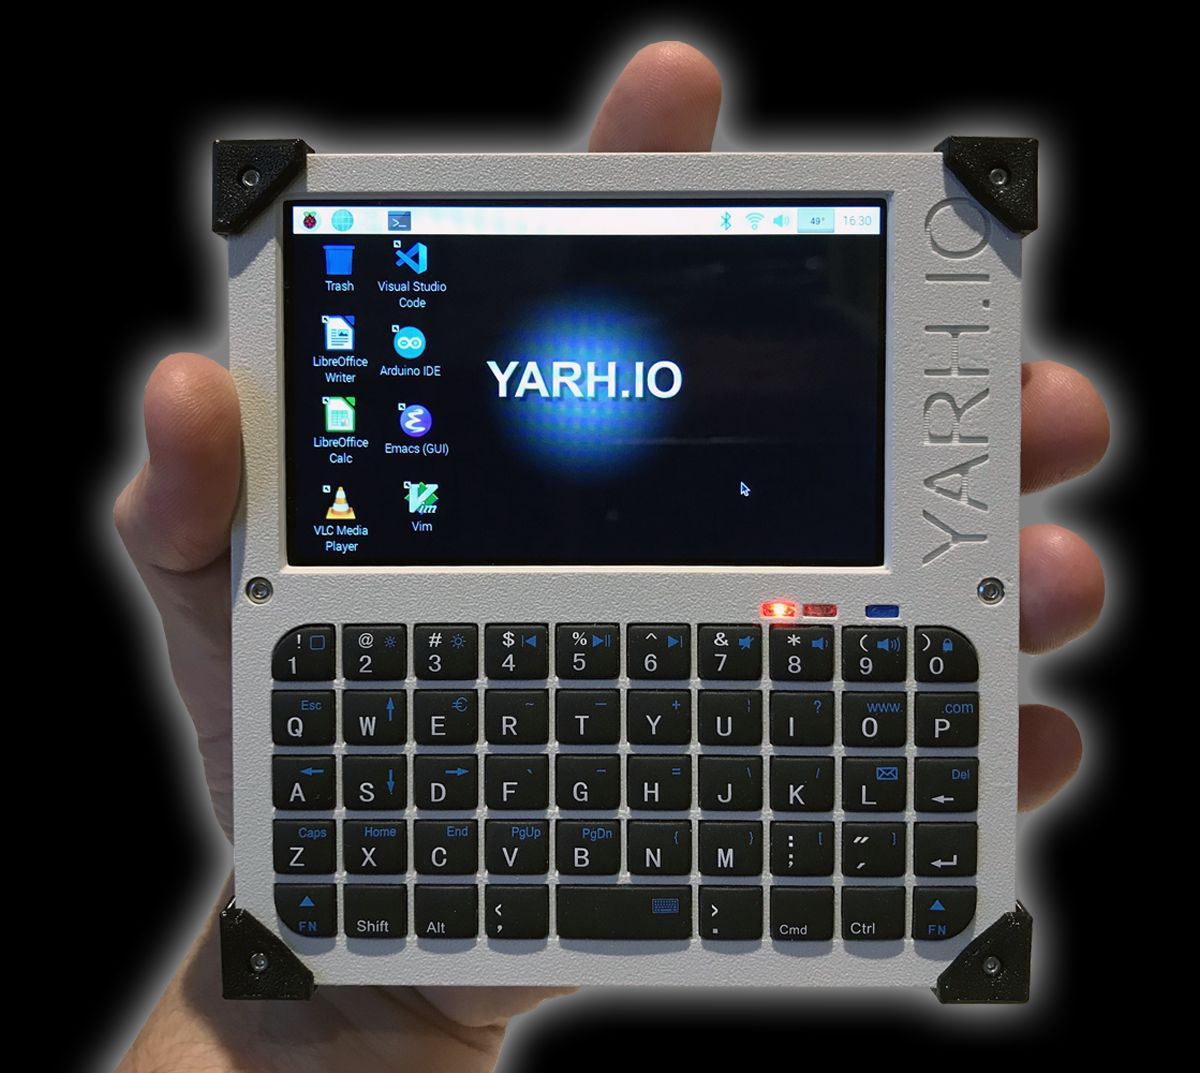
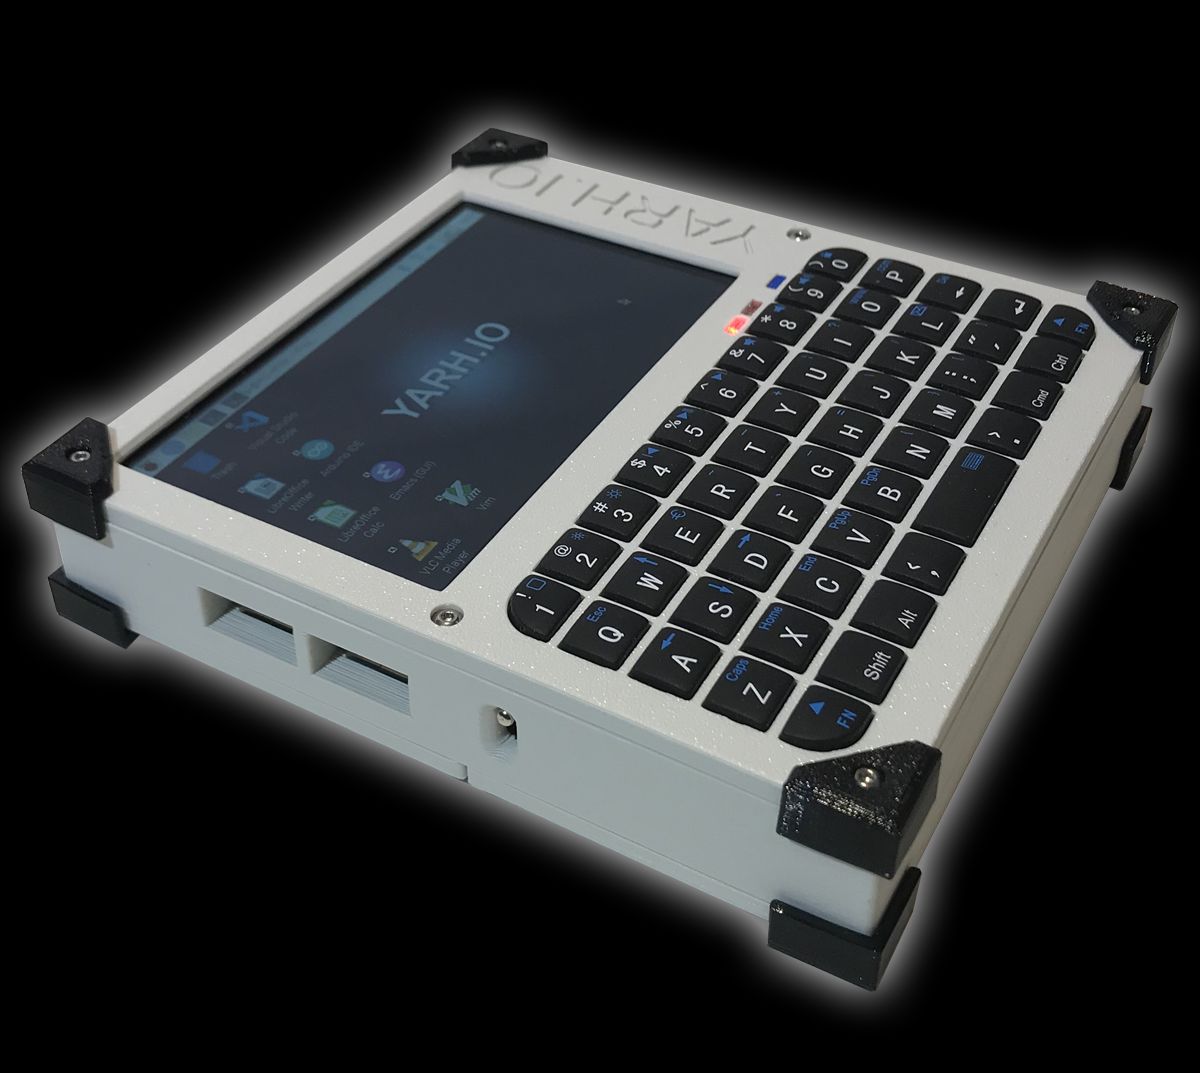
Welcome to the new stage of the YARH.IO project, where our goal is to build a device designed for hacking, coding, and creative use. YARH.IO Micro 2 has been made with hackers in mind, for computer experts who uses their technical knowledge to achieve new goals and overcome computer system limitations by non-standard or 'hackable' means.
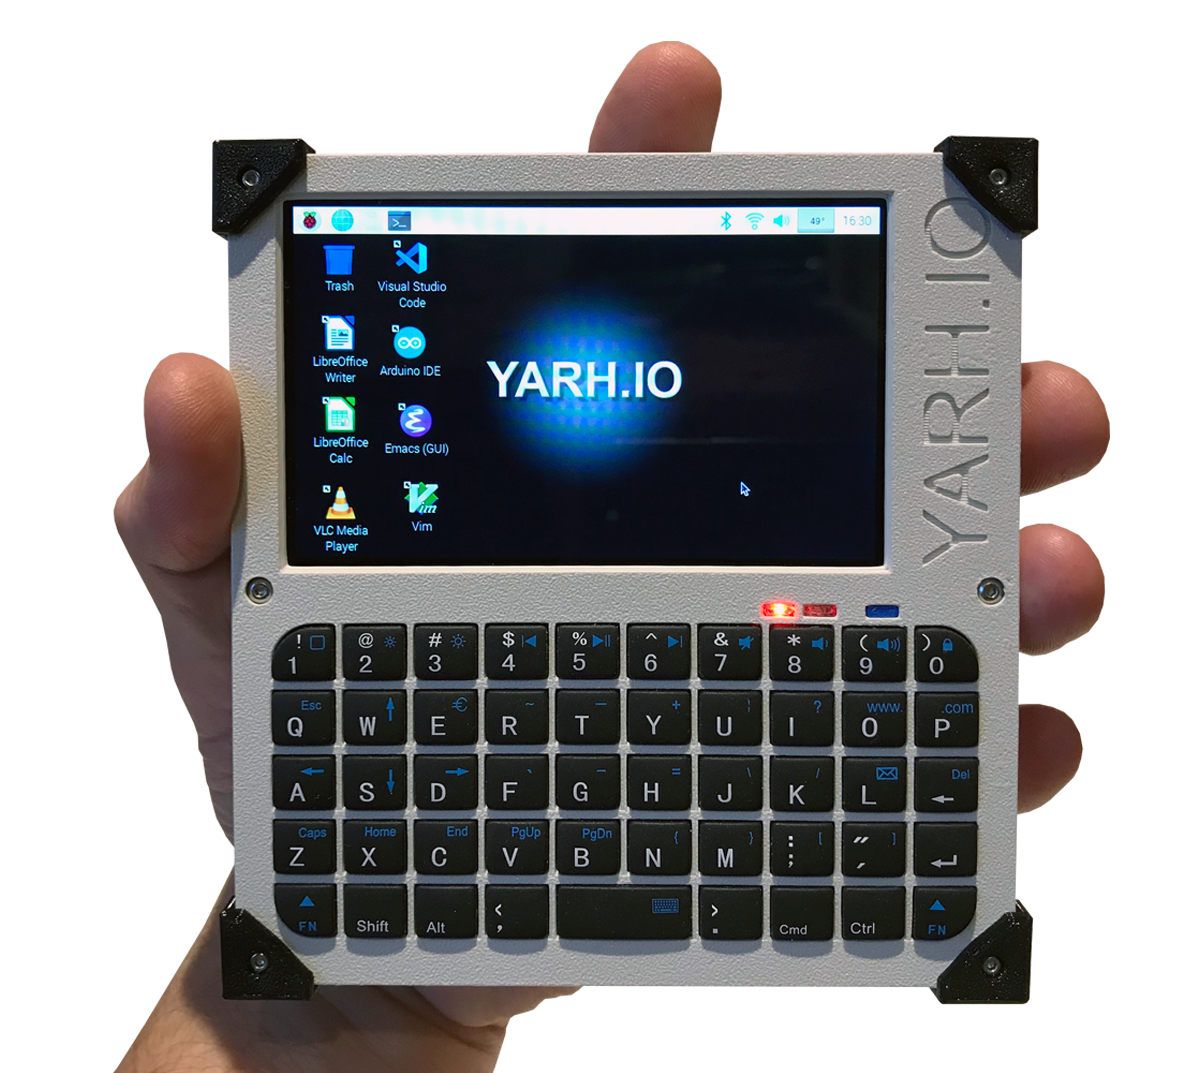
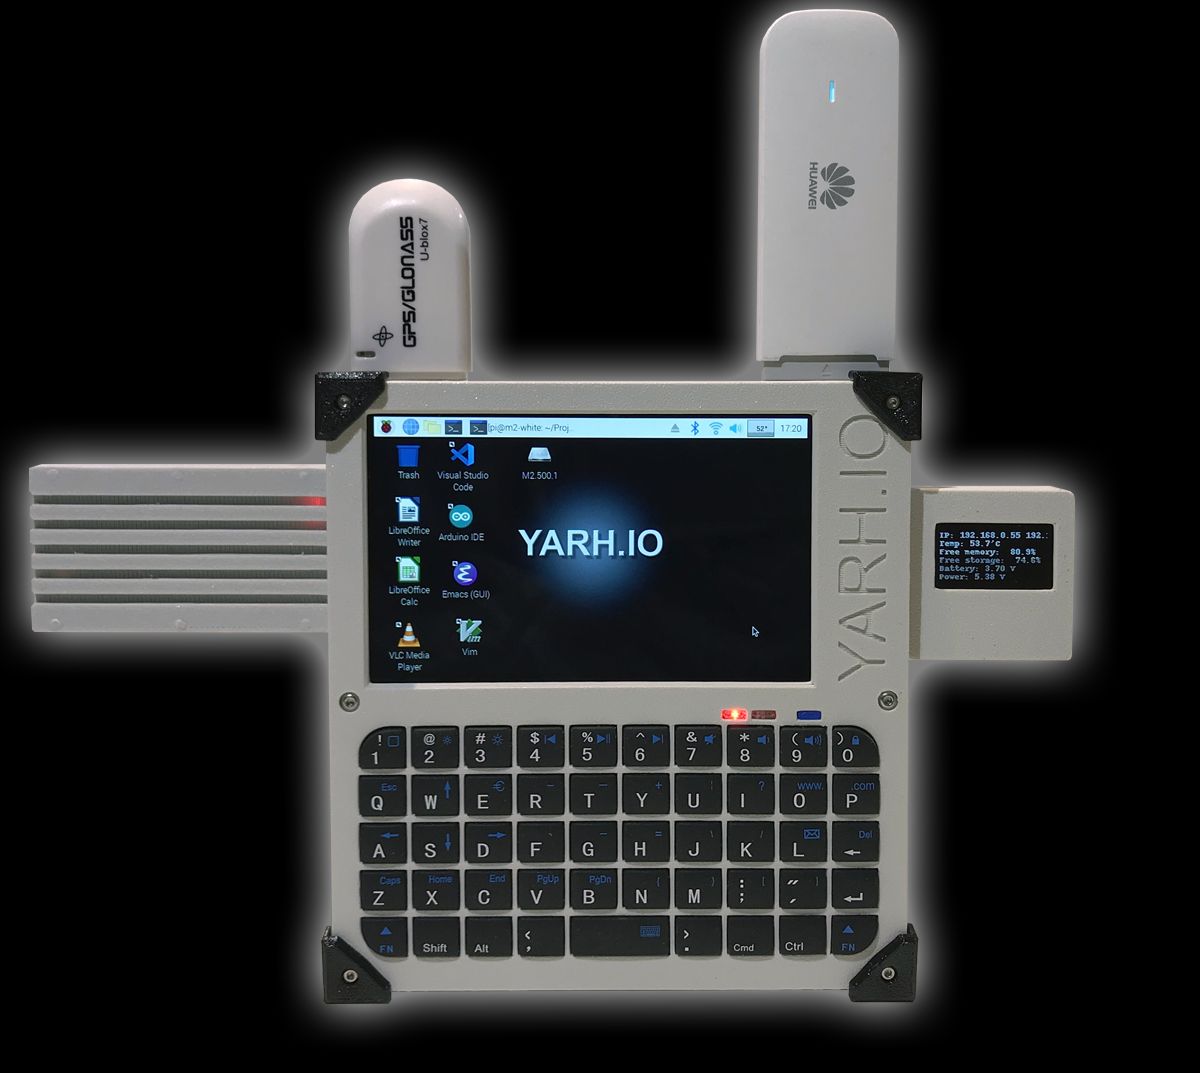
YARH.IO Micro 2 project continues to take on the challenge of building a full featured, micro sized handheld, based on Raspberry Pi 3B+, 4" touch screen and Bluetooth keyboard without touchpad.
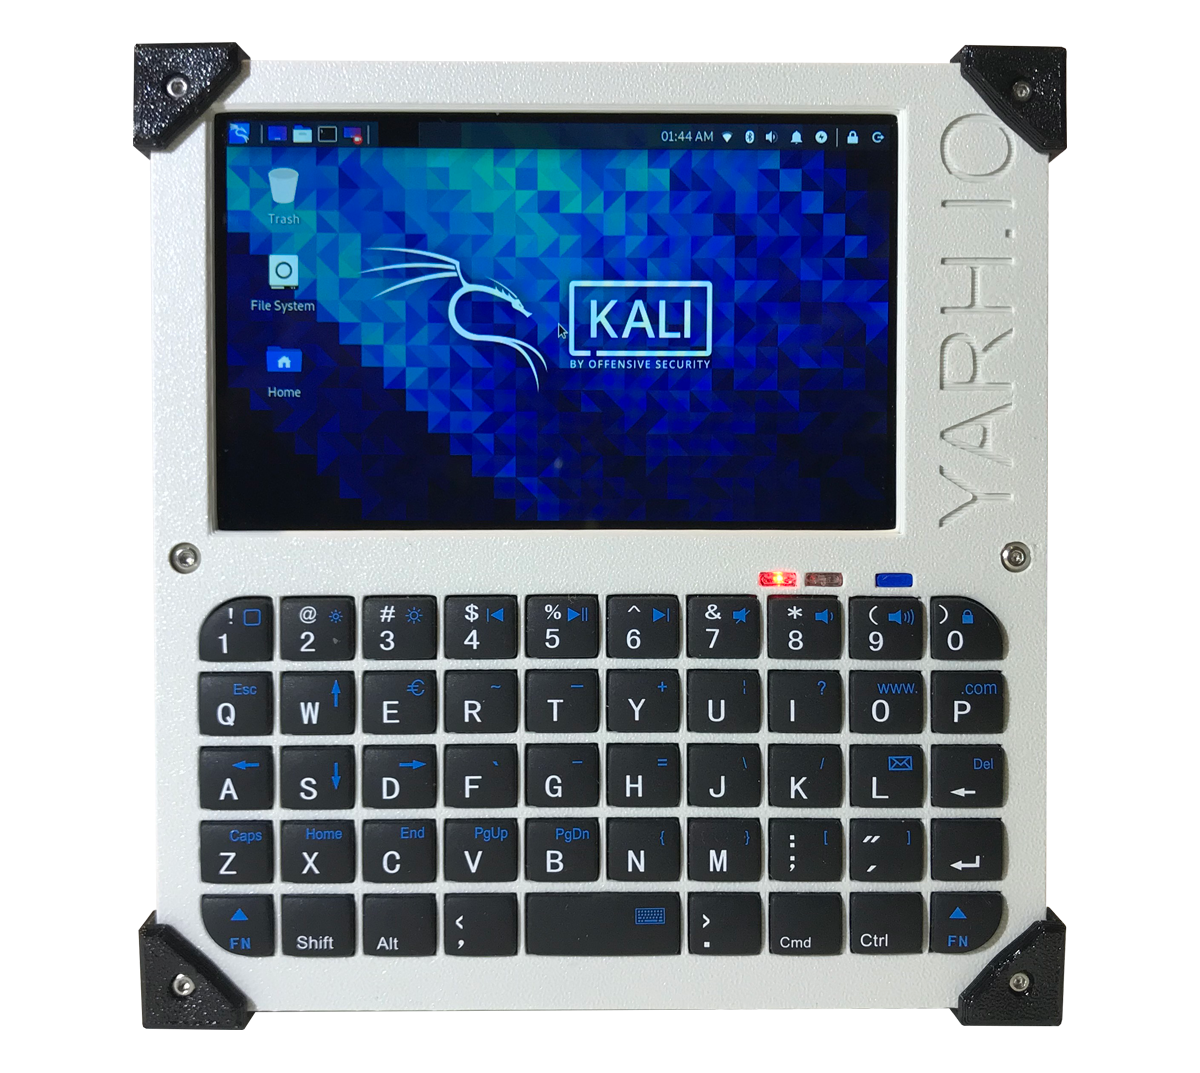
YARH.IO Micro 2 can run Raspberry Pi OS or Kali Linux, providing users with a rich range of applications and development tools. This is a rare handheld that allows users to write new program code directly on the device for the use on the device itself.
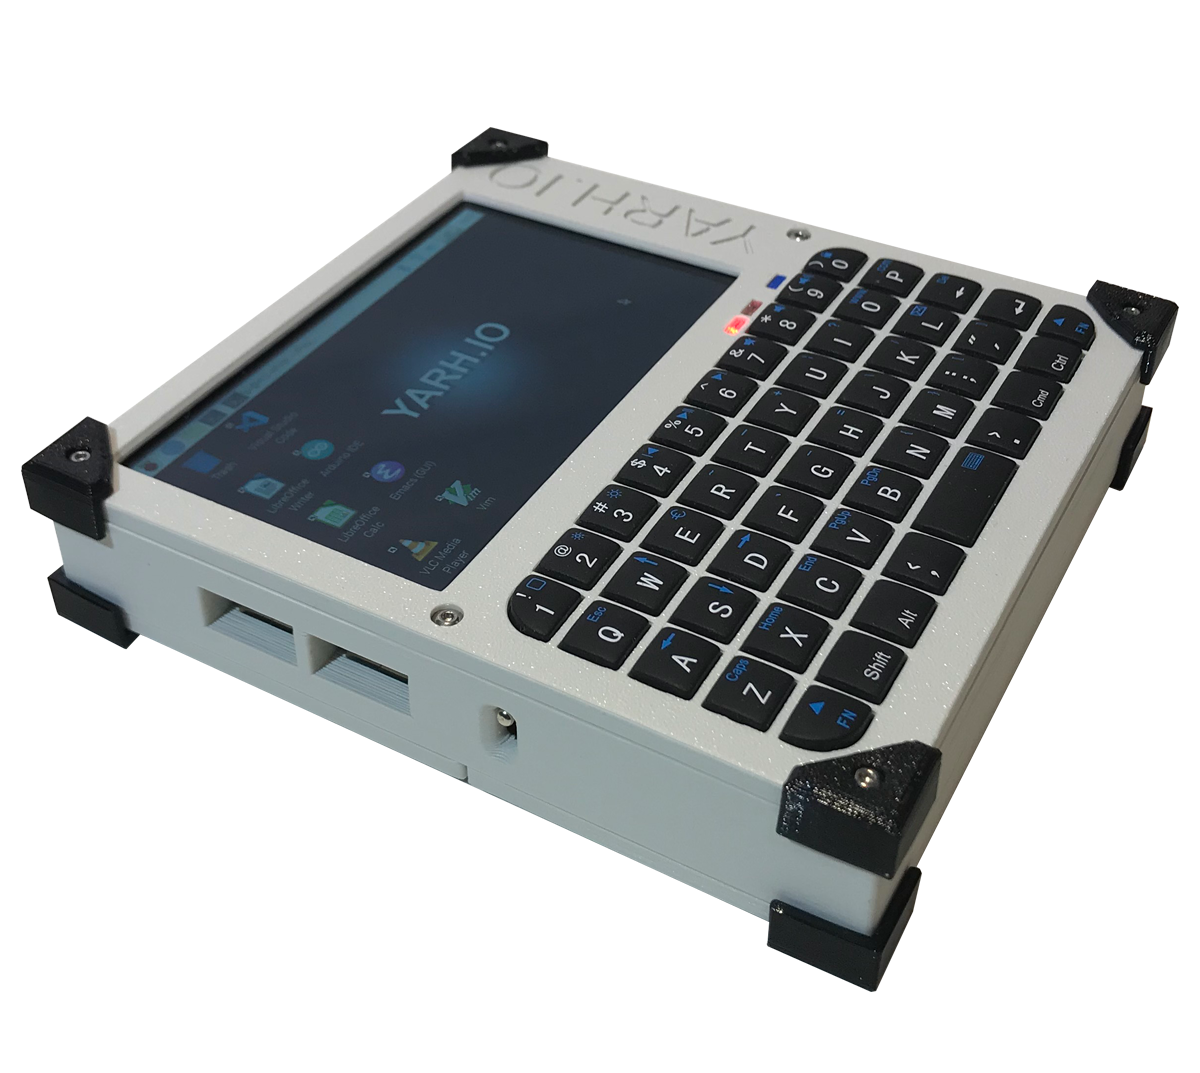
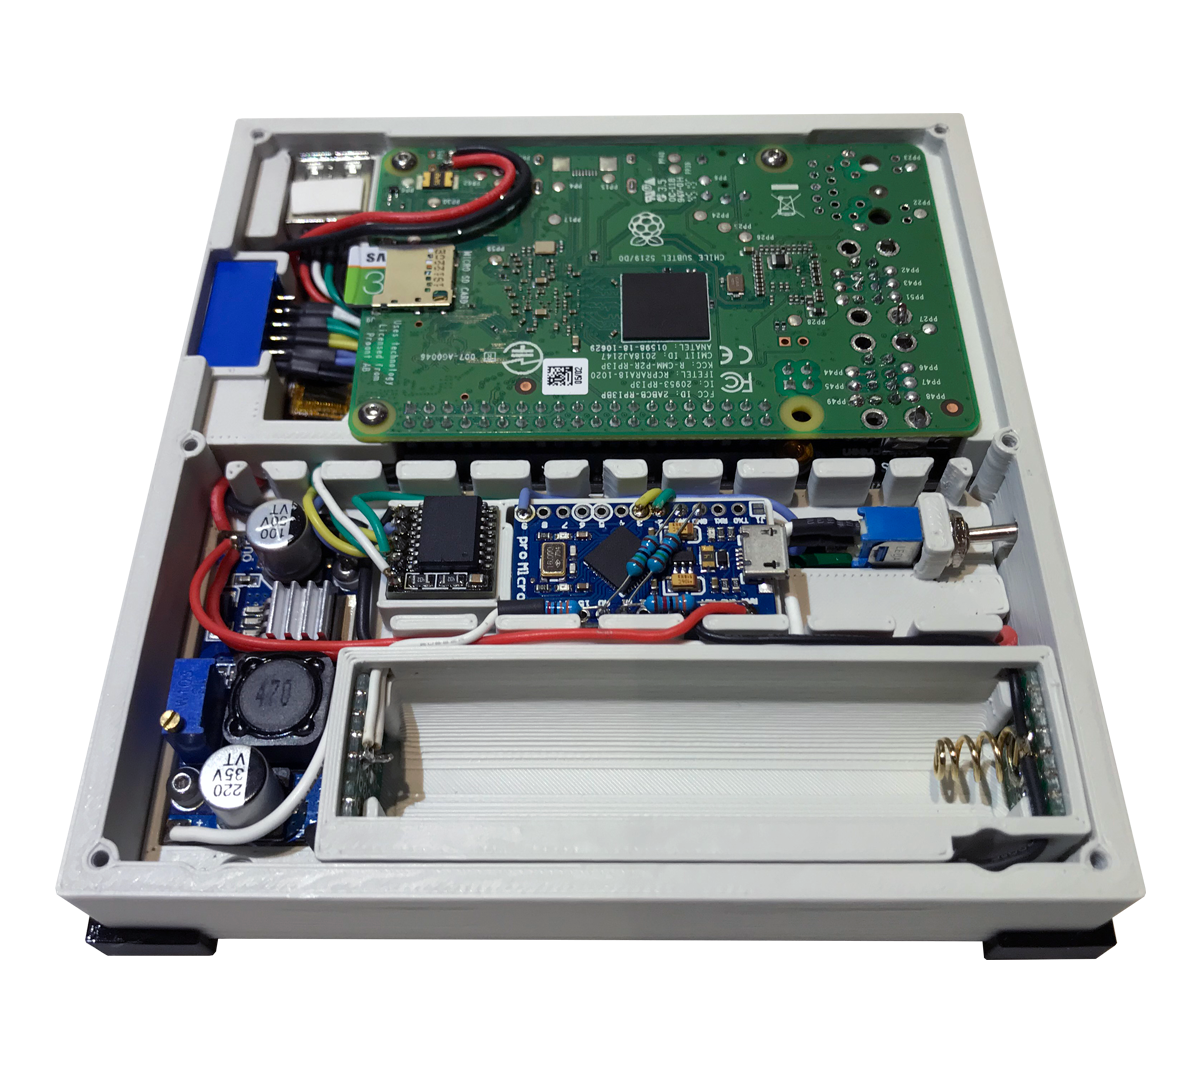
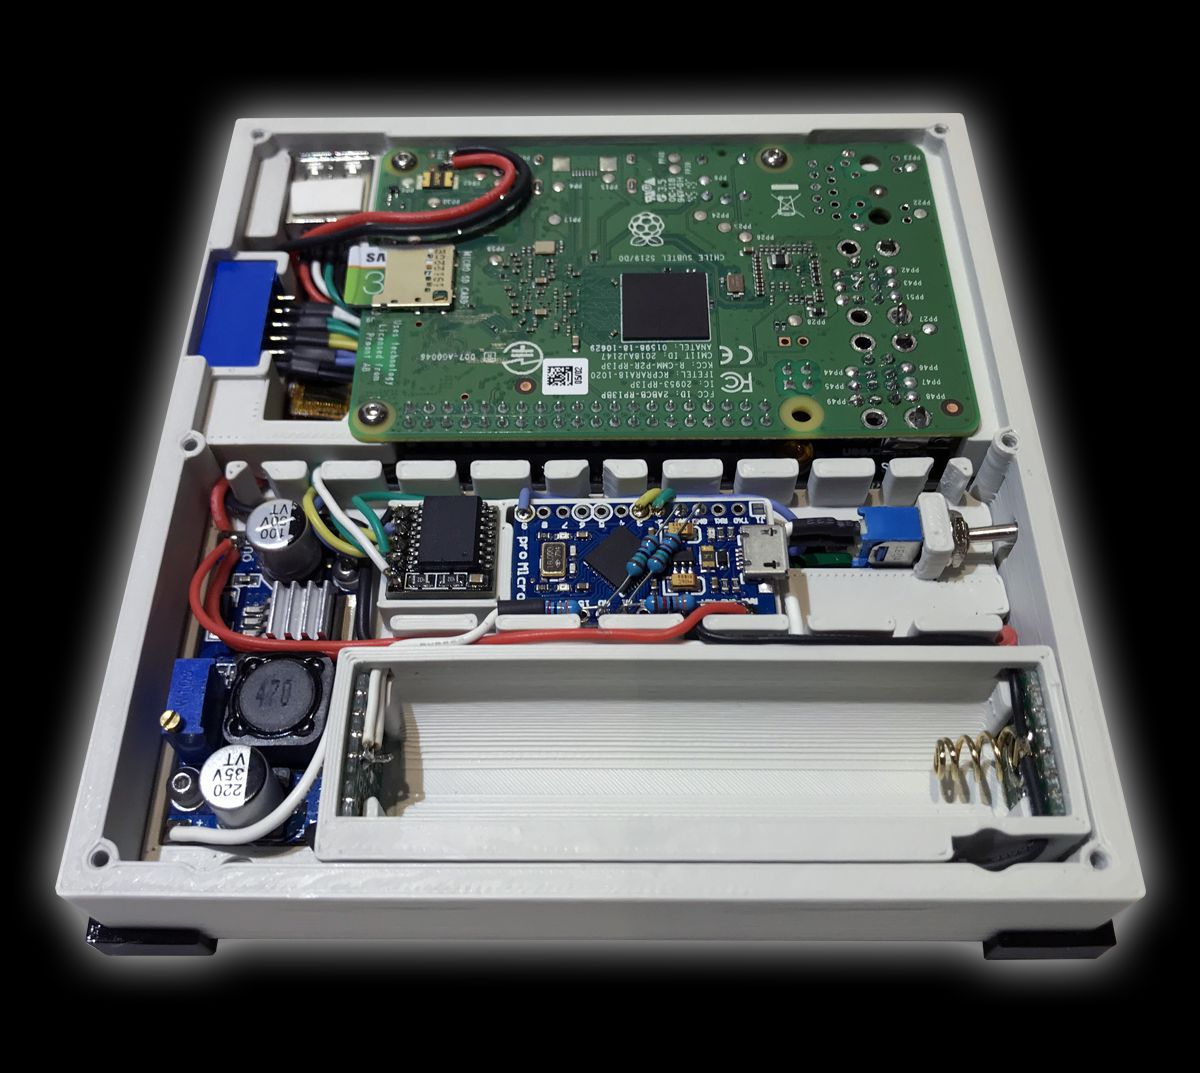
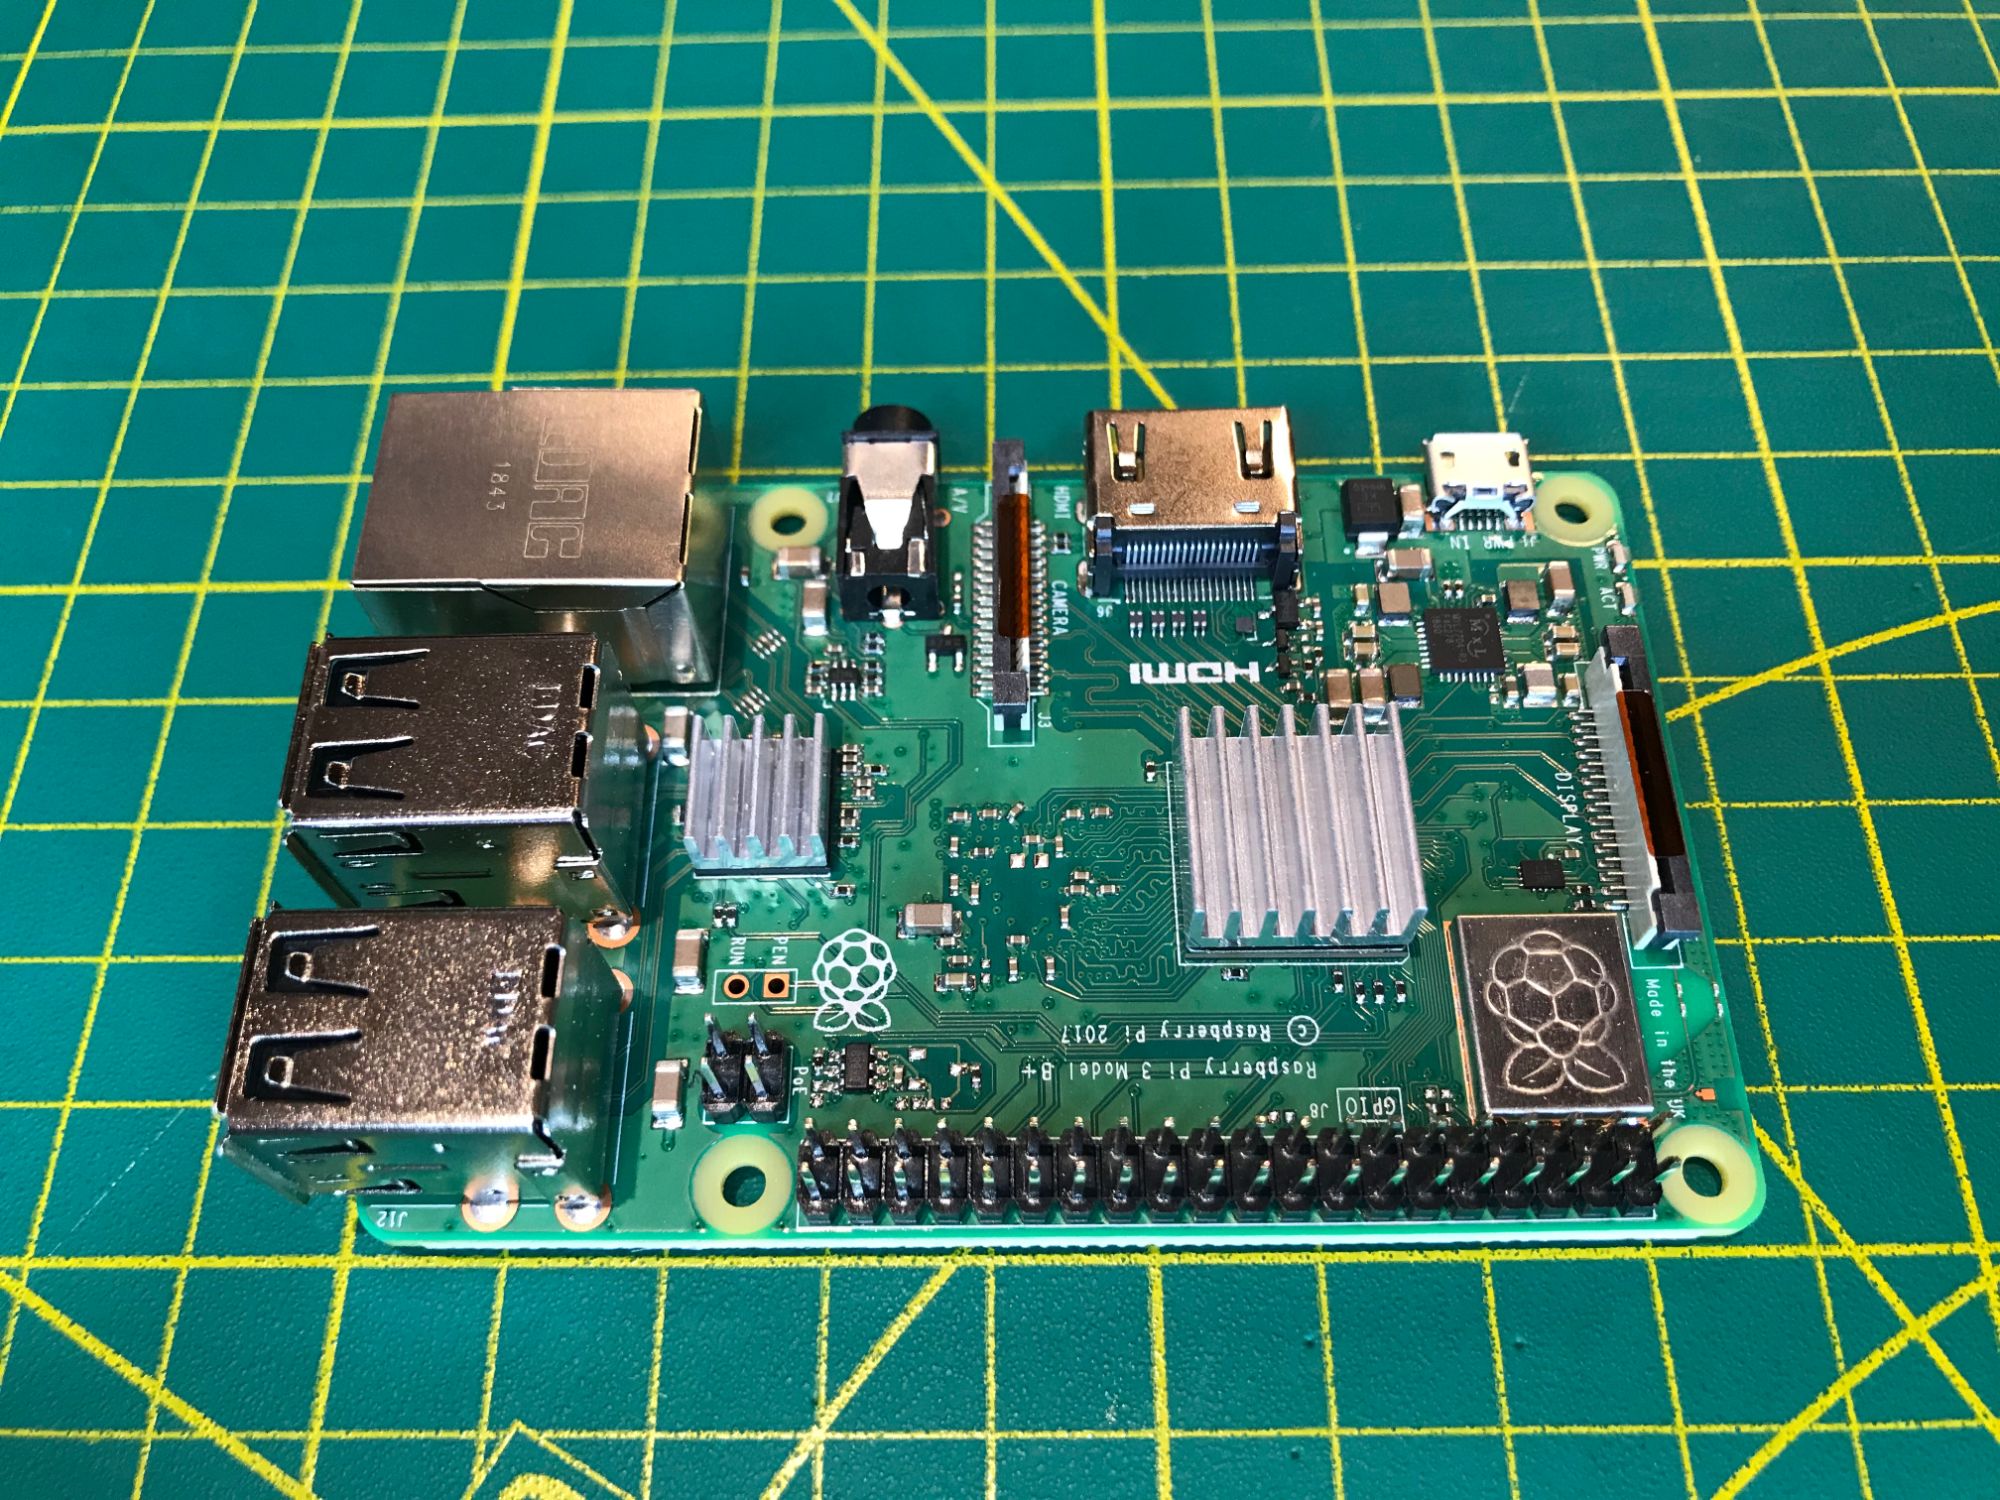
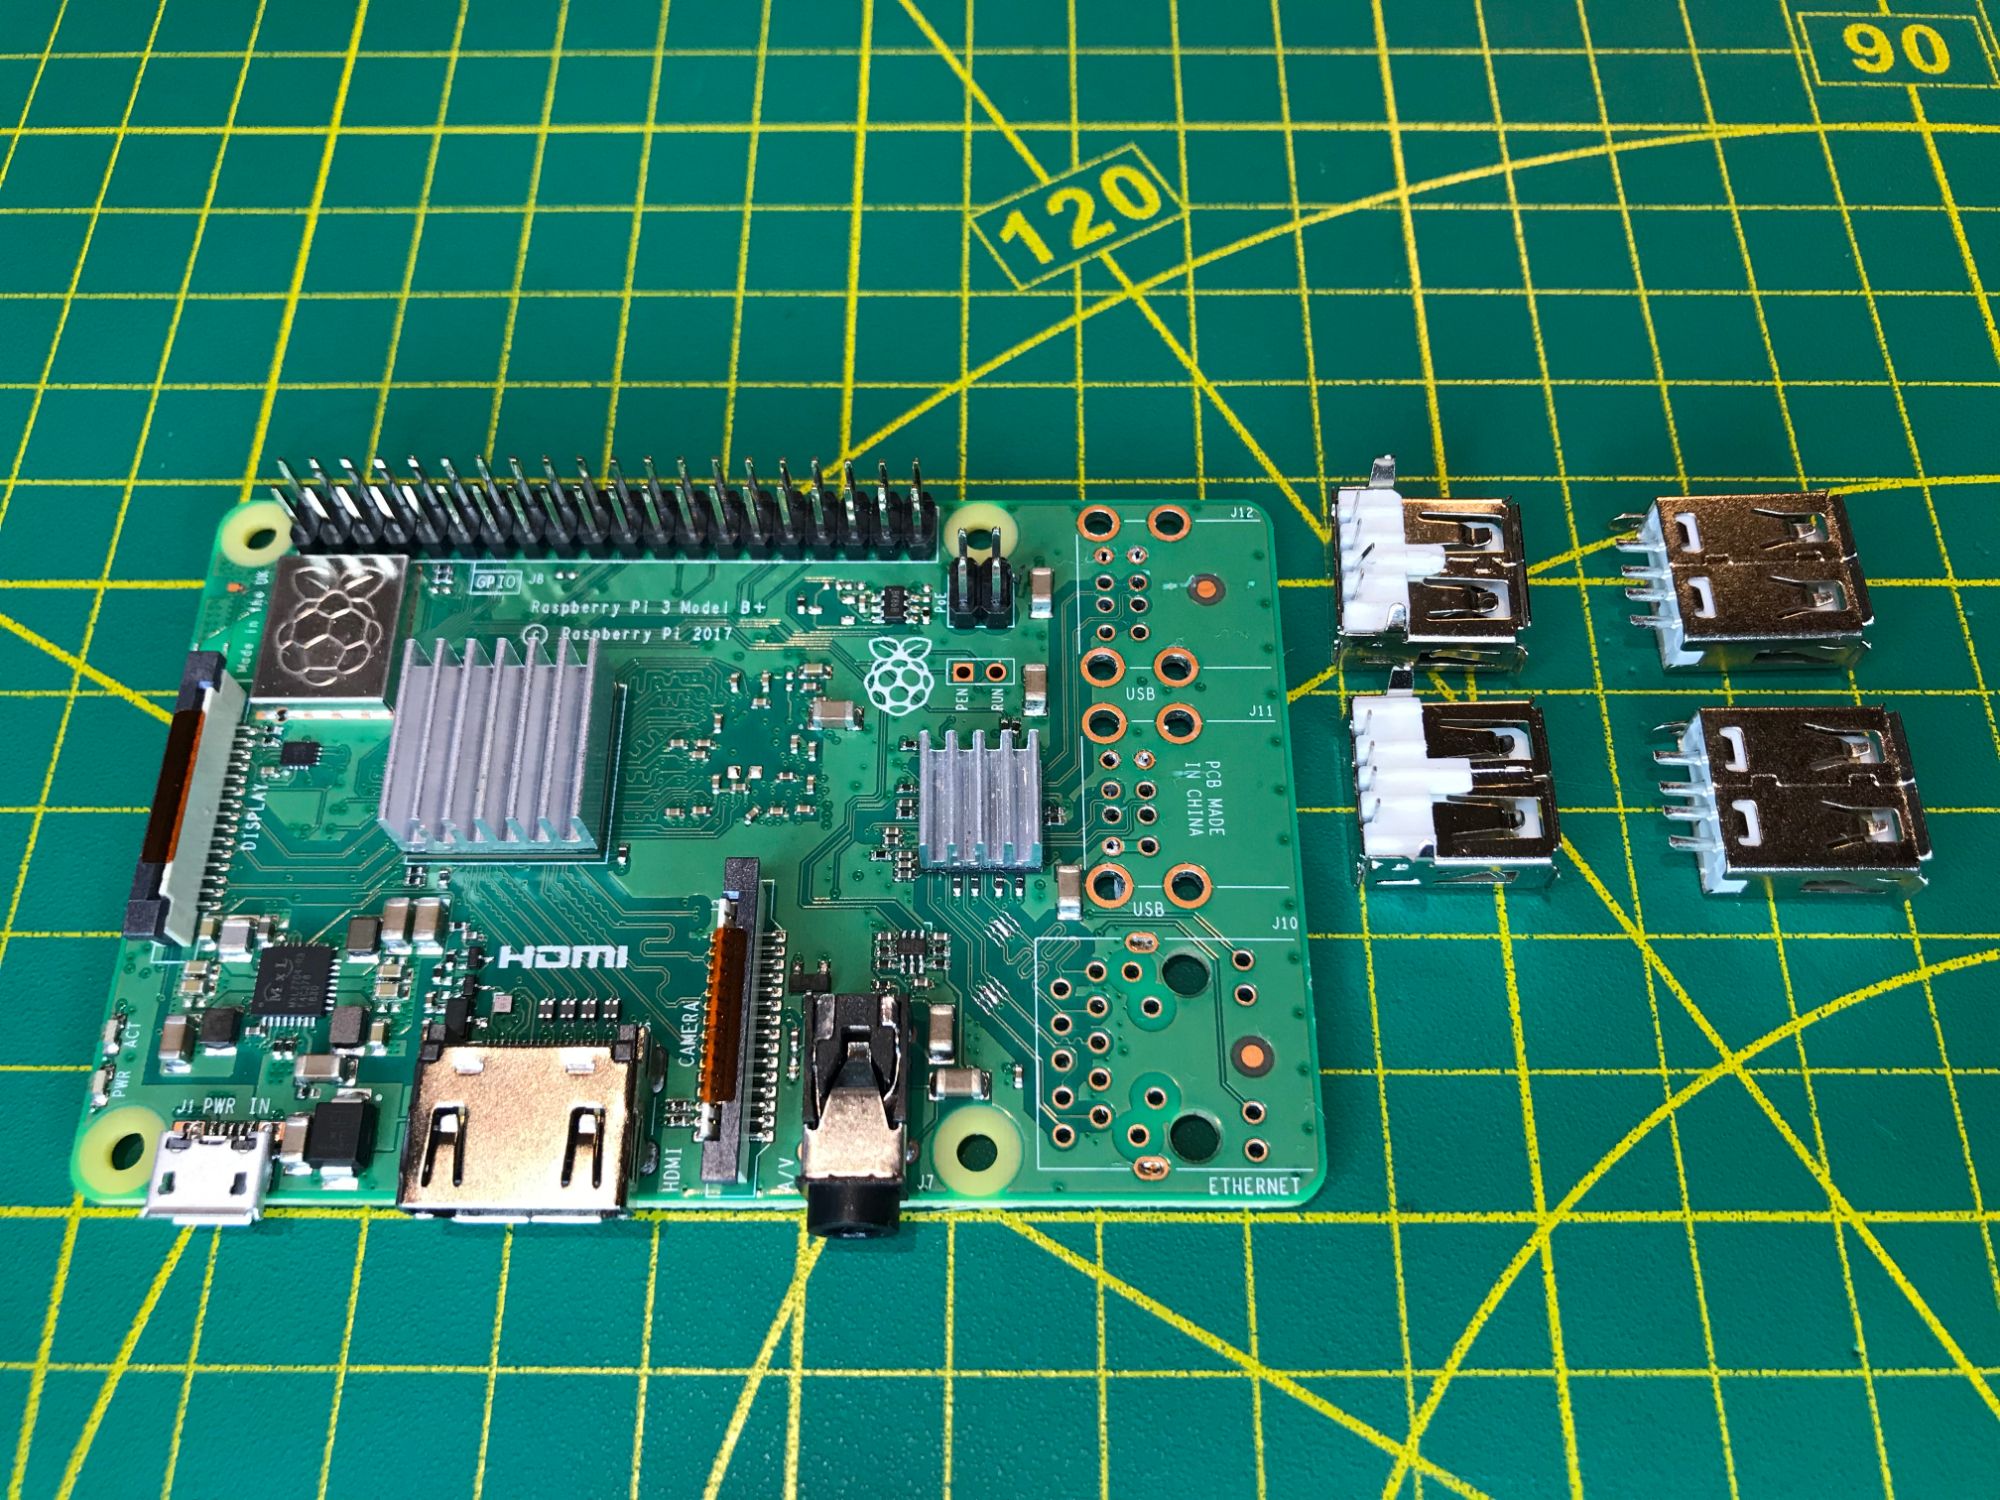
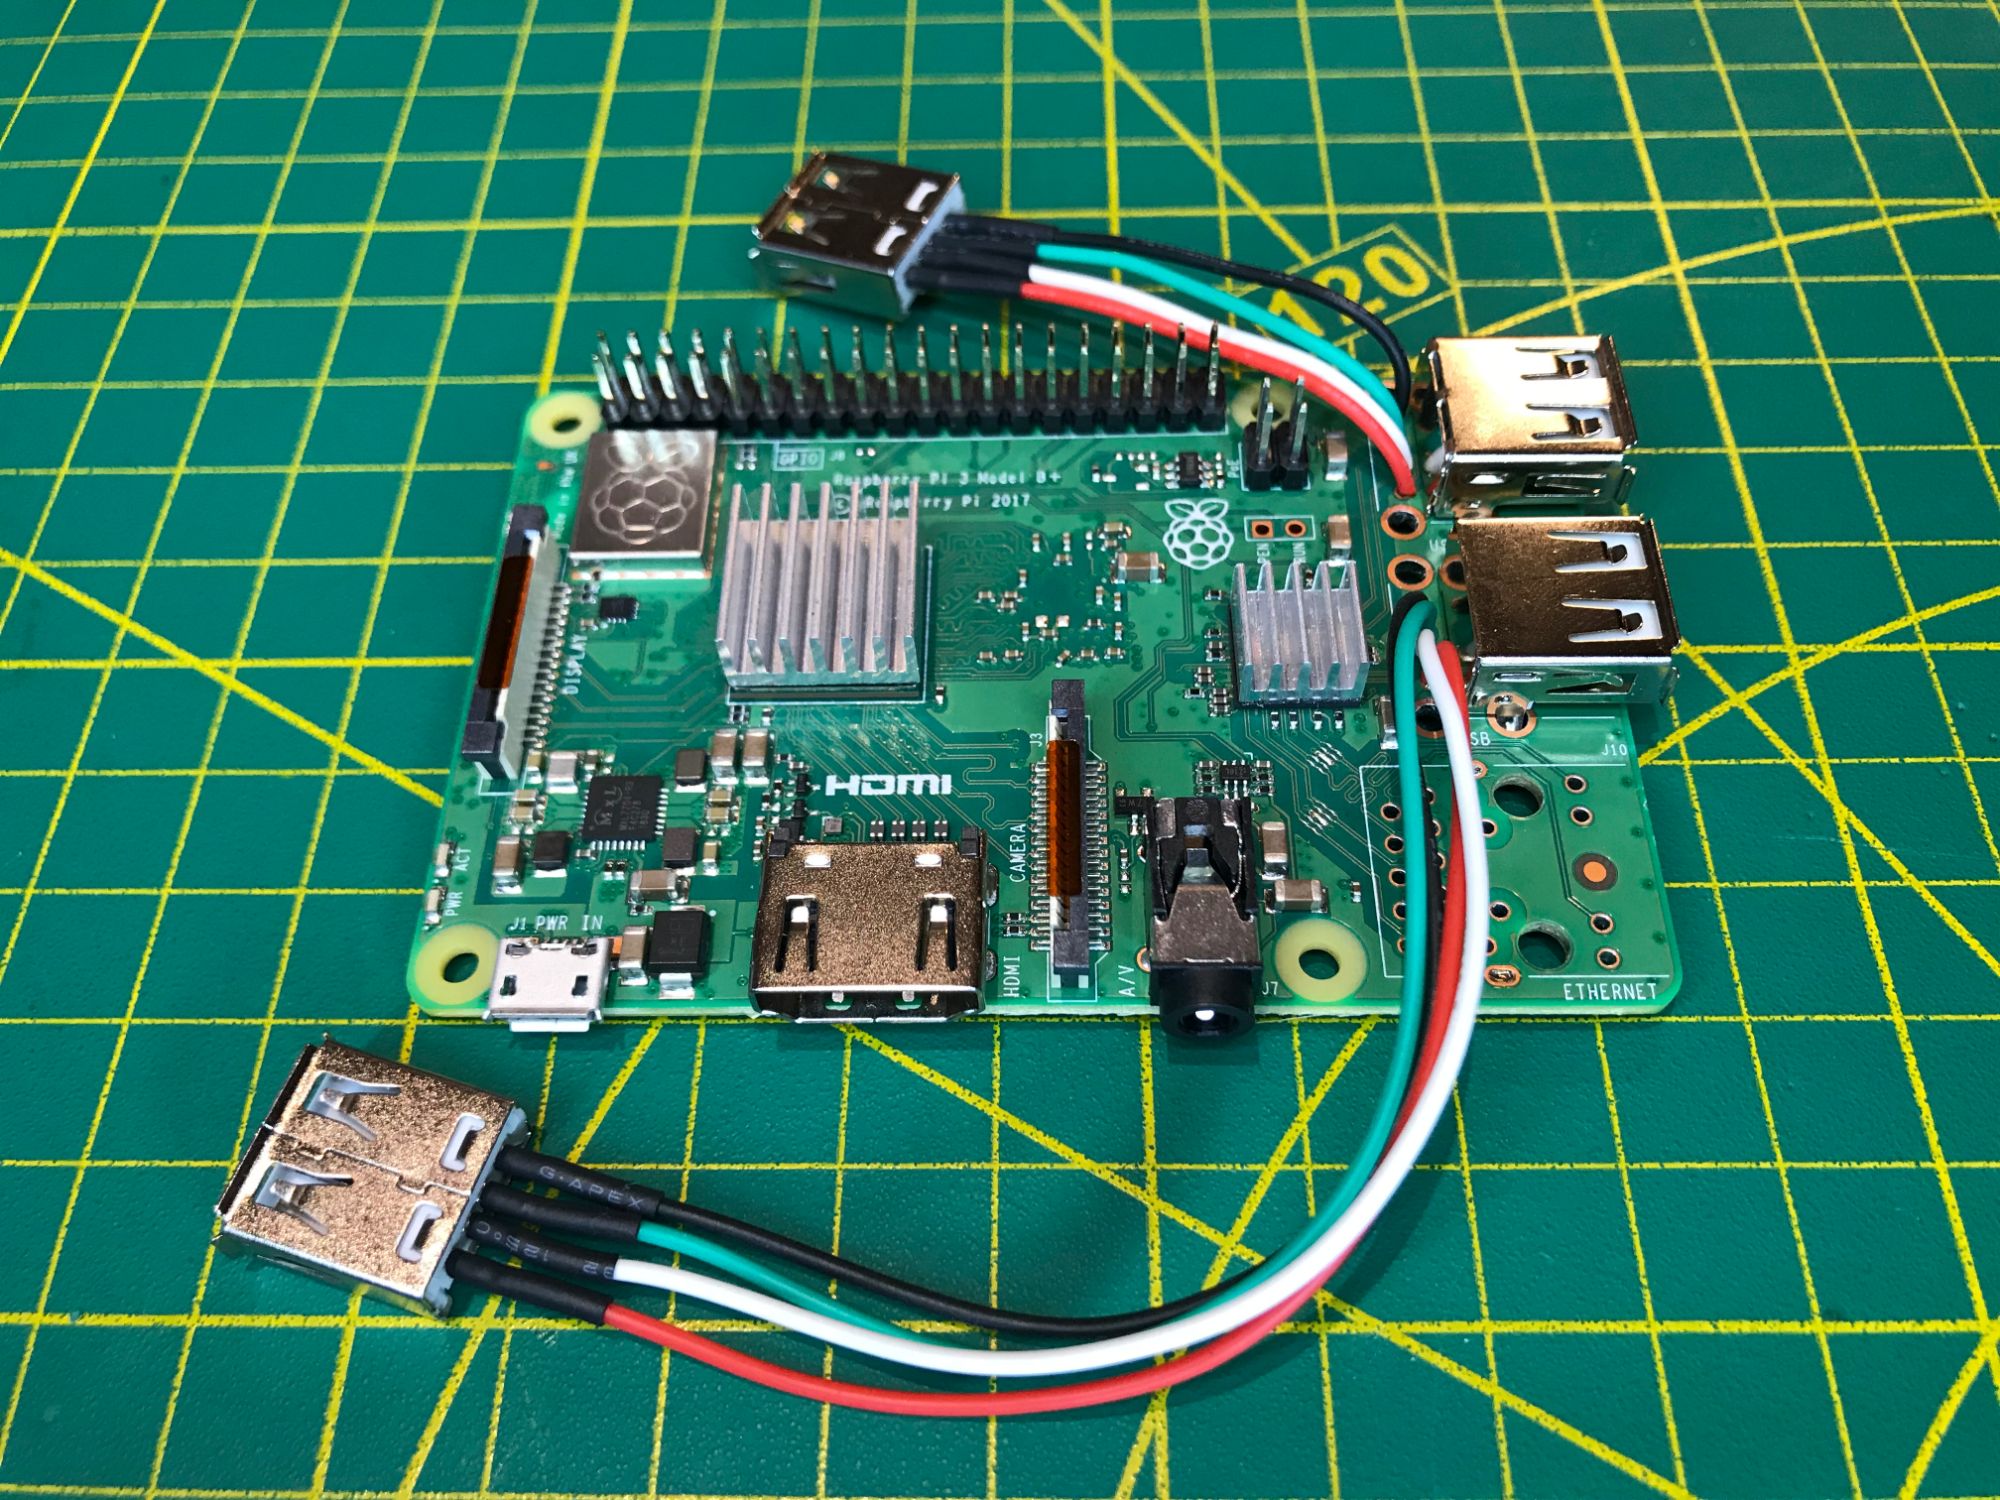
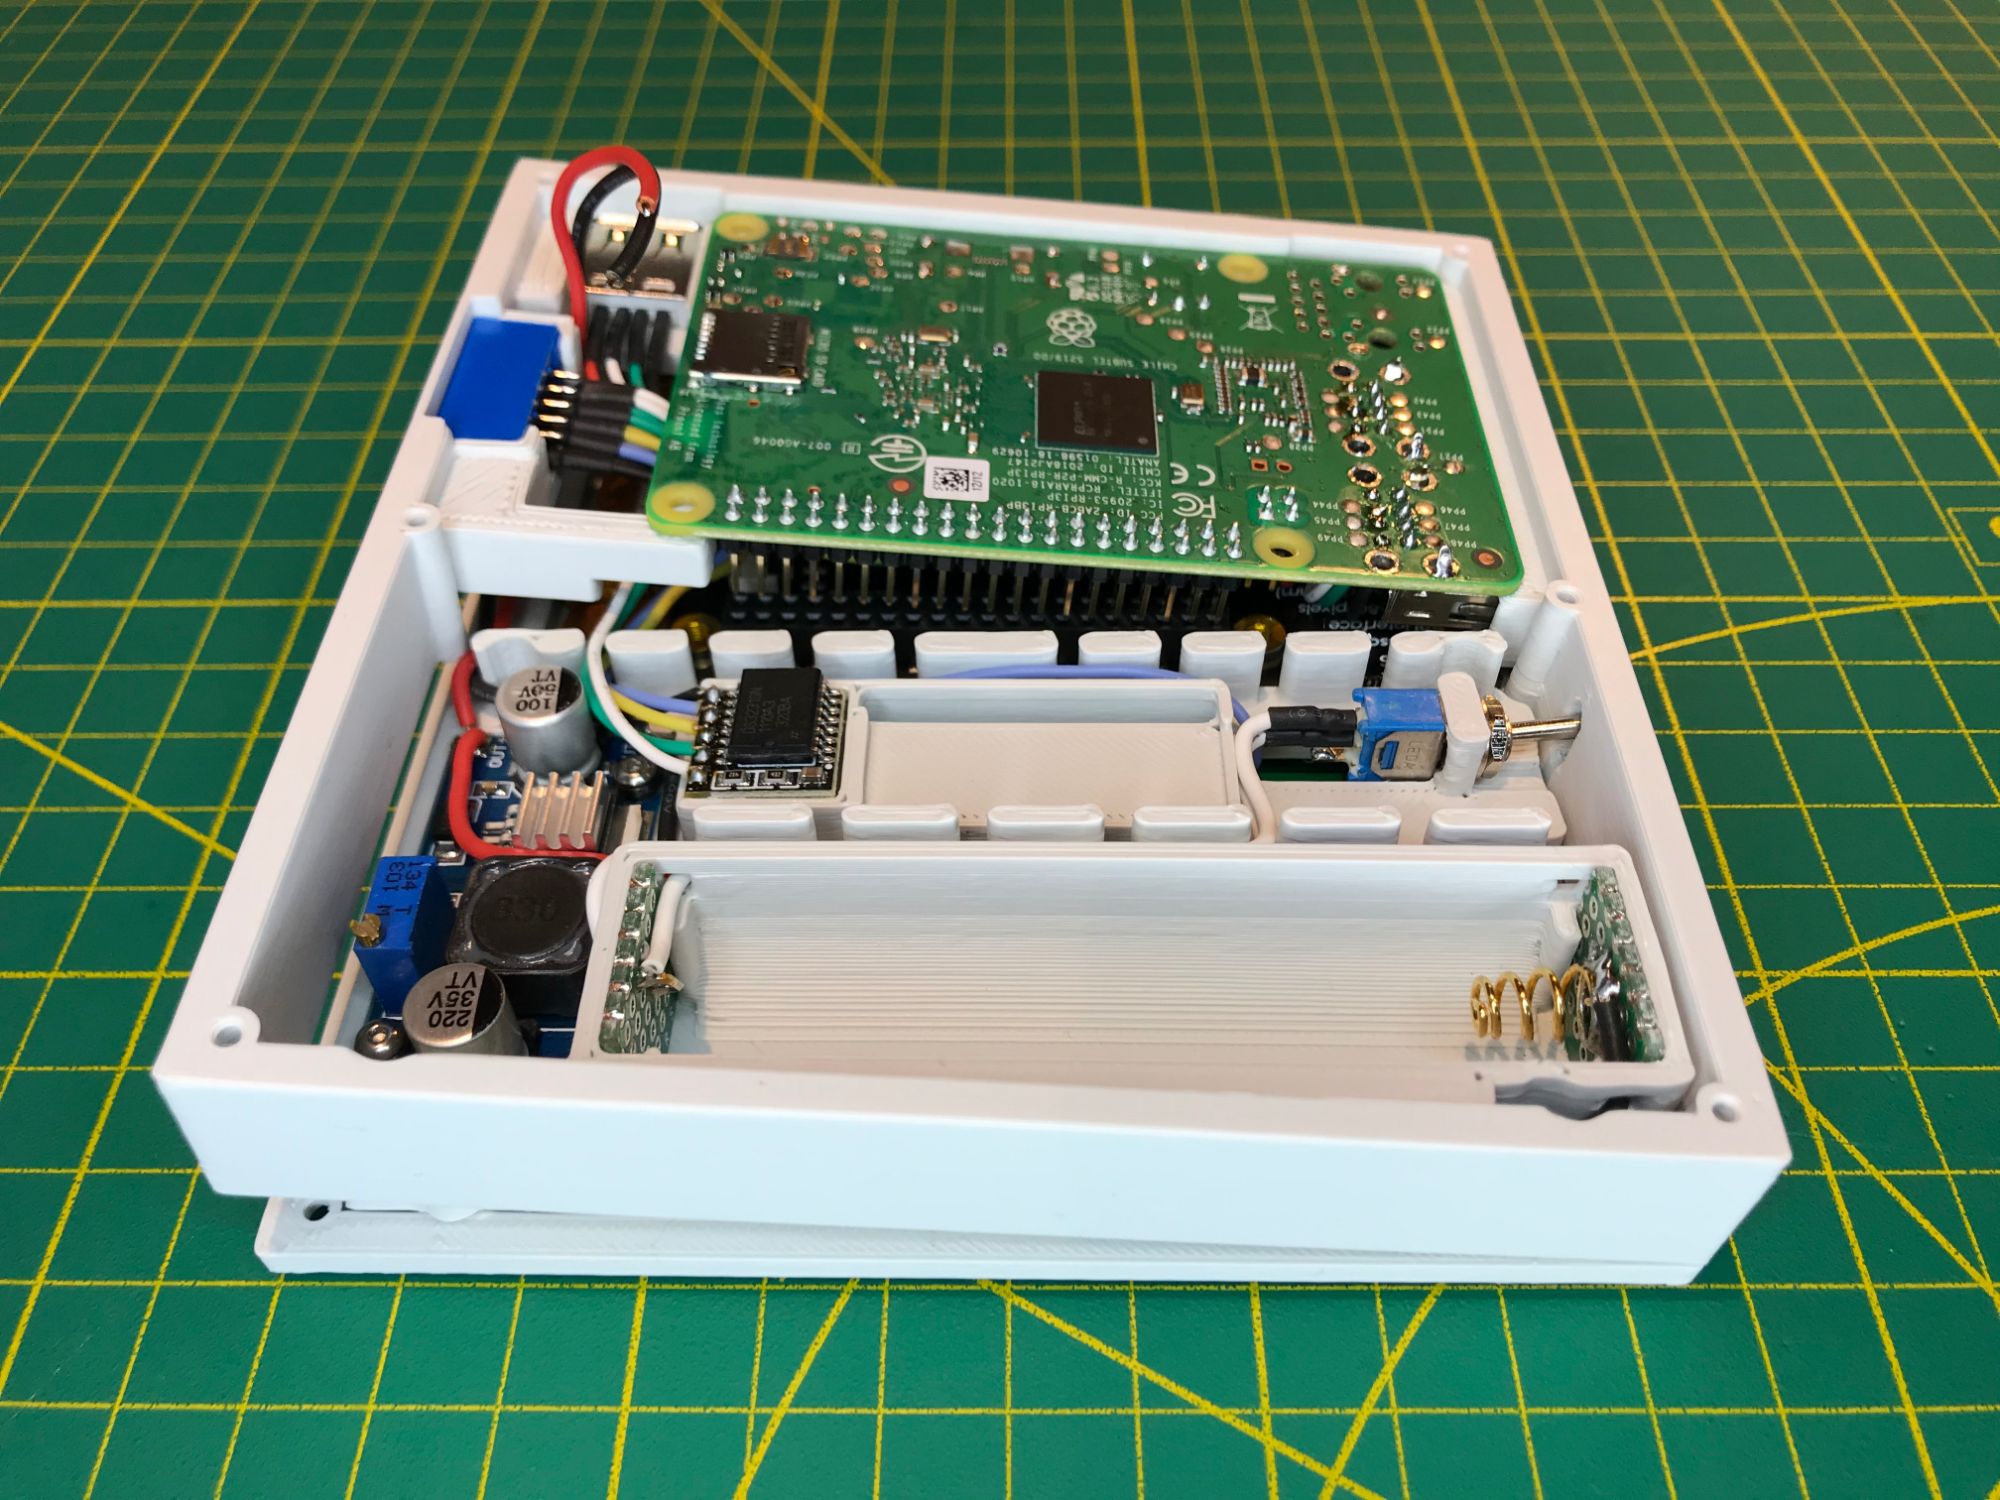
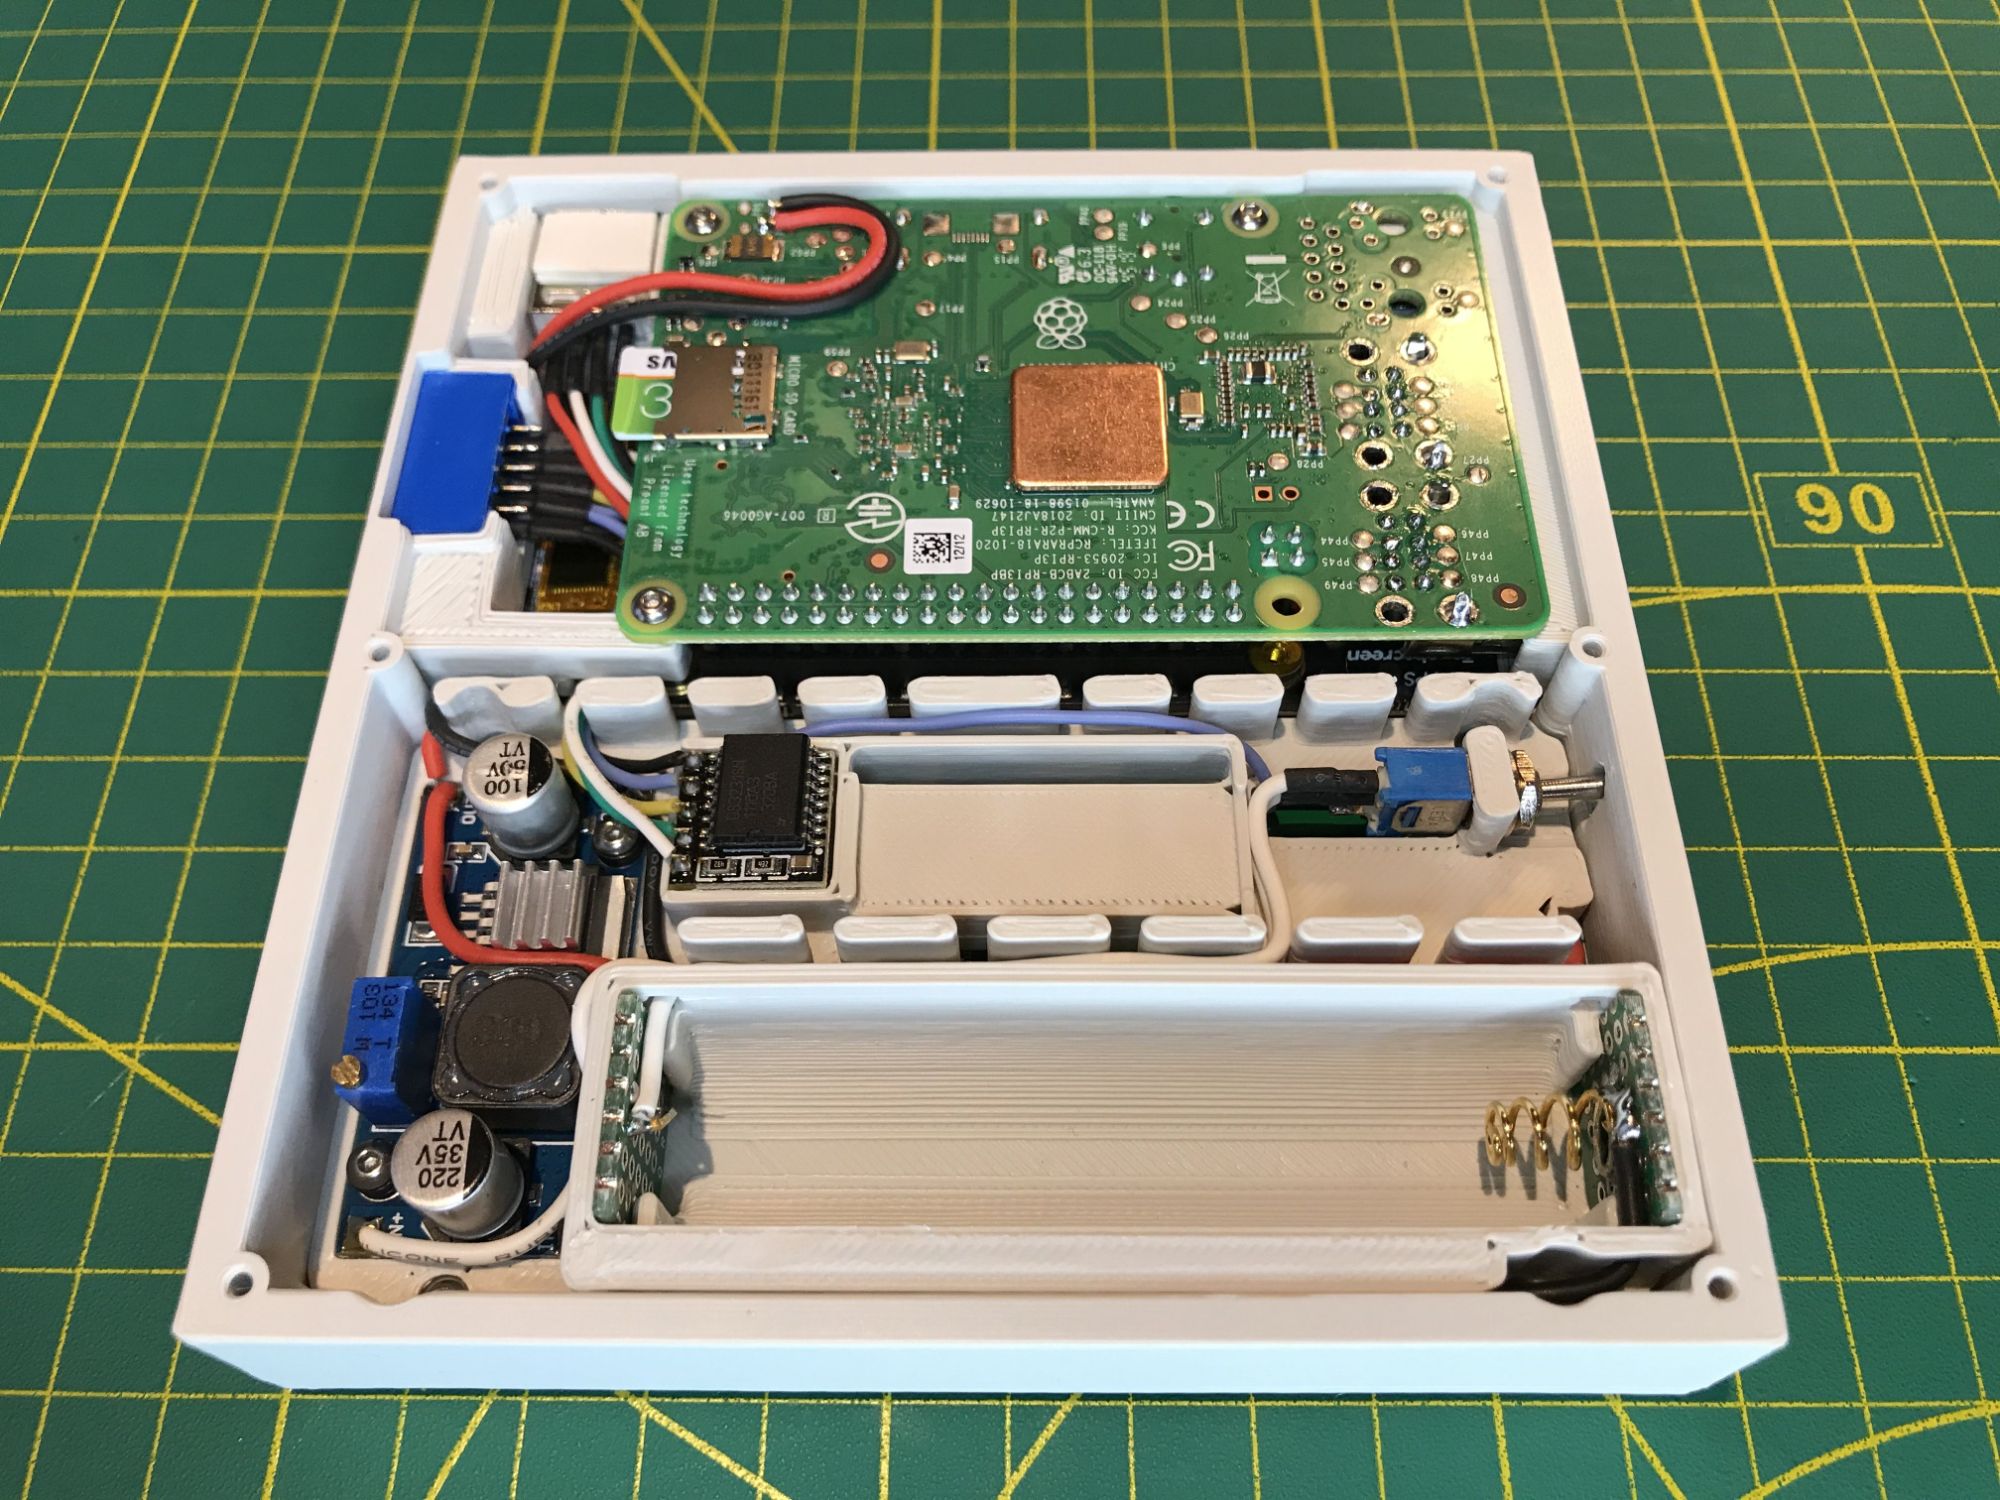
YARH.IO Micro 2 is powered by Raspberry Pi 3B+, offering the best ratio of functionality and computing power requirements for a mobile, battery powered device. The board is stripped down to reduce the total height. The ethernet RJ45 connector on the Pi 3B+ has been removed, while the double stack USB connectors were replaced with single stack USB connectors.
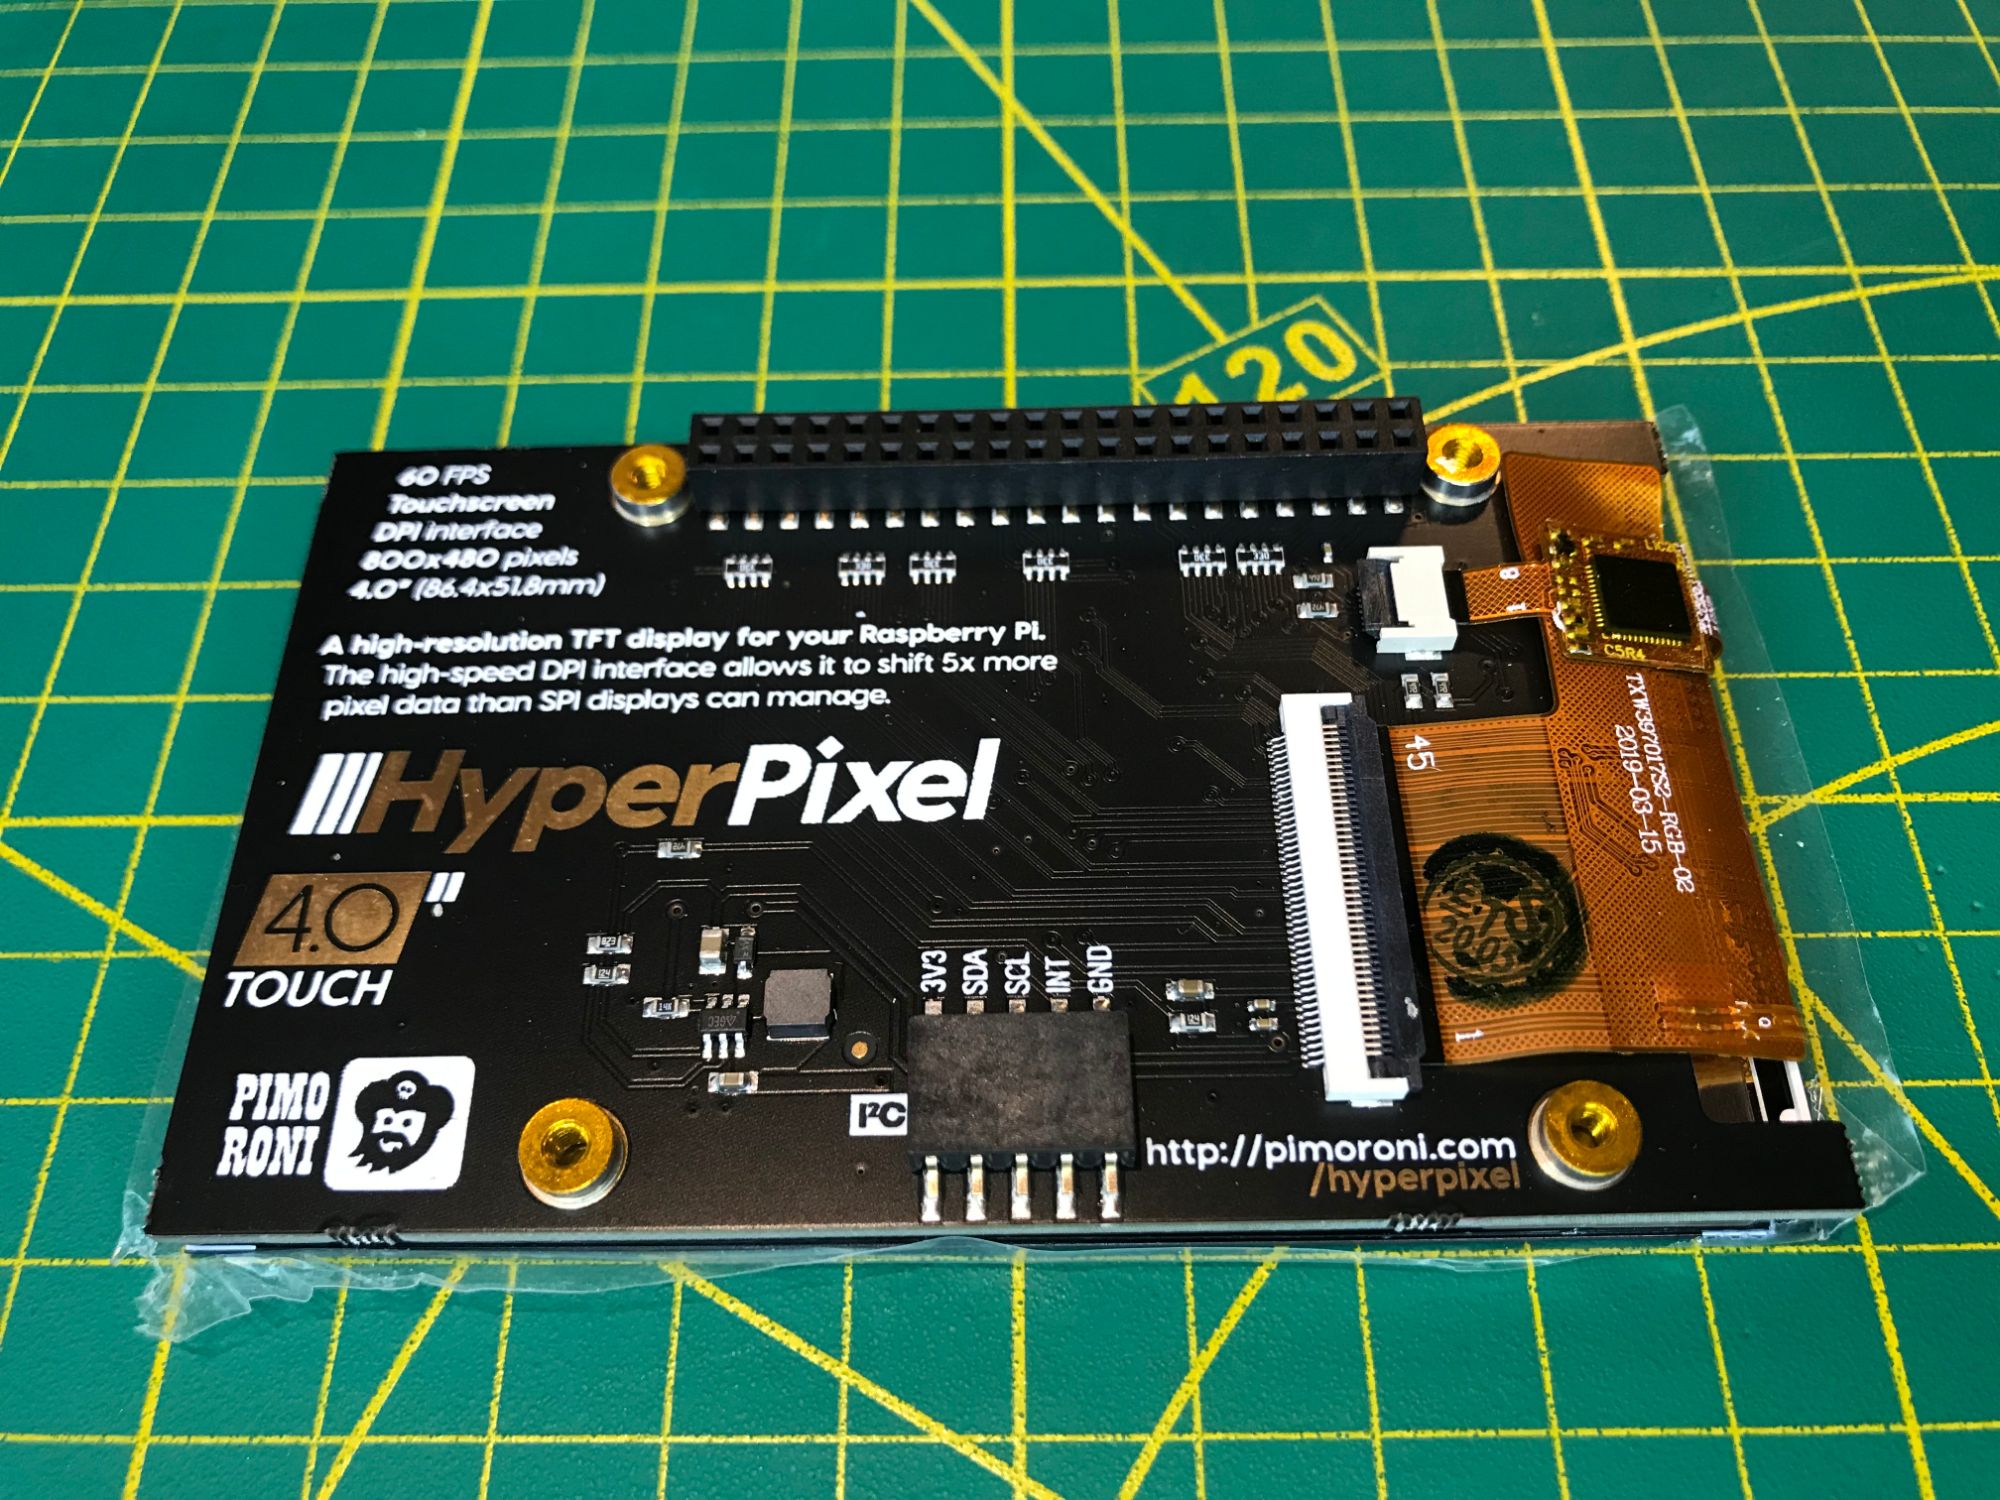
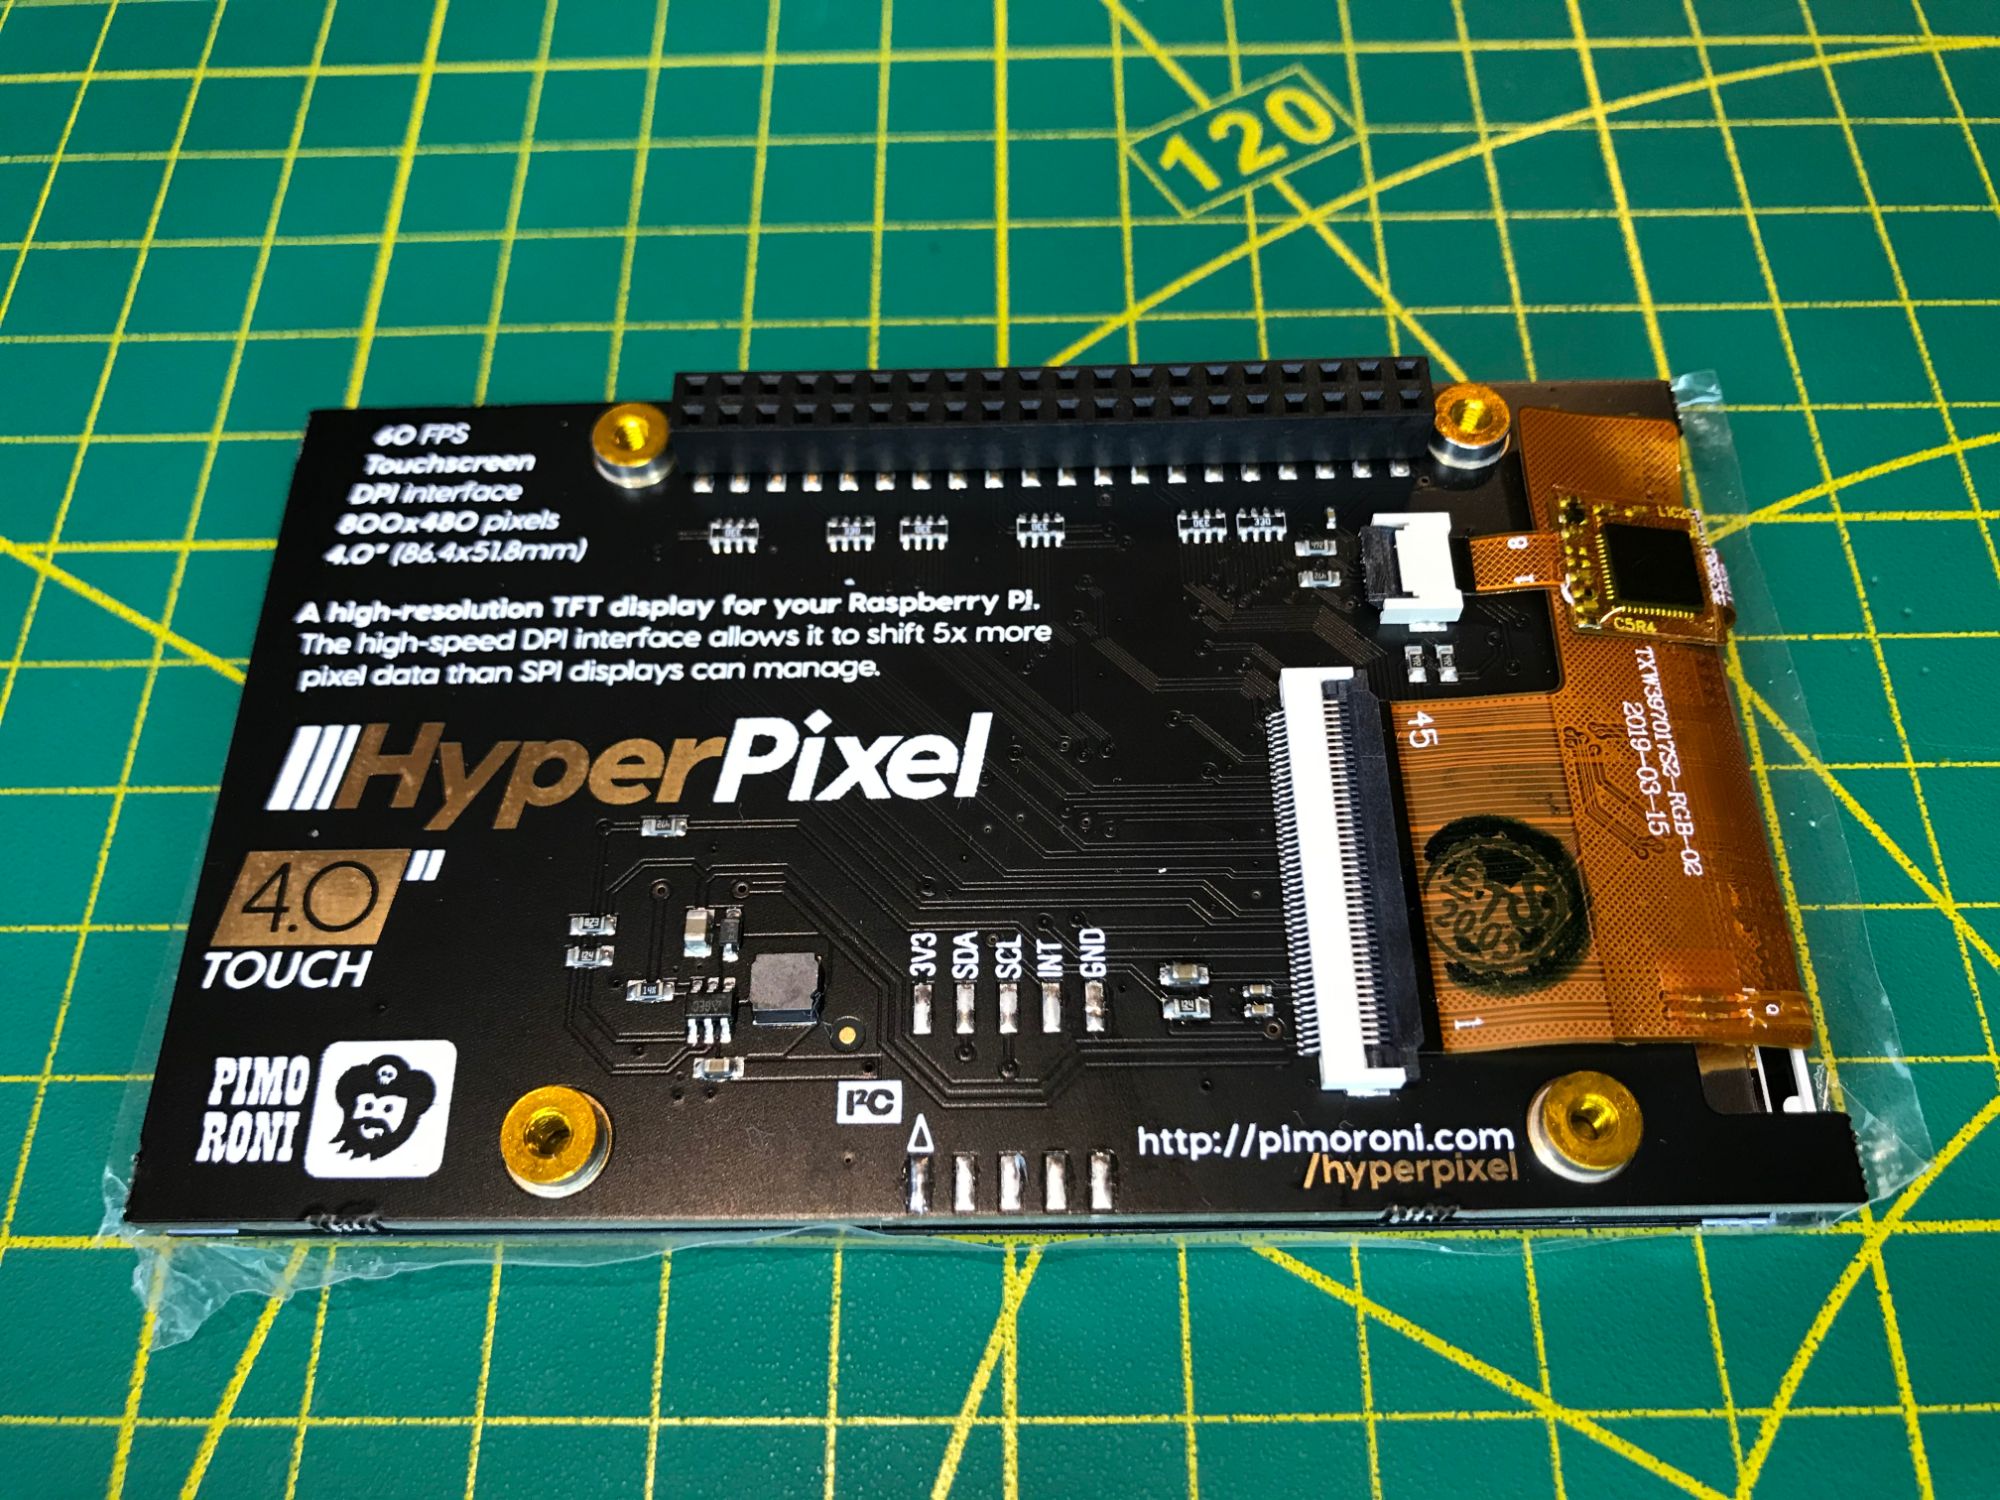
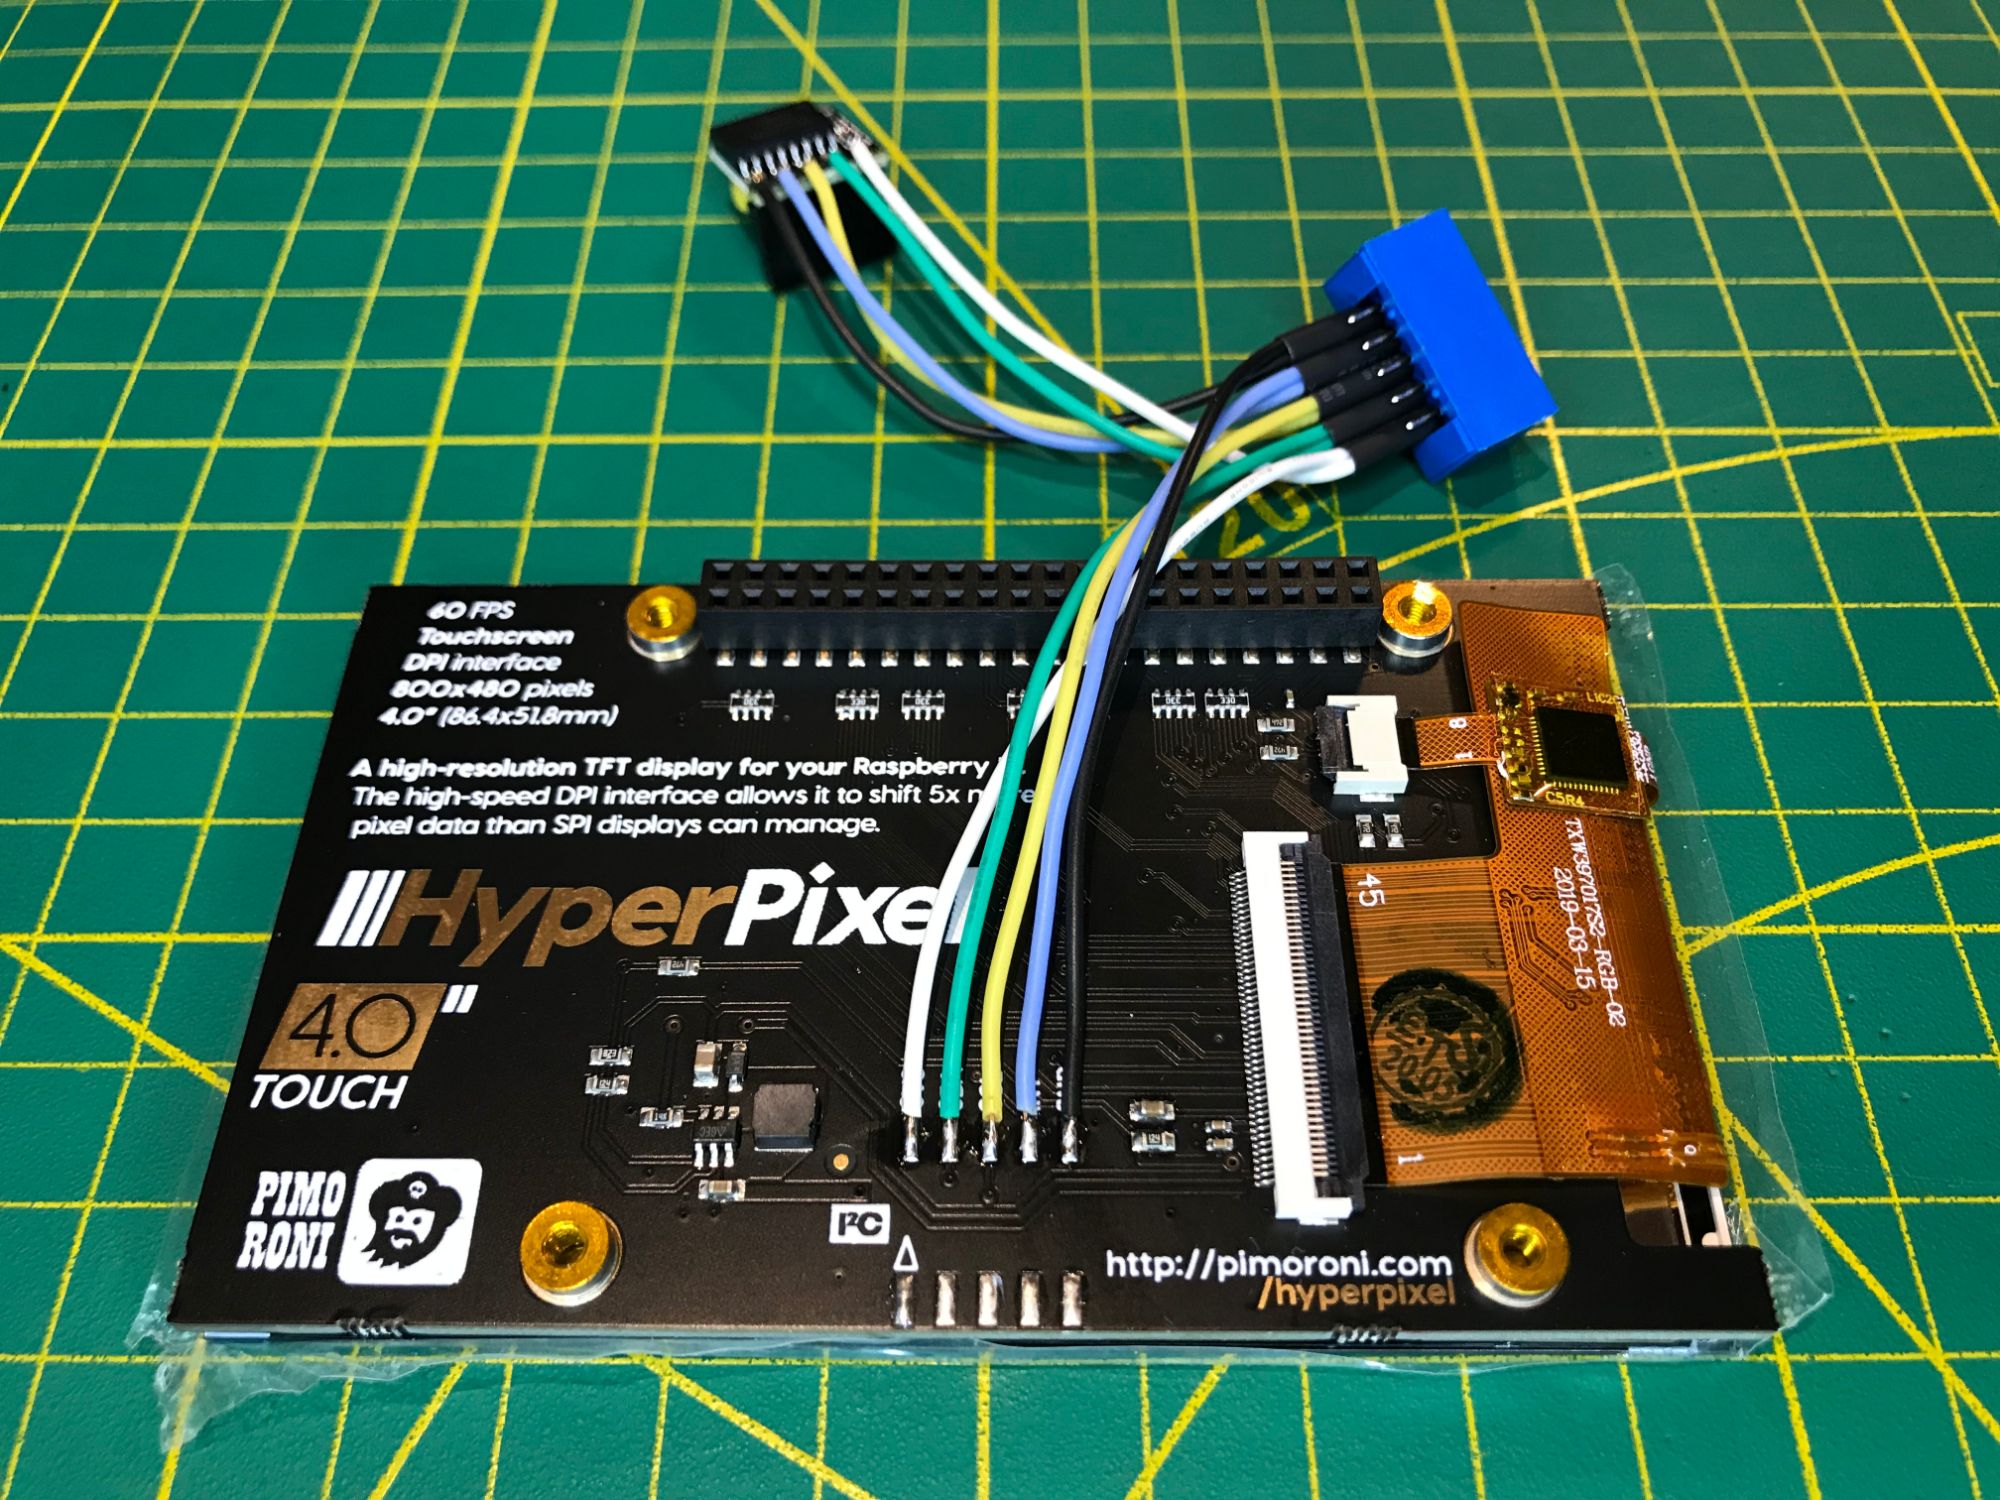
Pimoroni Hyper Pixel 4" IPS 800x480 display delivers a sharp, clear, and bright picture with a wide viewing angle. Capacitive touch screen with multi-touch allows for a simple and easy interaction with the user interface.
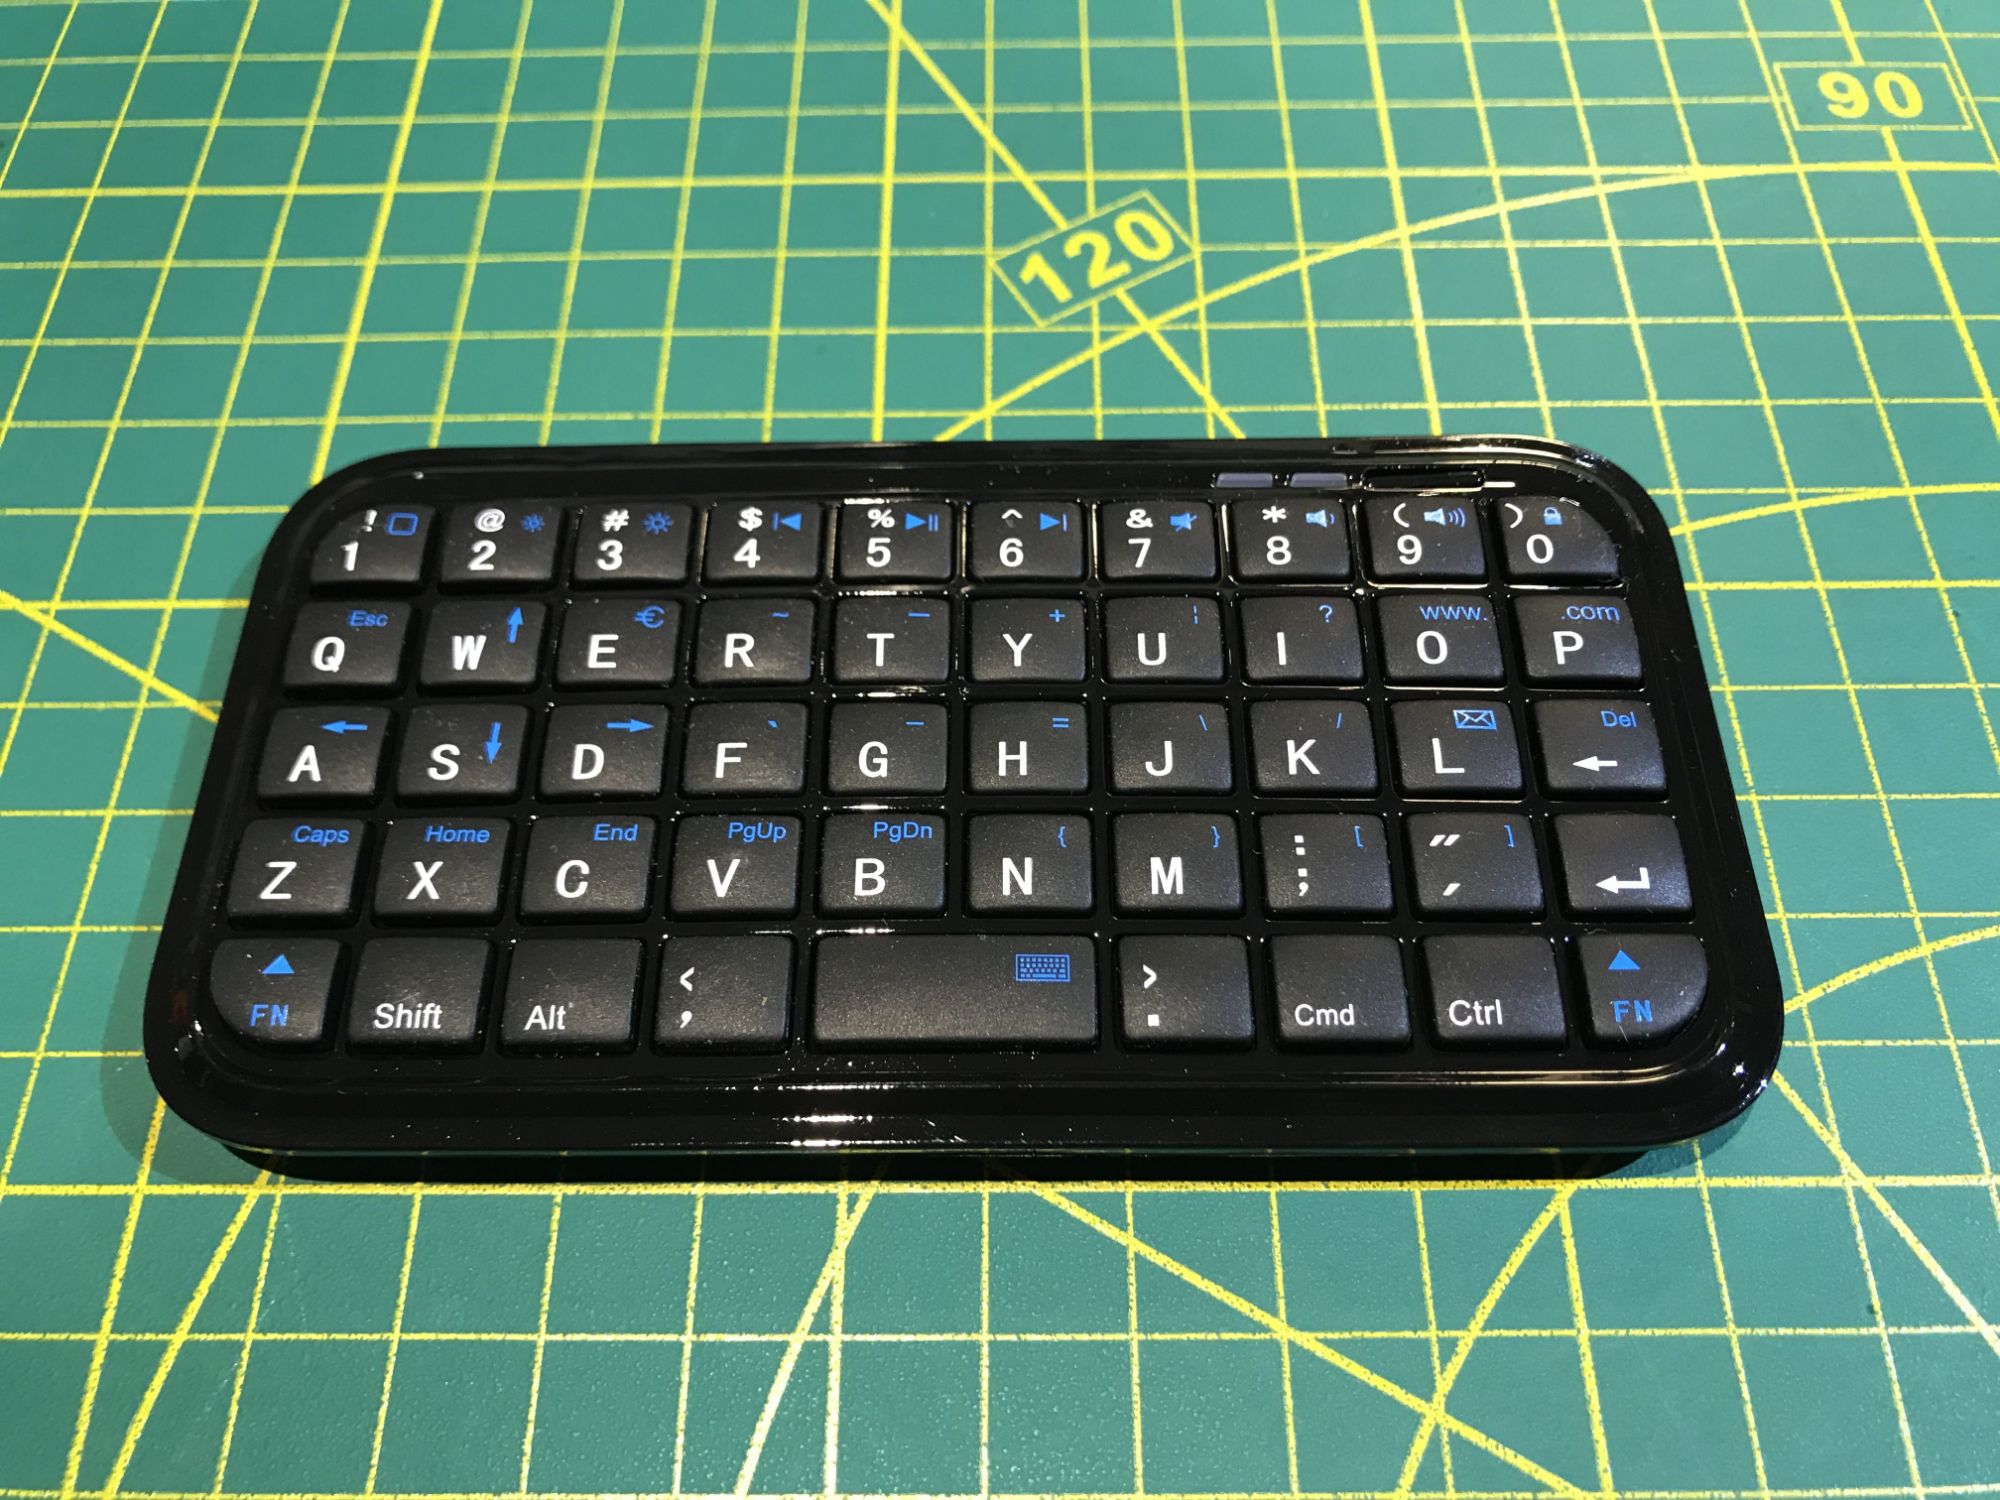
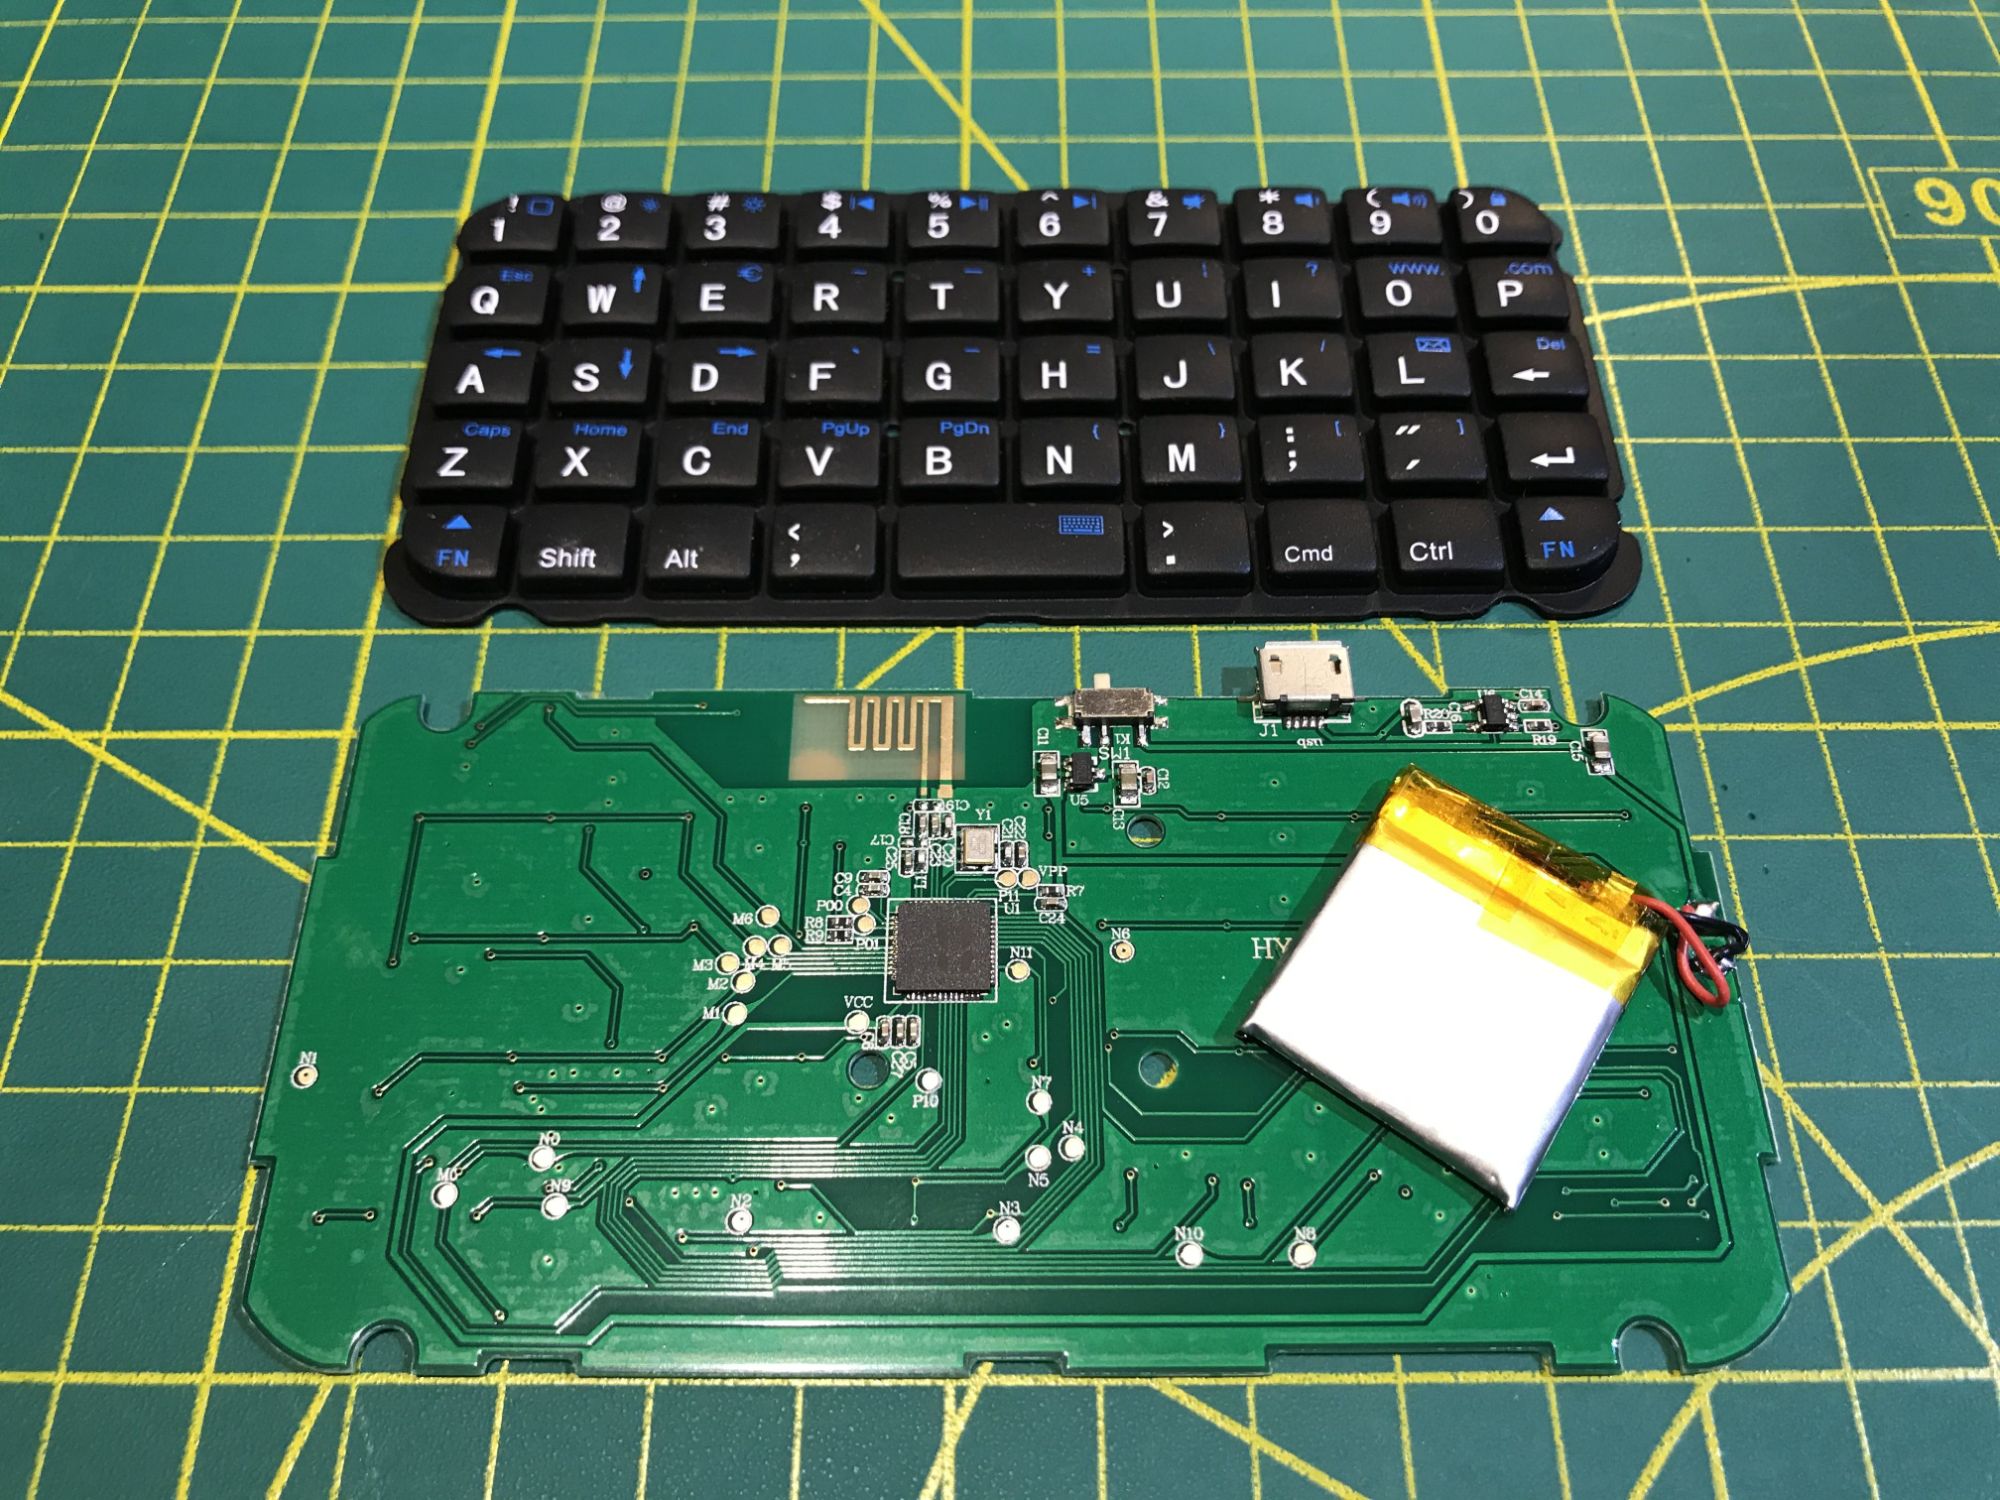
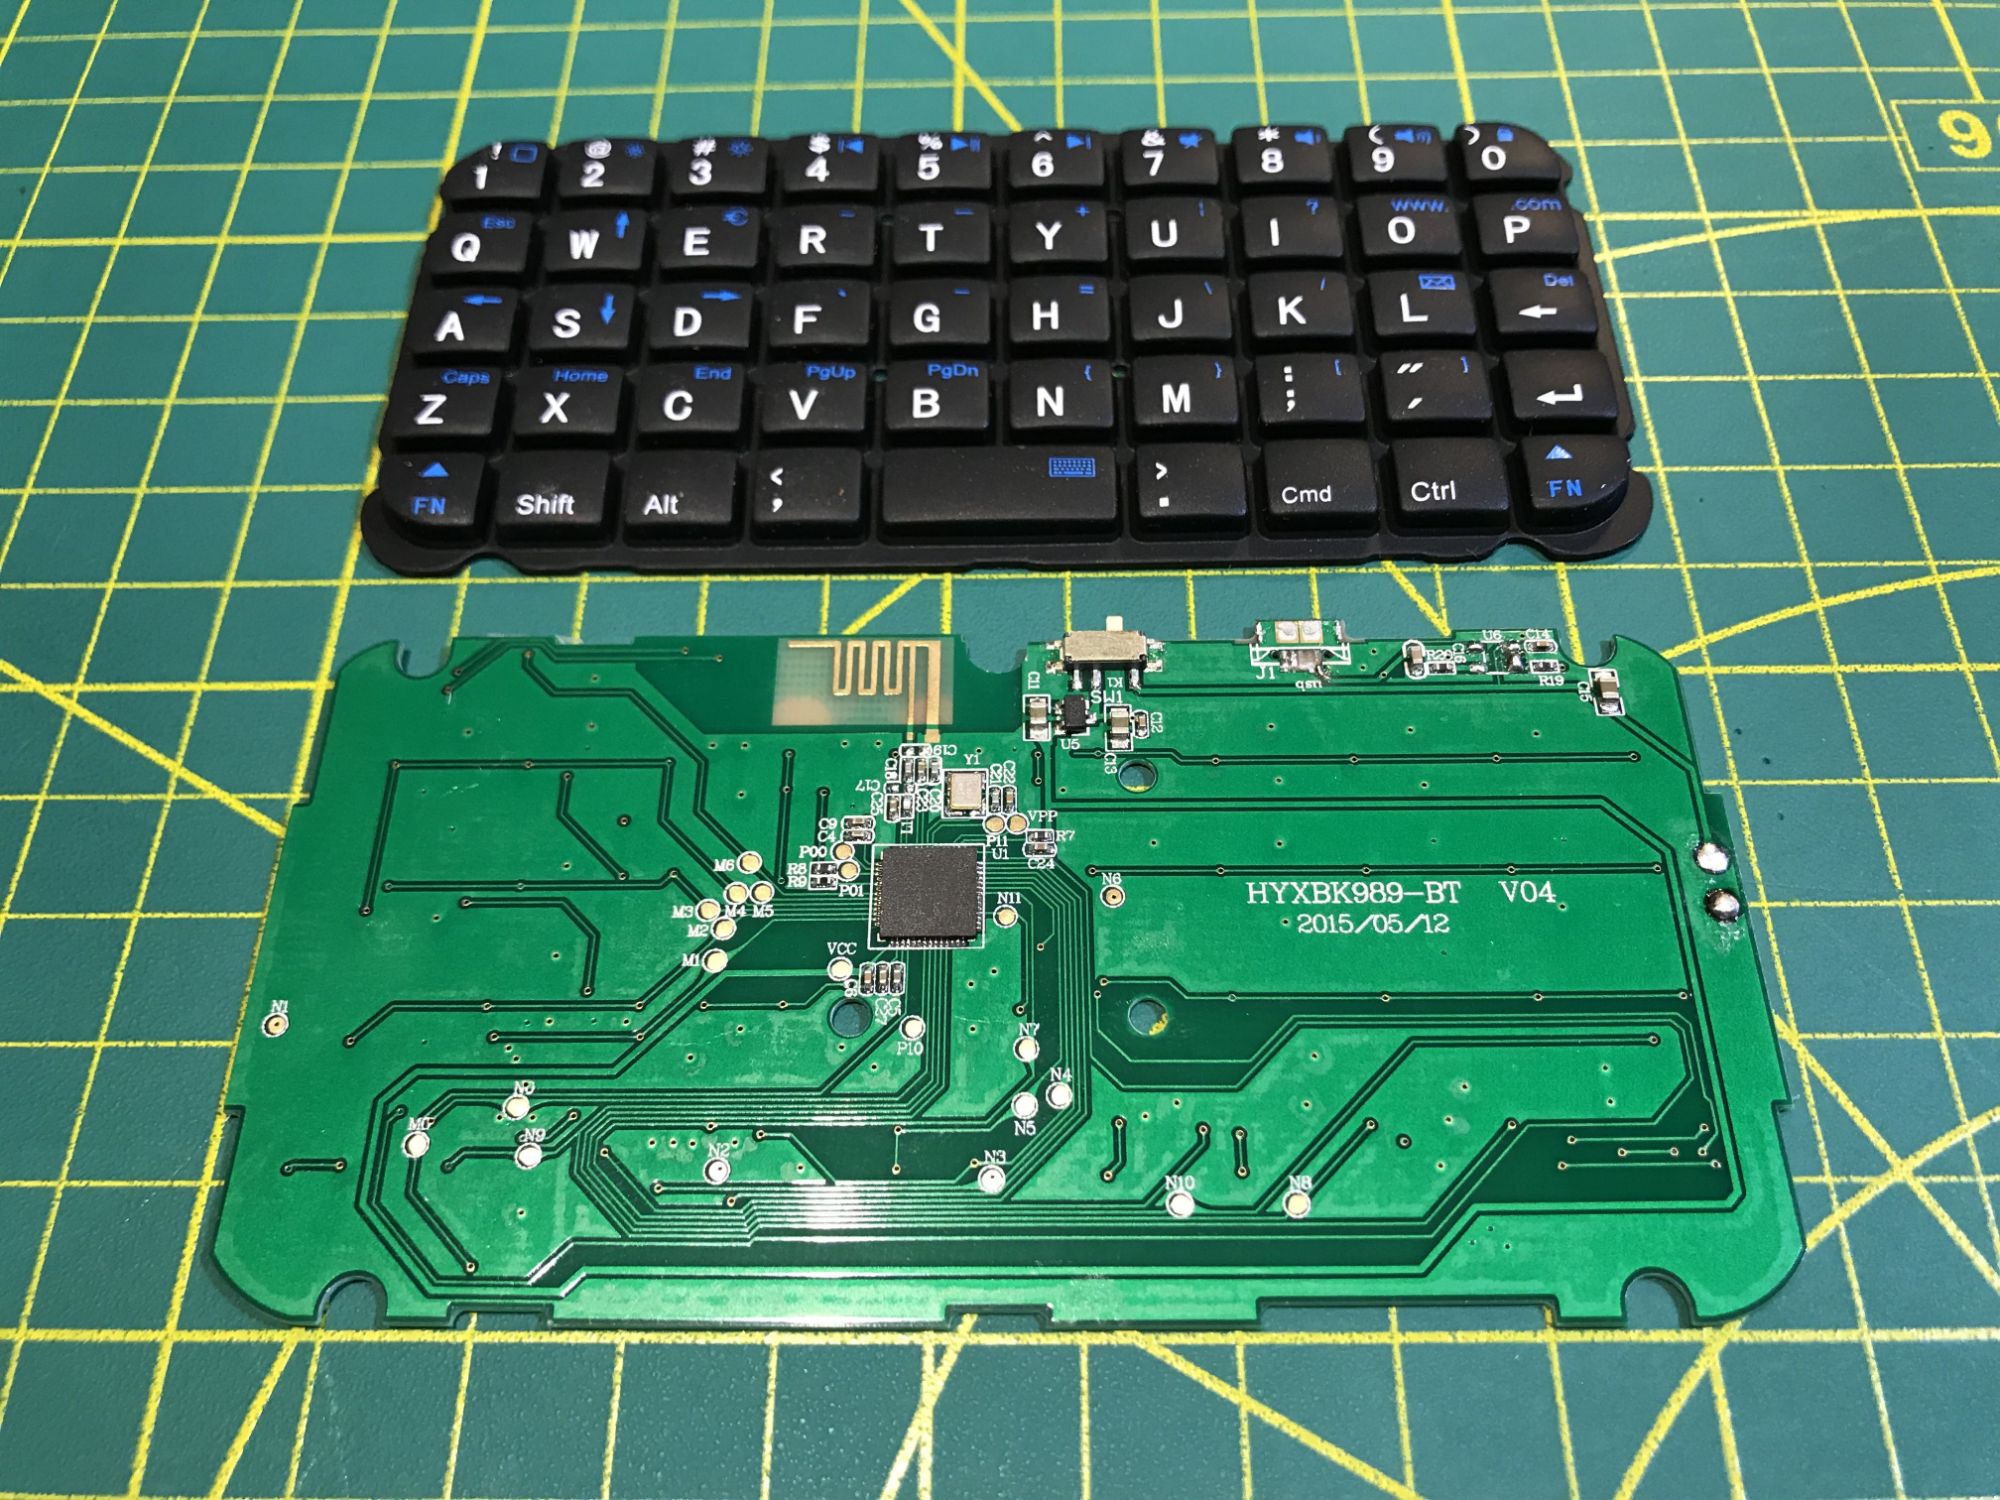
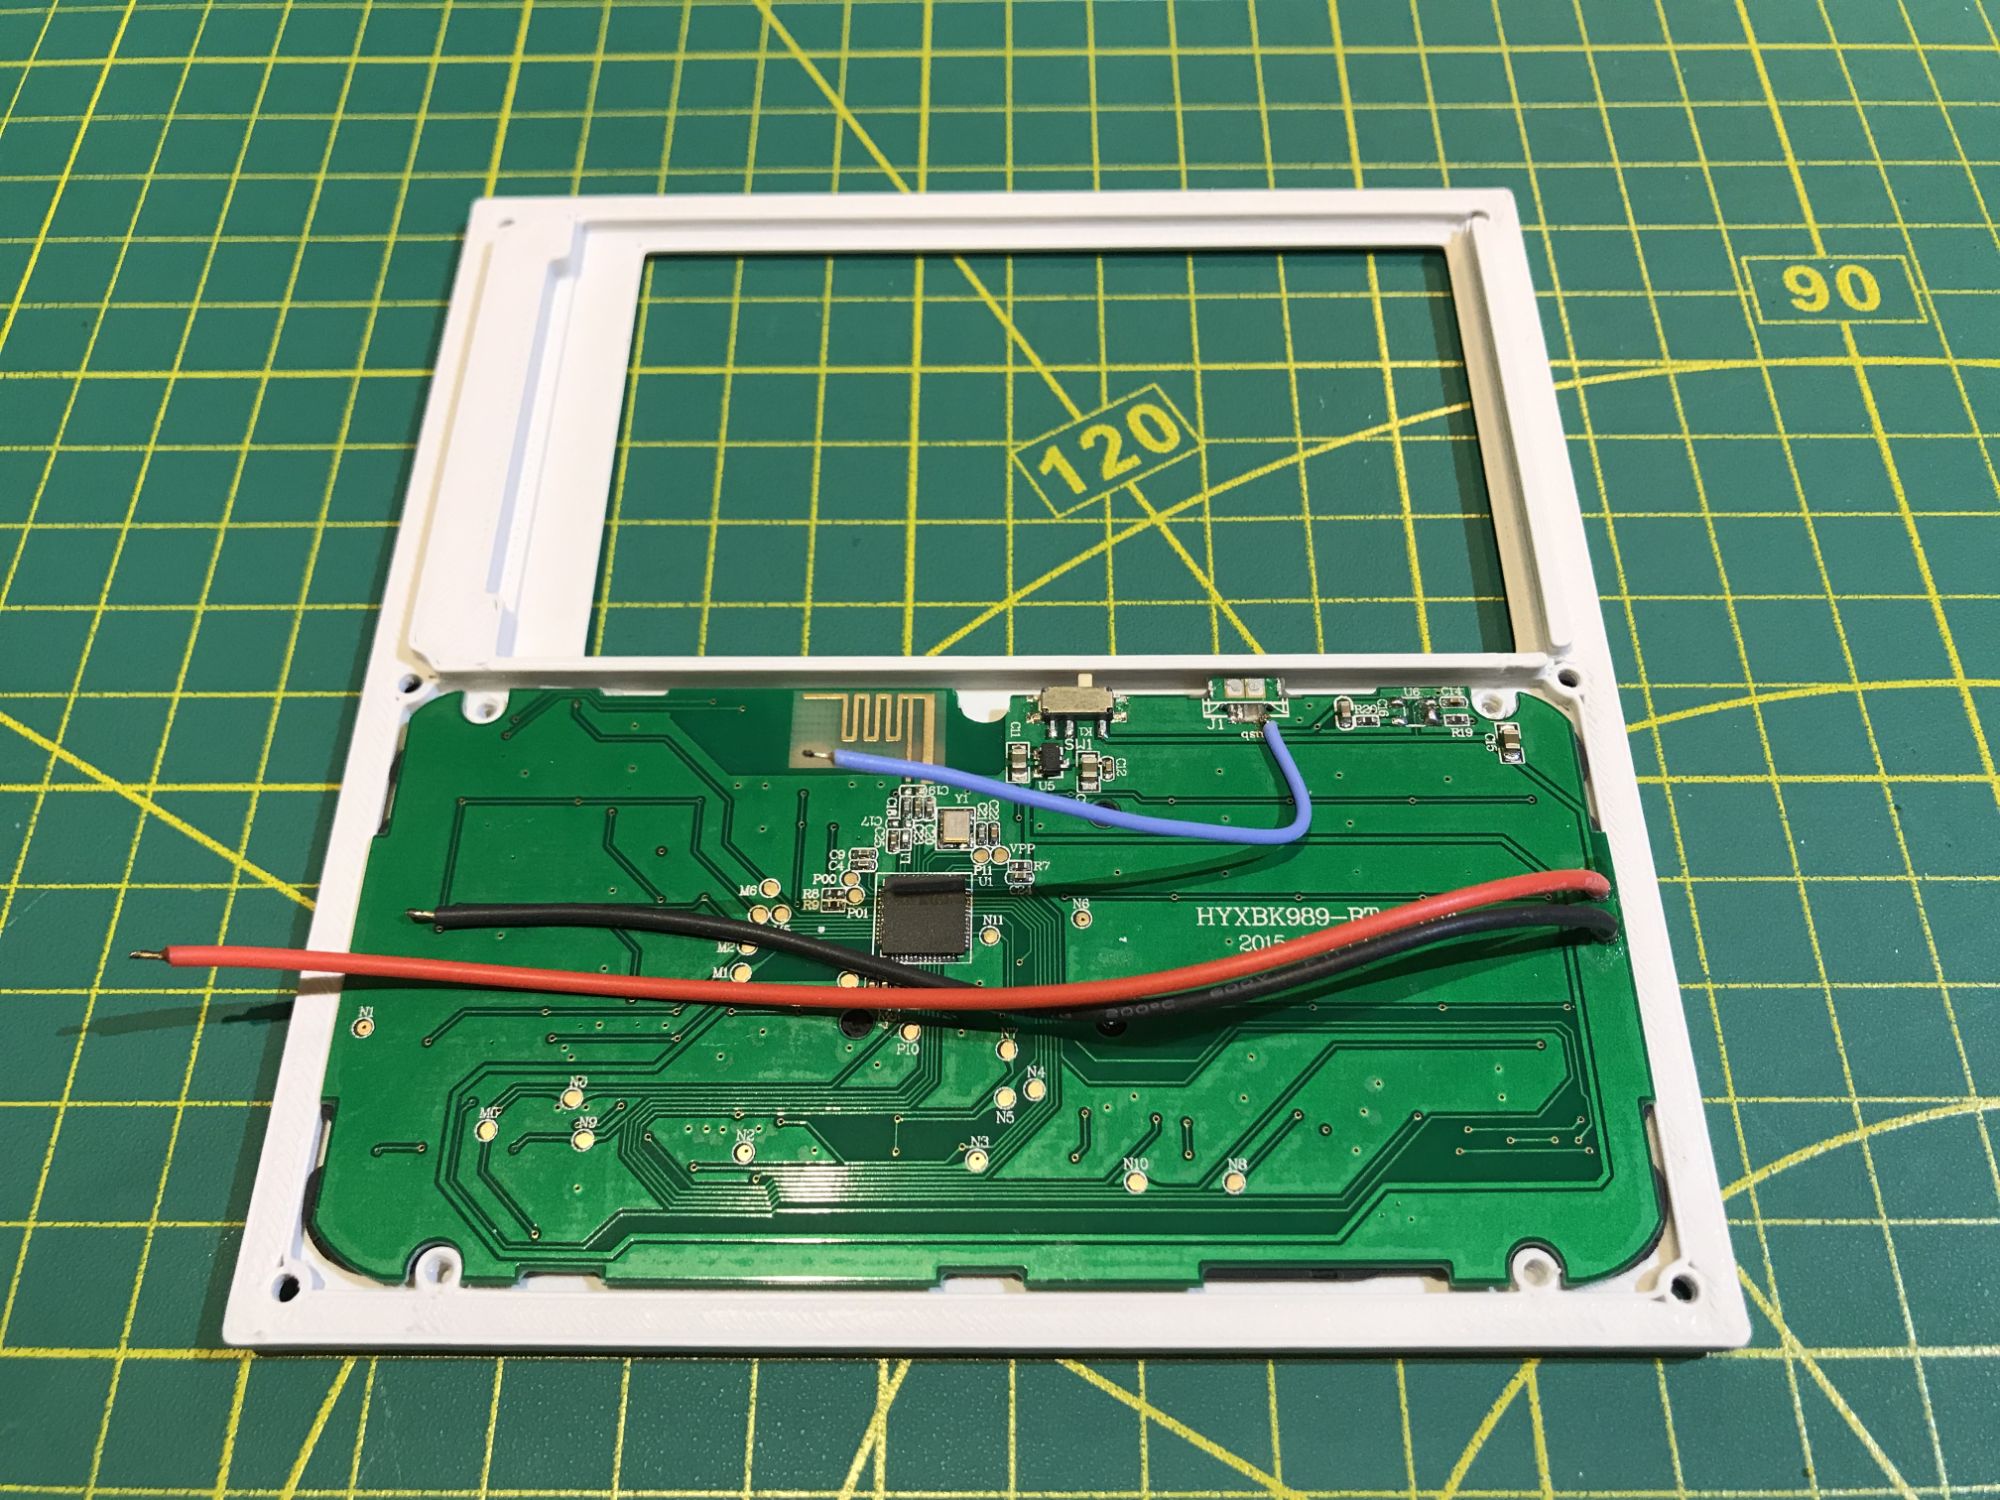
Minimalist keyboard provides comfortable typing when holding the device with both hands. Modifier keys grant easy access to special control keys and functions. Custom key remapping simplifies interaction with the system and its applications.
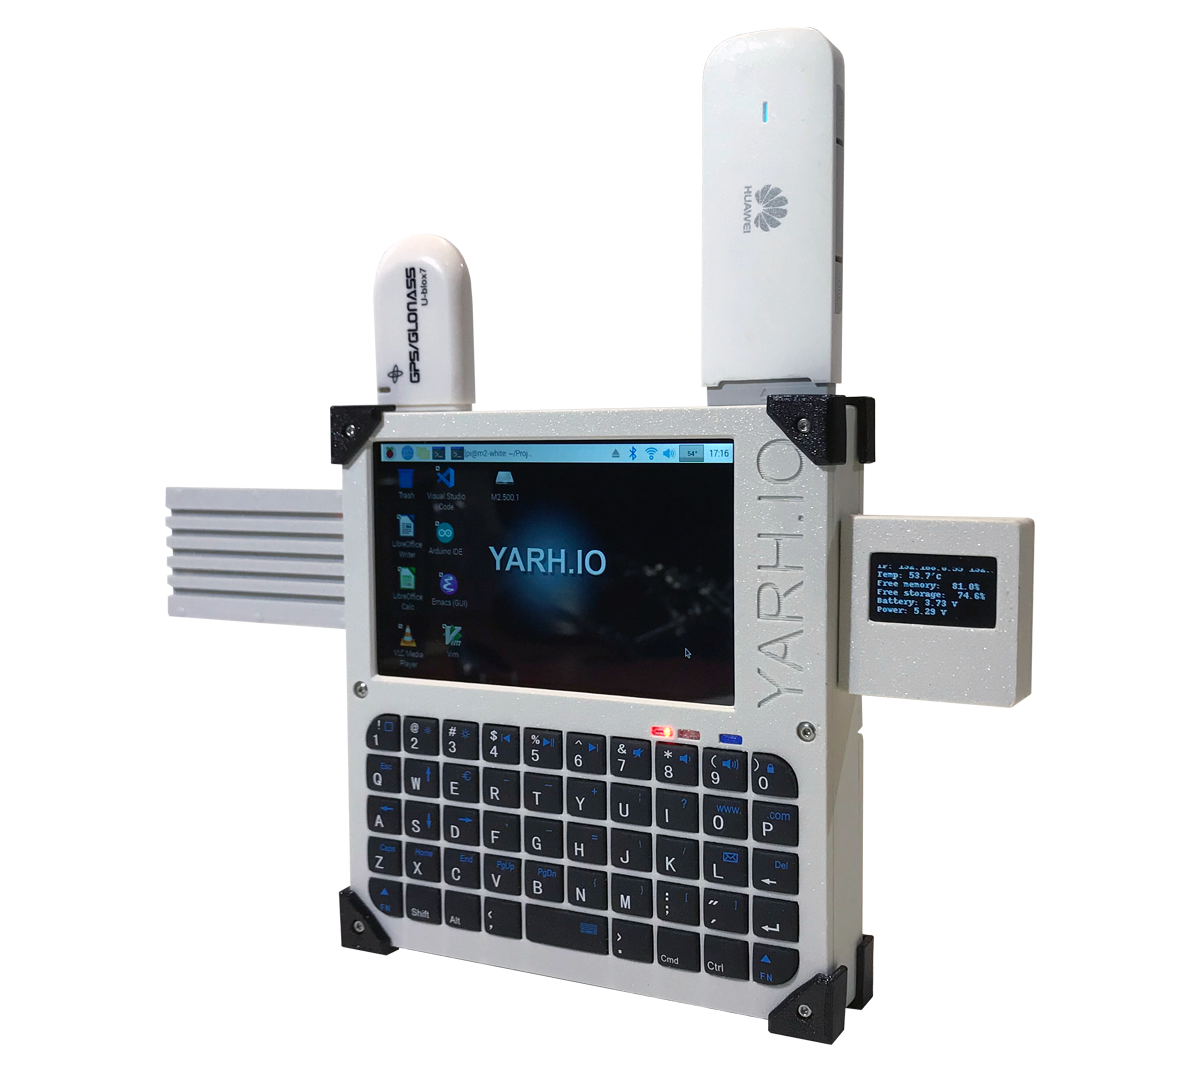
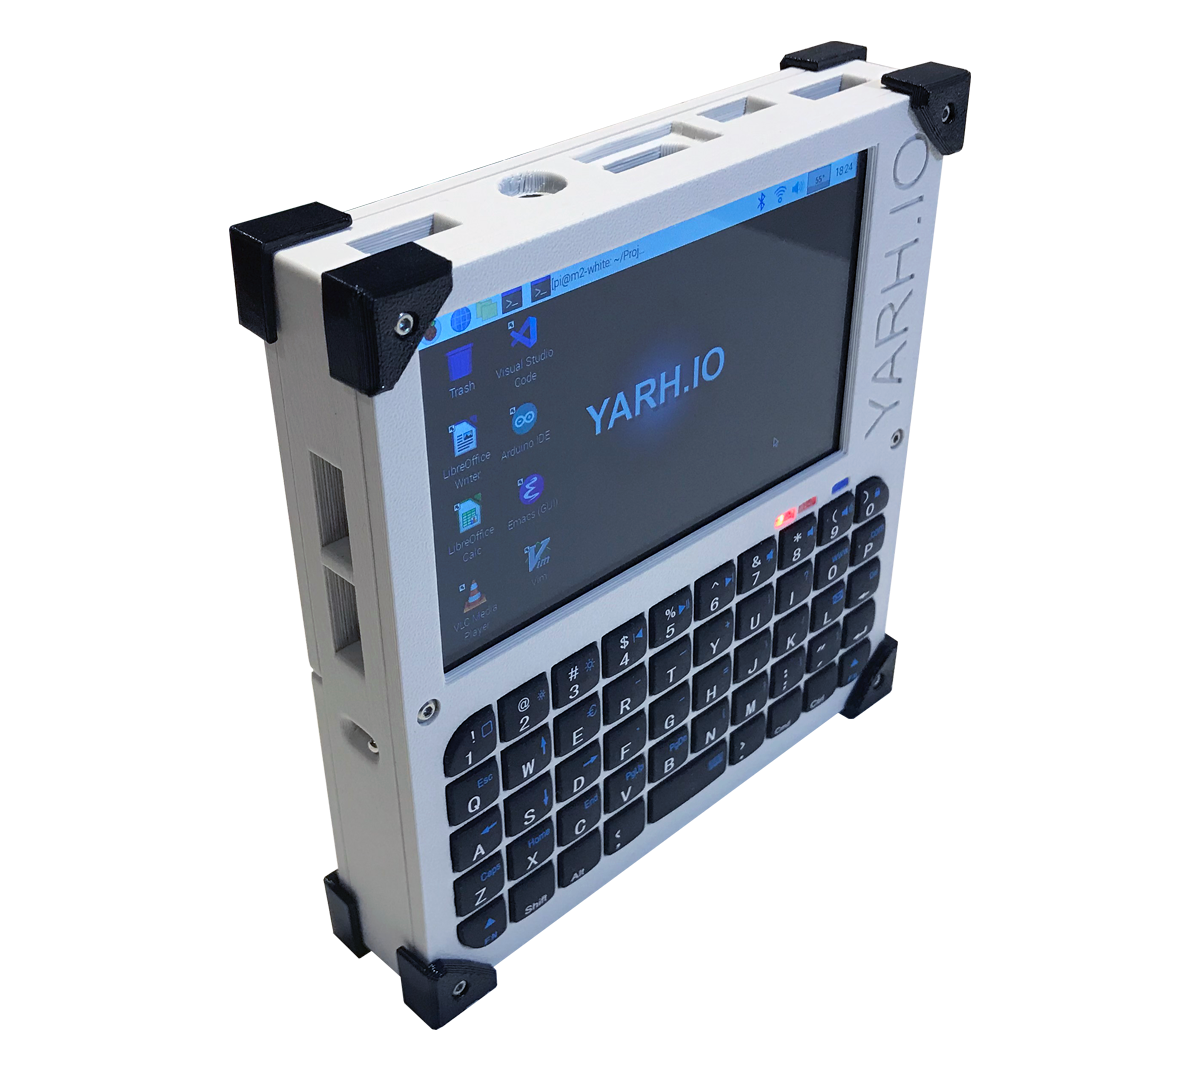
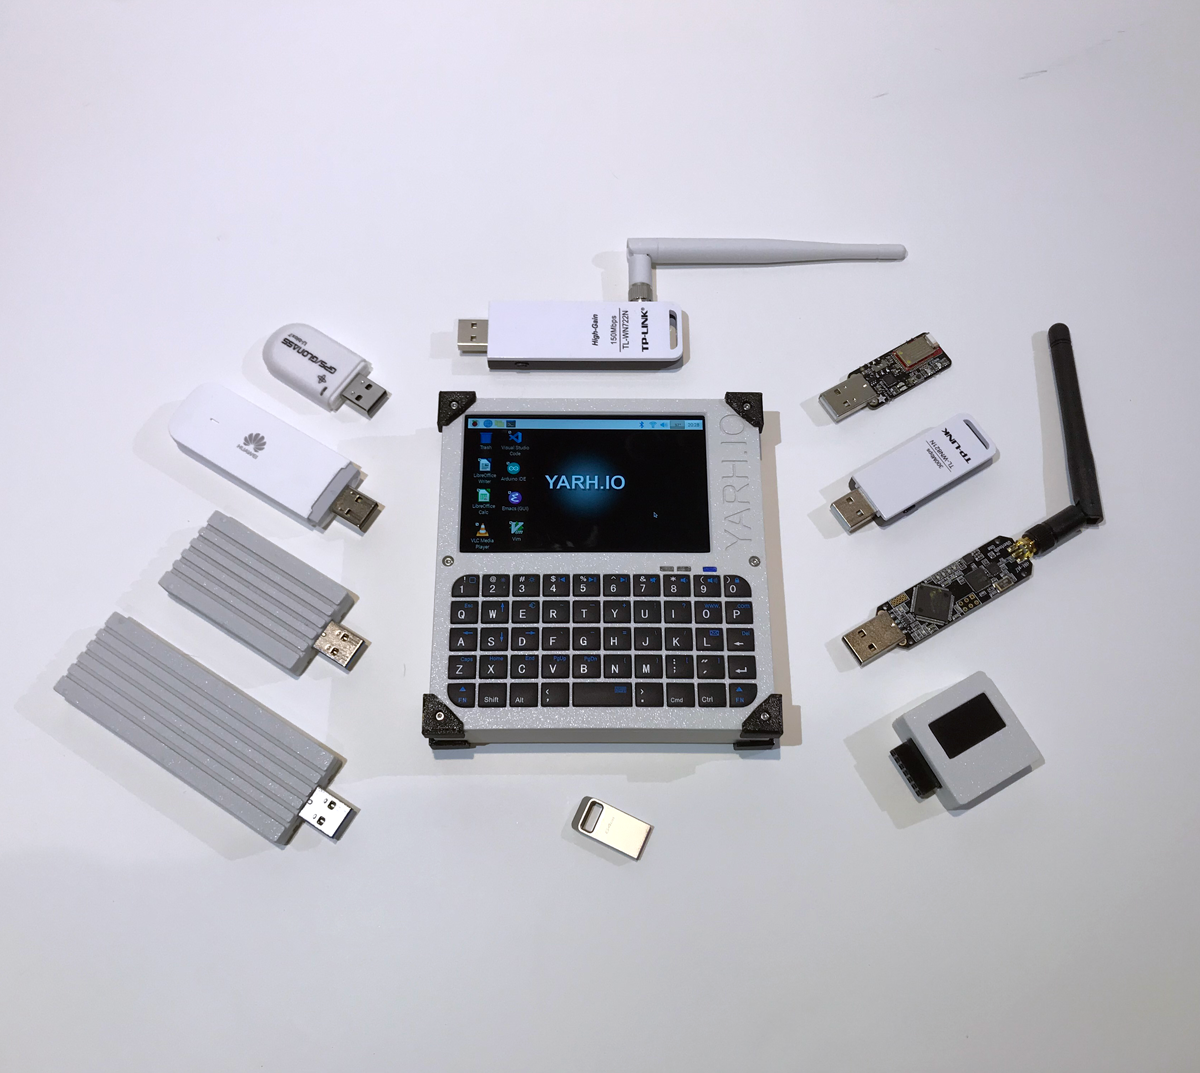
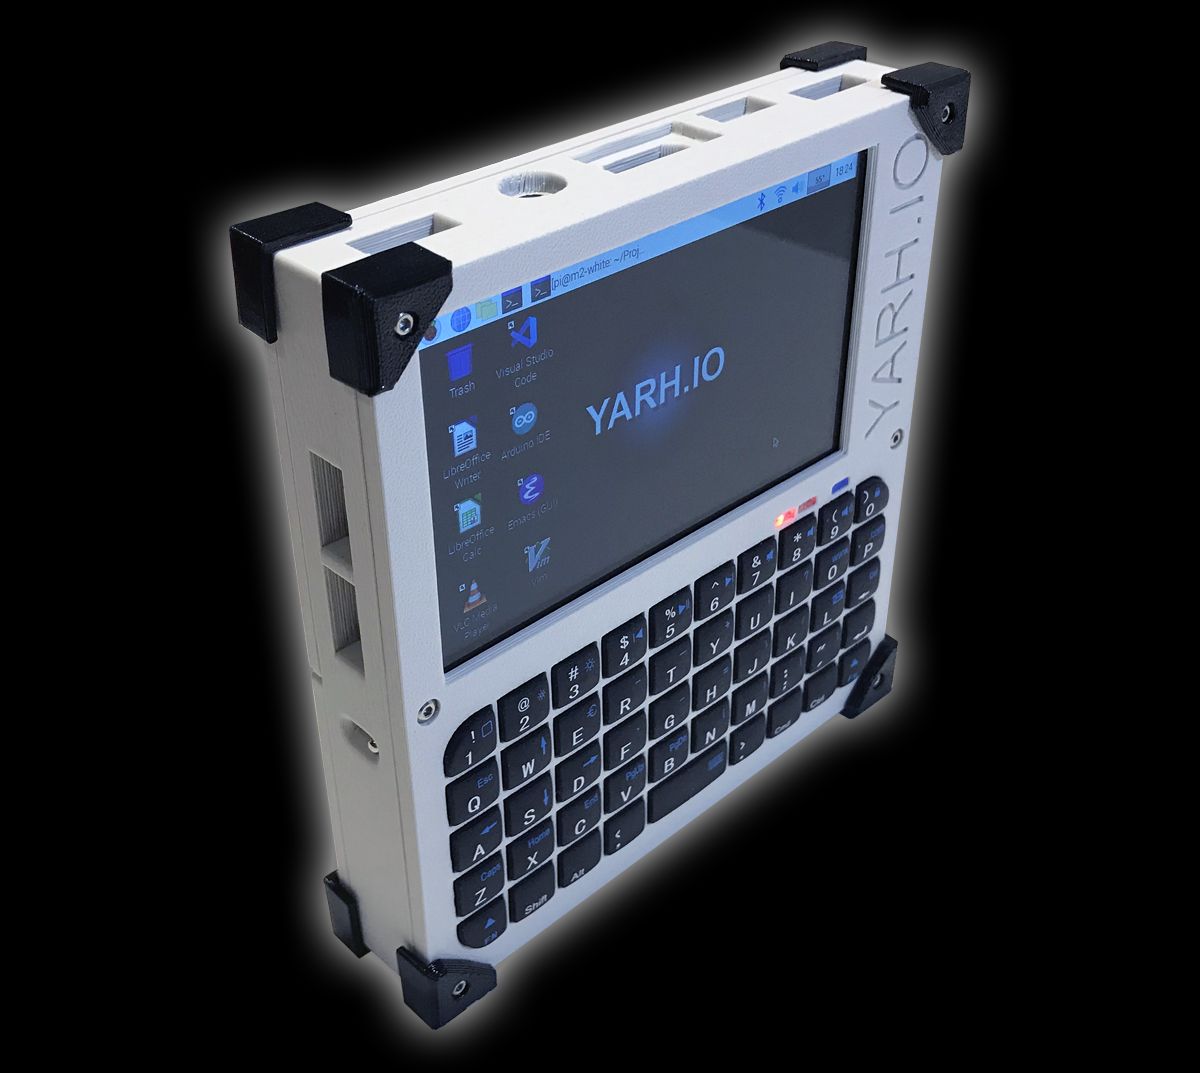
YARH.IO Micro 2 features extended USB connectivity. The two USB ports have been relocated to the top of the device and now allow users to simultaneously connect large profile USB accessories, such as WiFi adaptors, cellular modems, GPS, USB drives, and others.
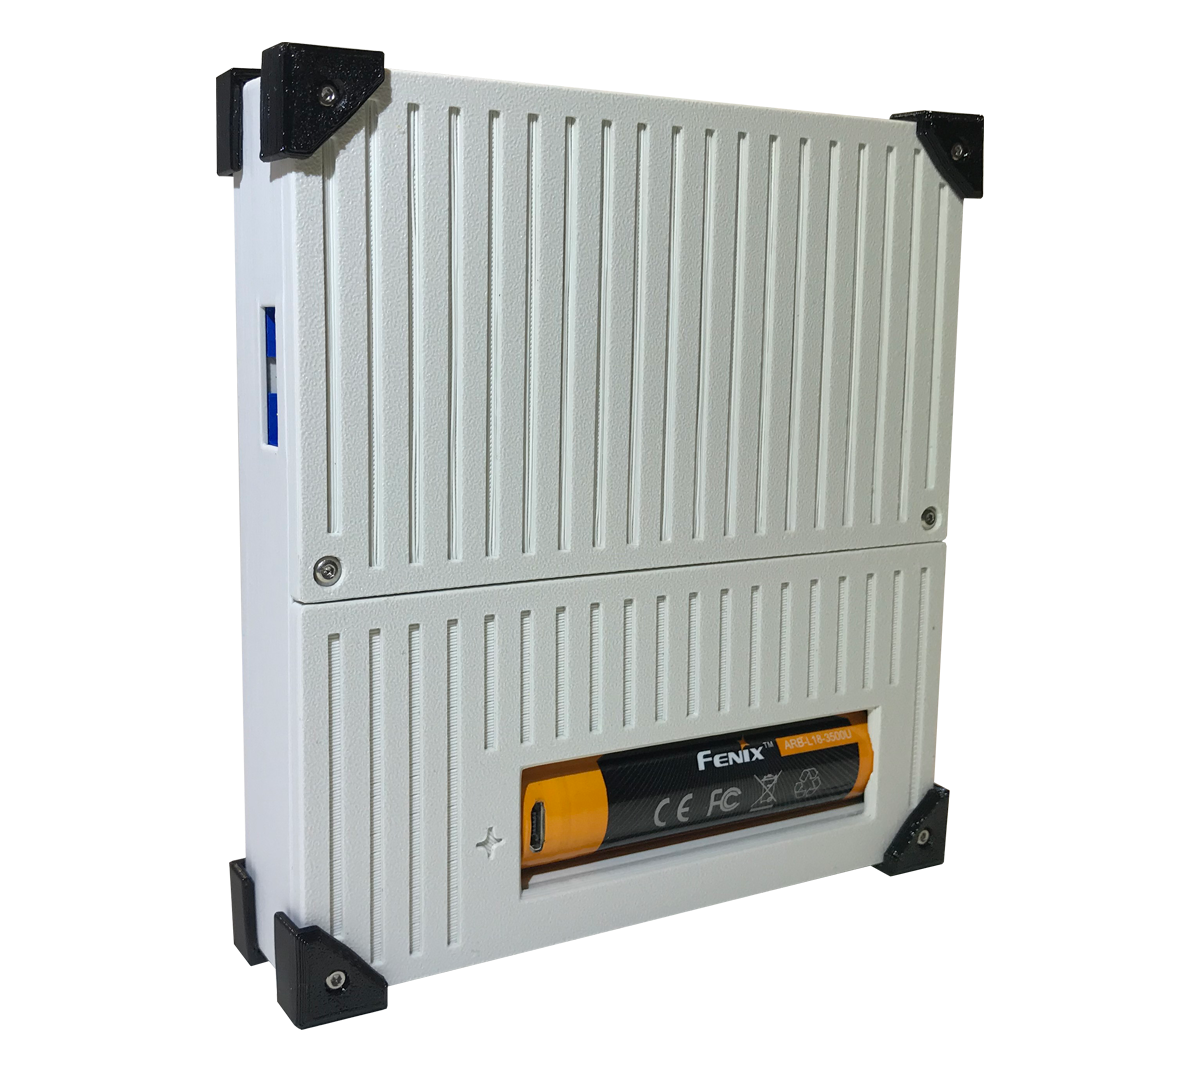
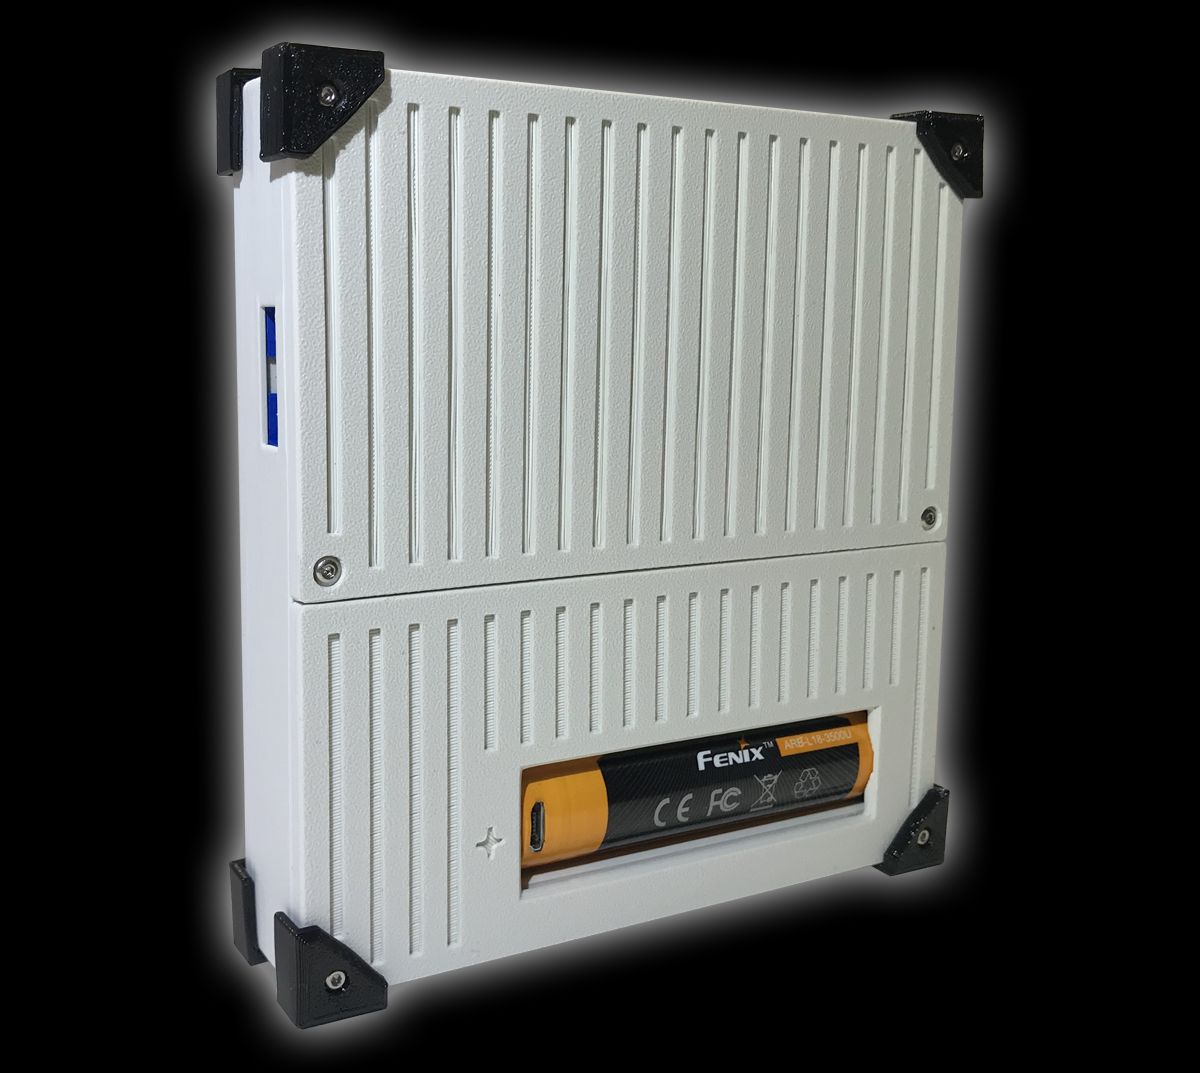
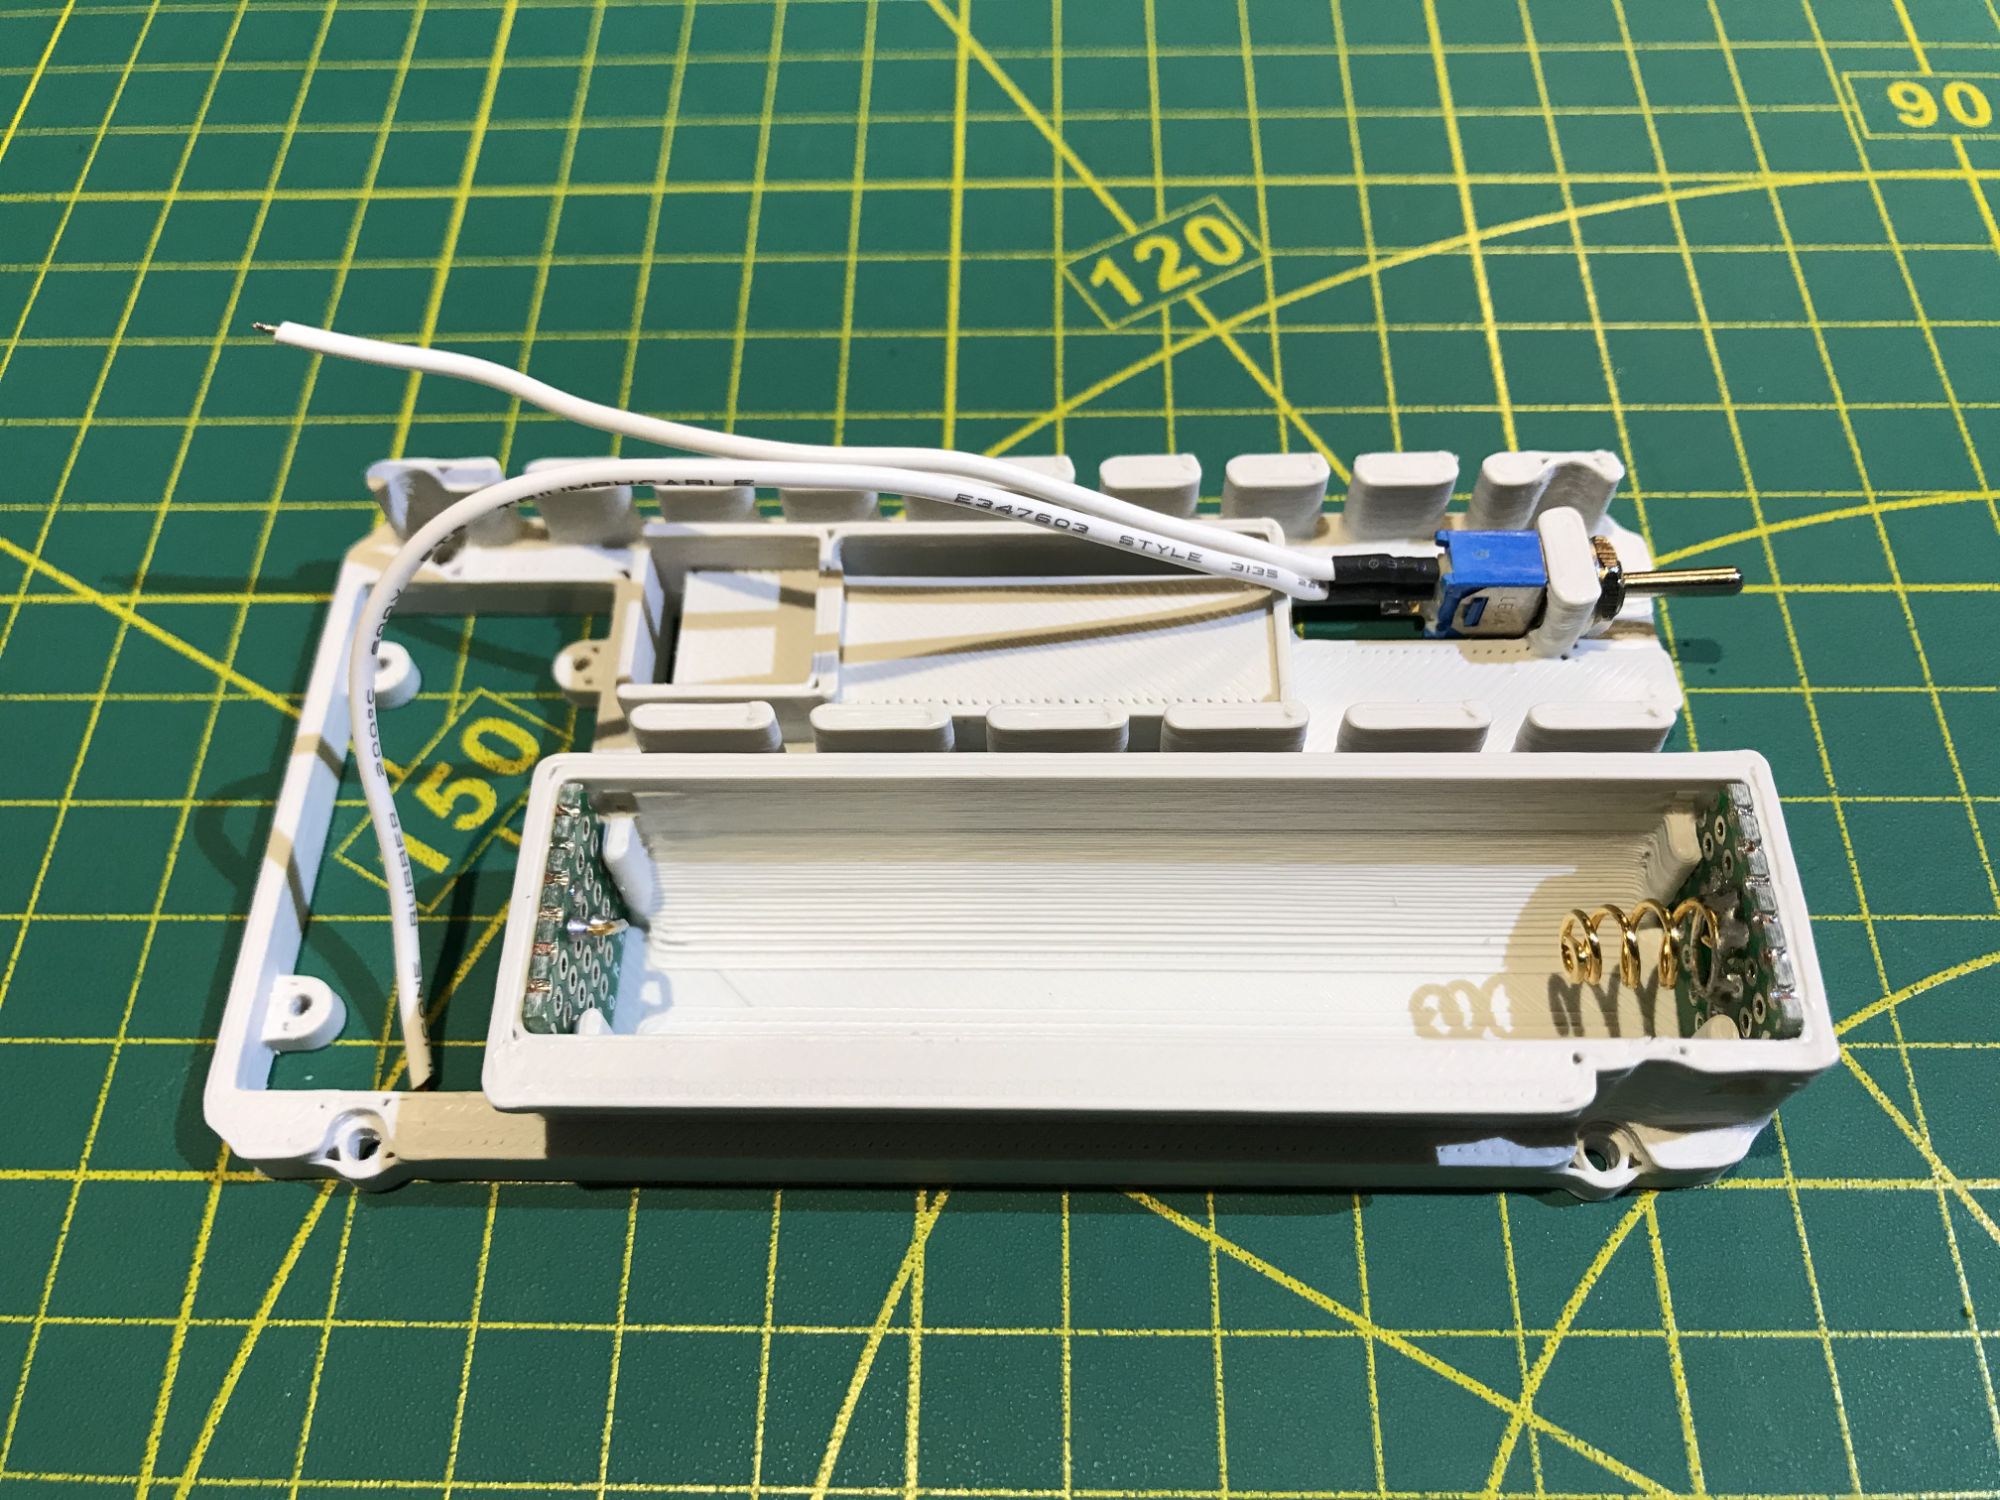
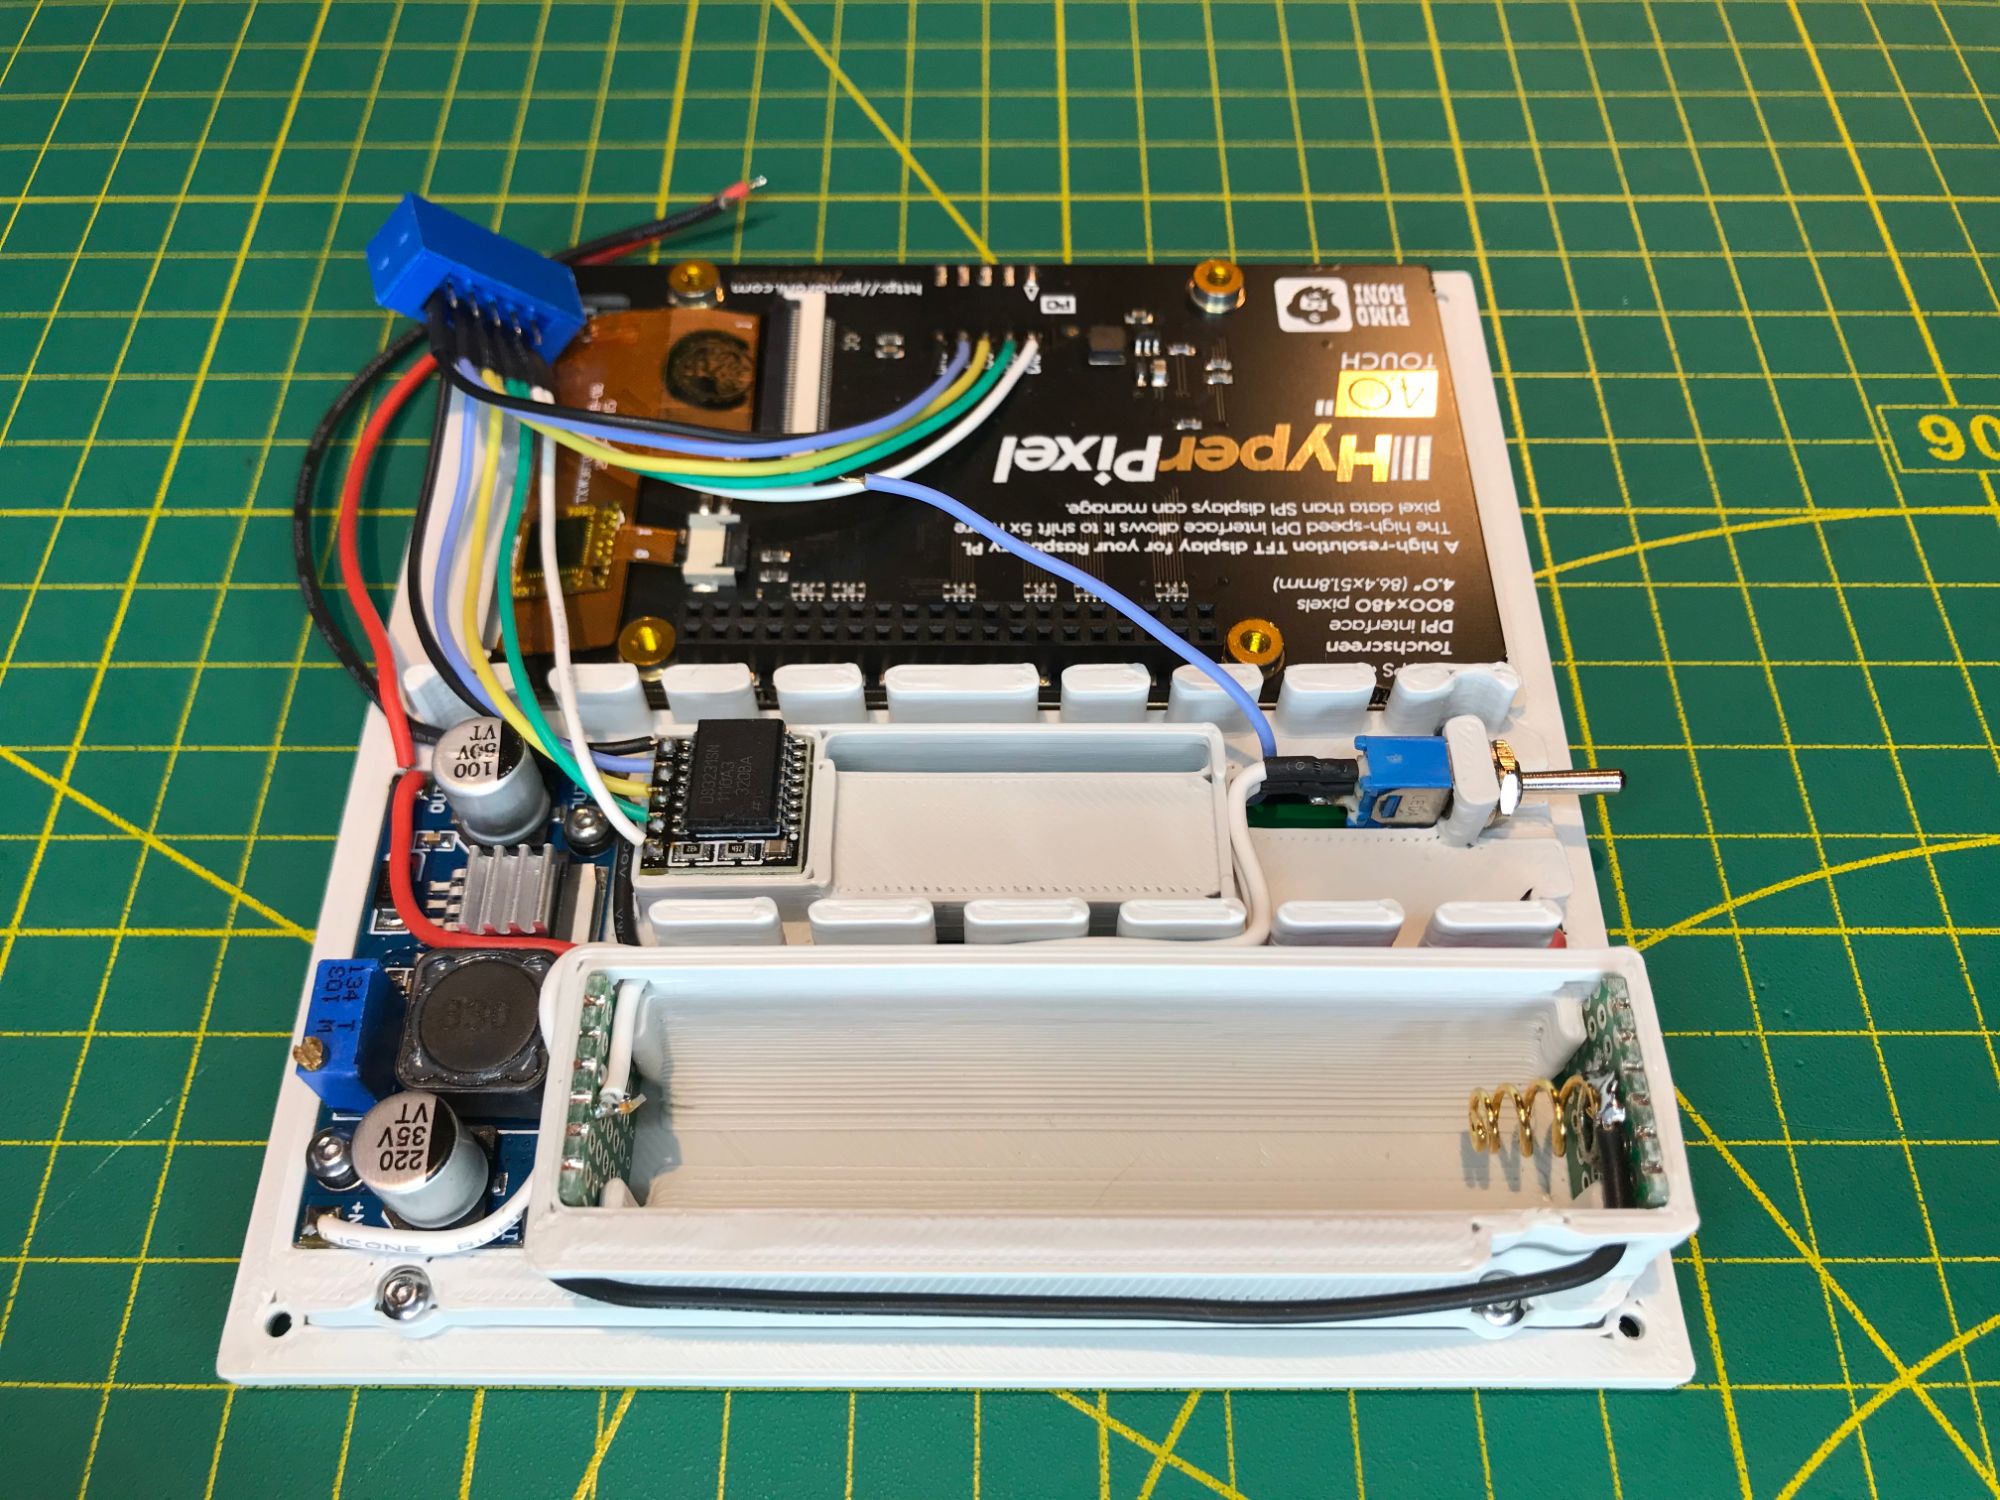
A single, removable, high capacity Fenix ARB-L18-3500U 3500mAh Li-ion USB Rechargeable Battery powers the device. Removable battery ensures that an empty battery can be quickly replaced with a charged one. Fenix rechargeable battery provides direct charging via a Micro USB connector and a built-in battery charger.
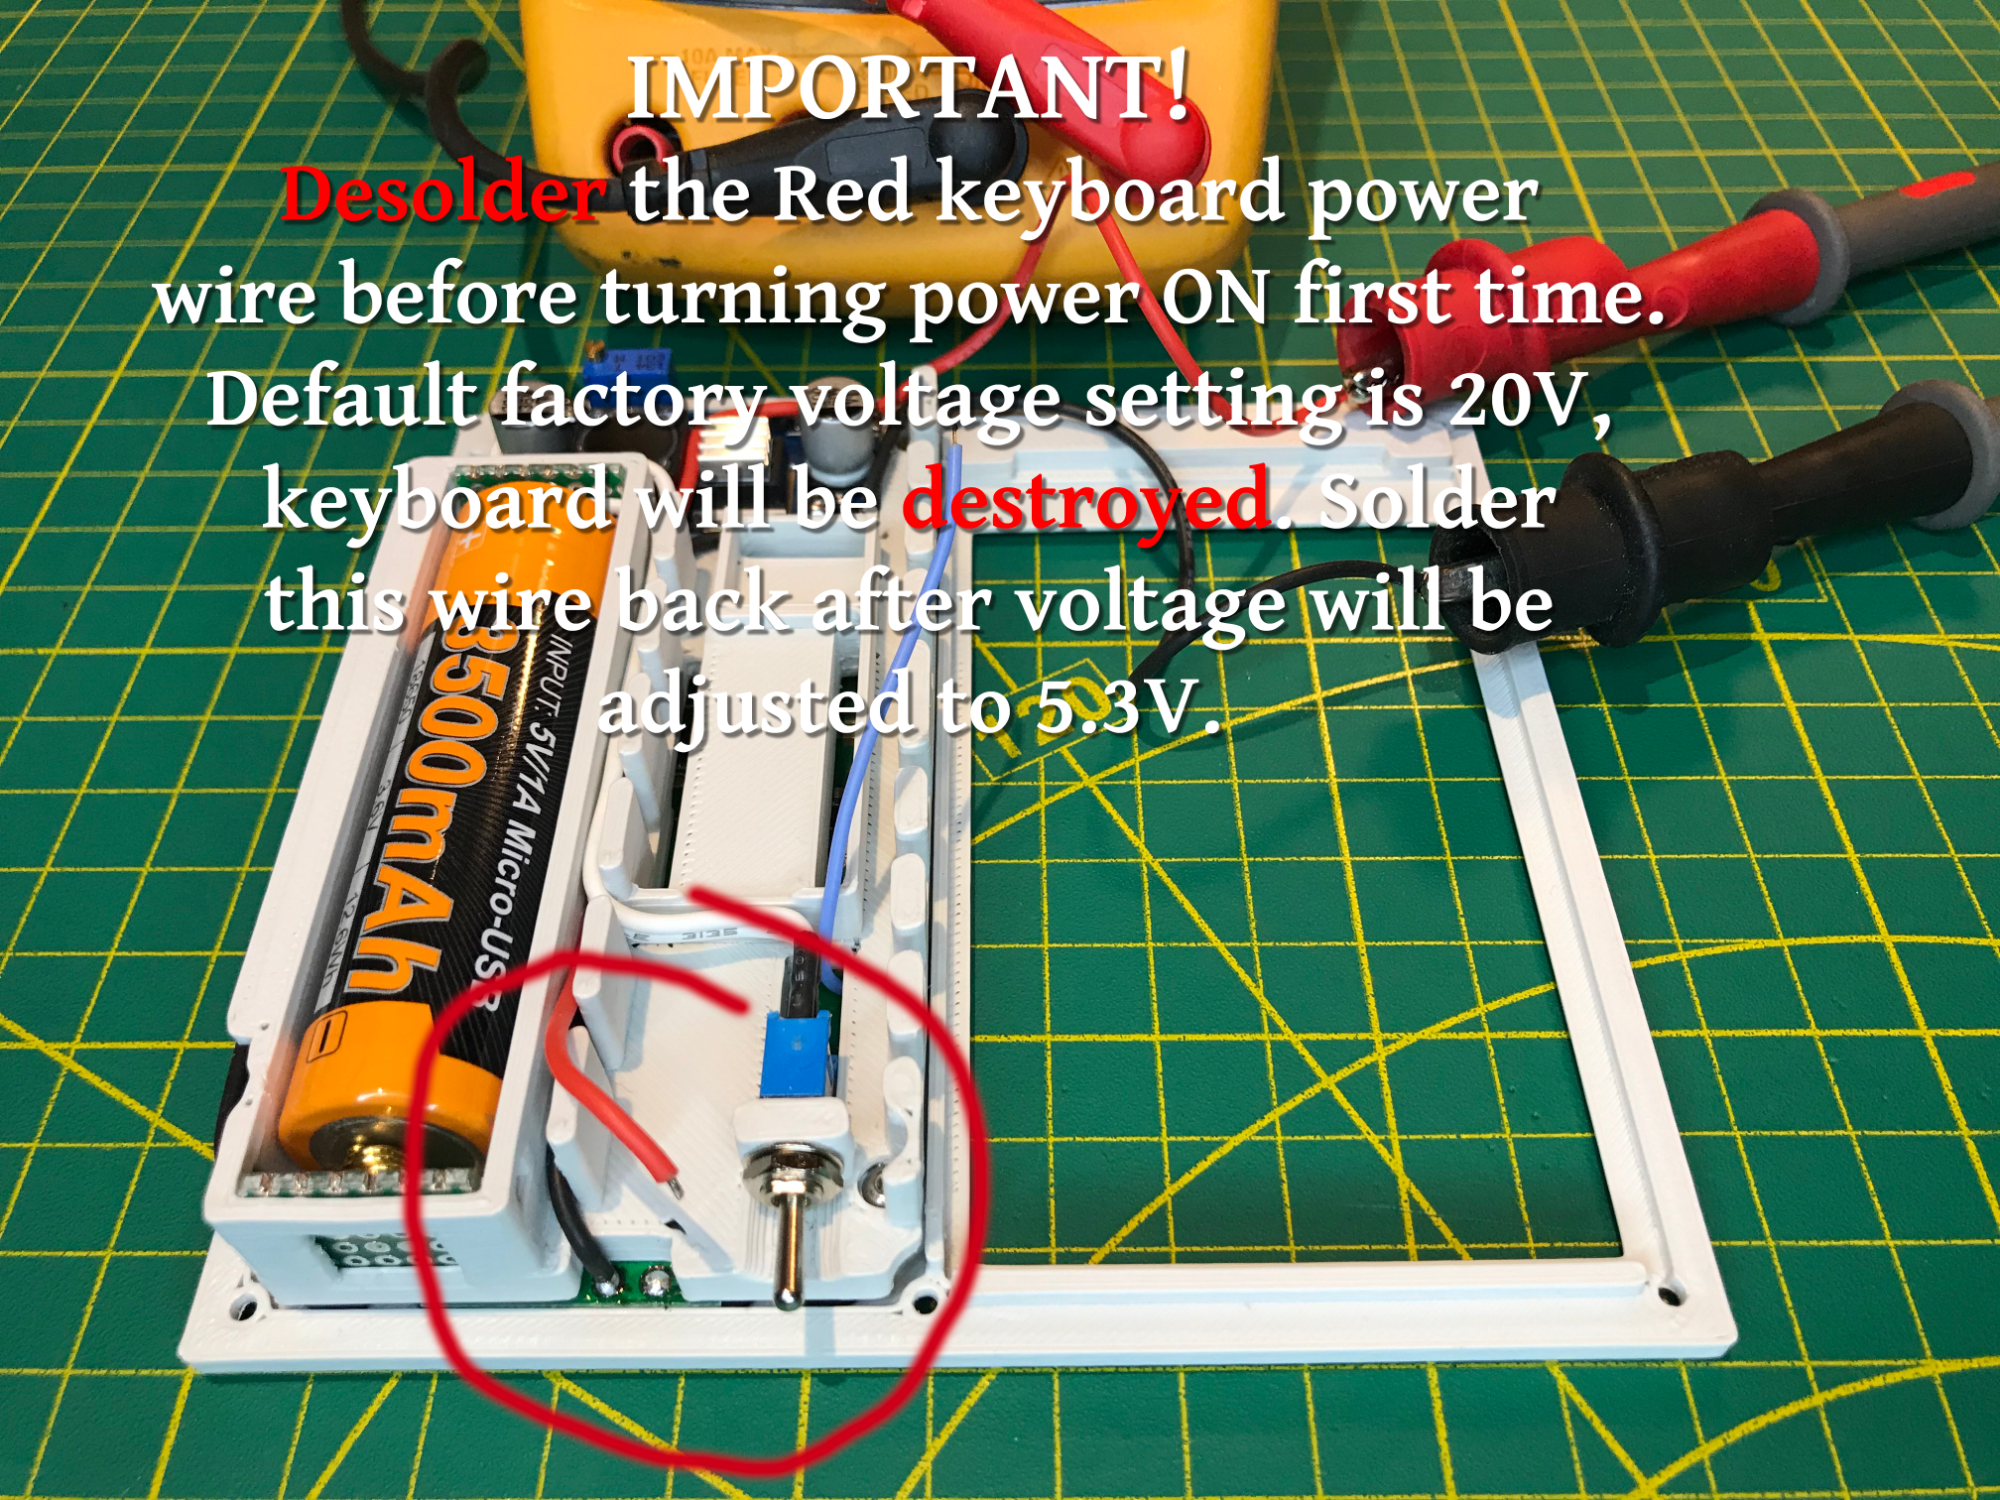
High output Step-Up power supply has been used to effectively support power hungry USB accessories.
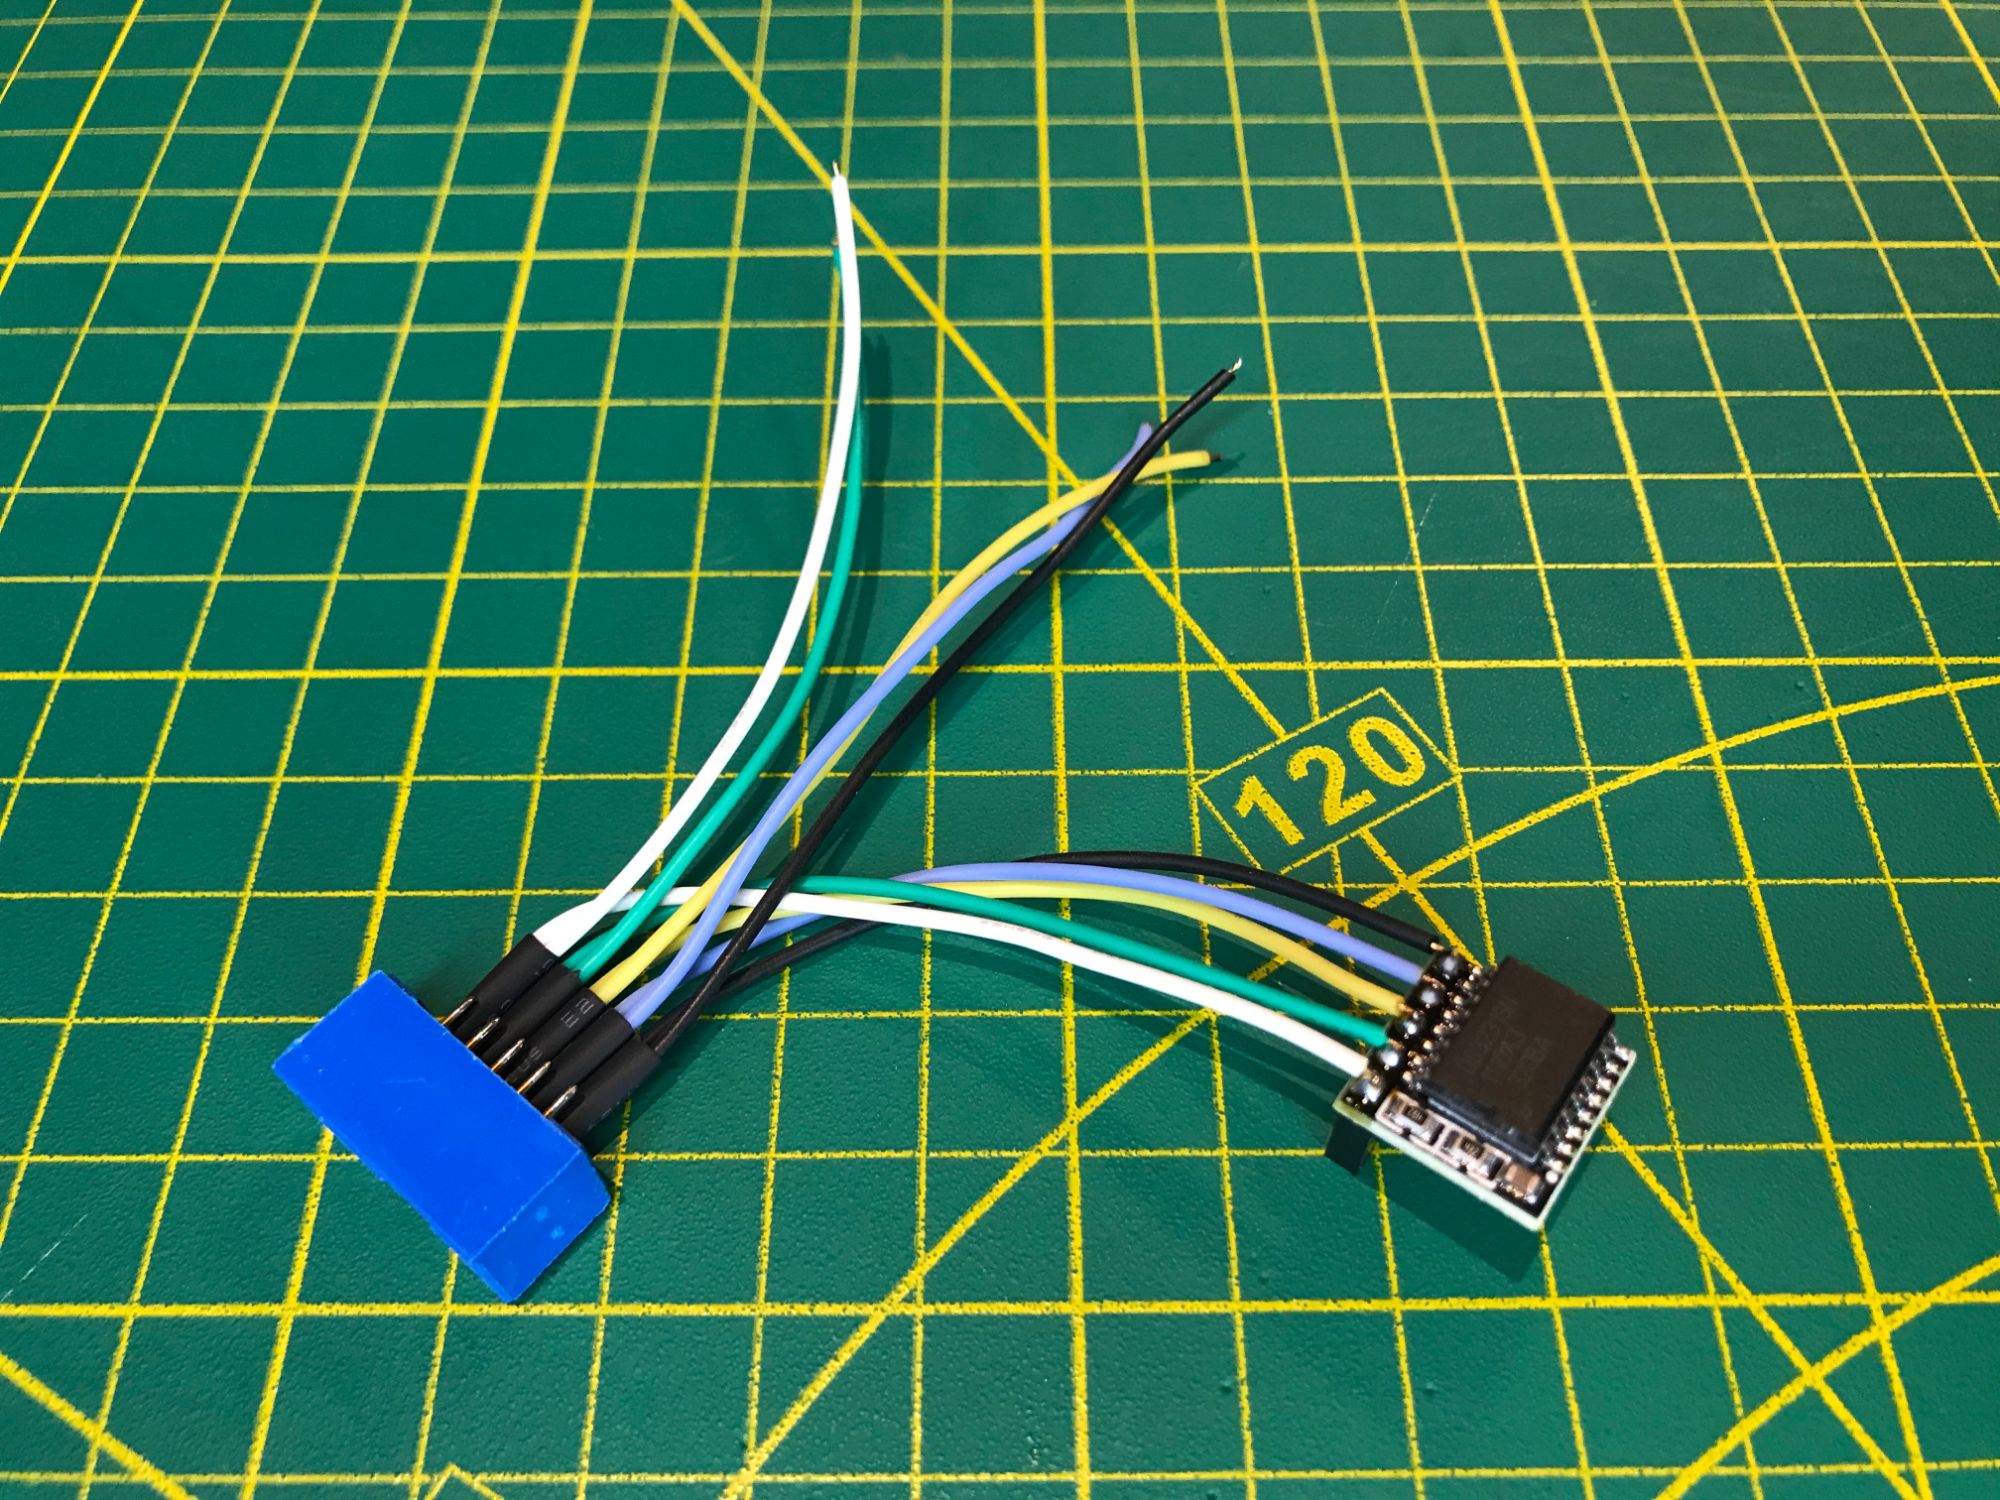
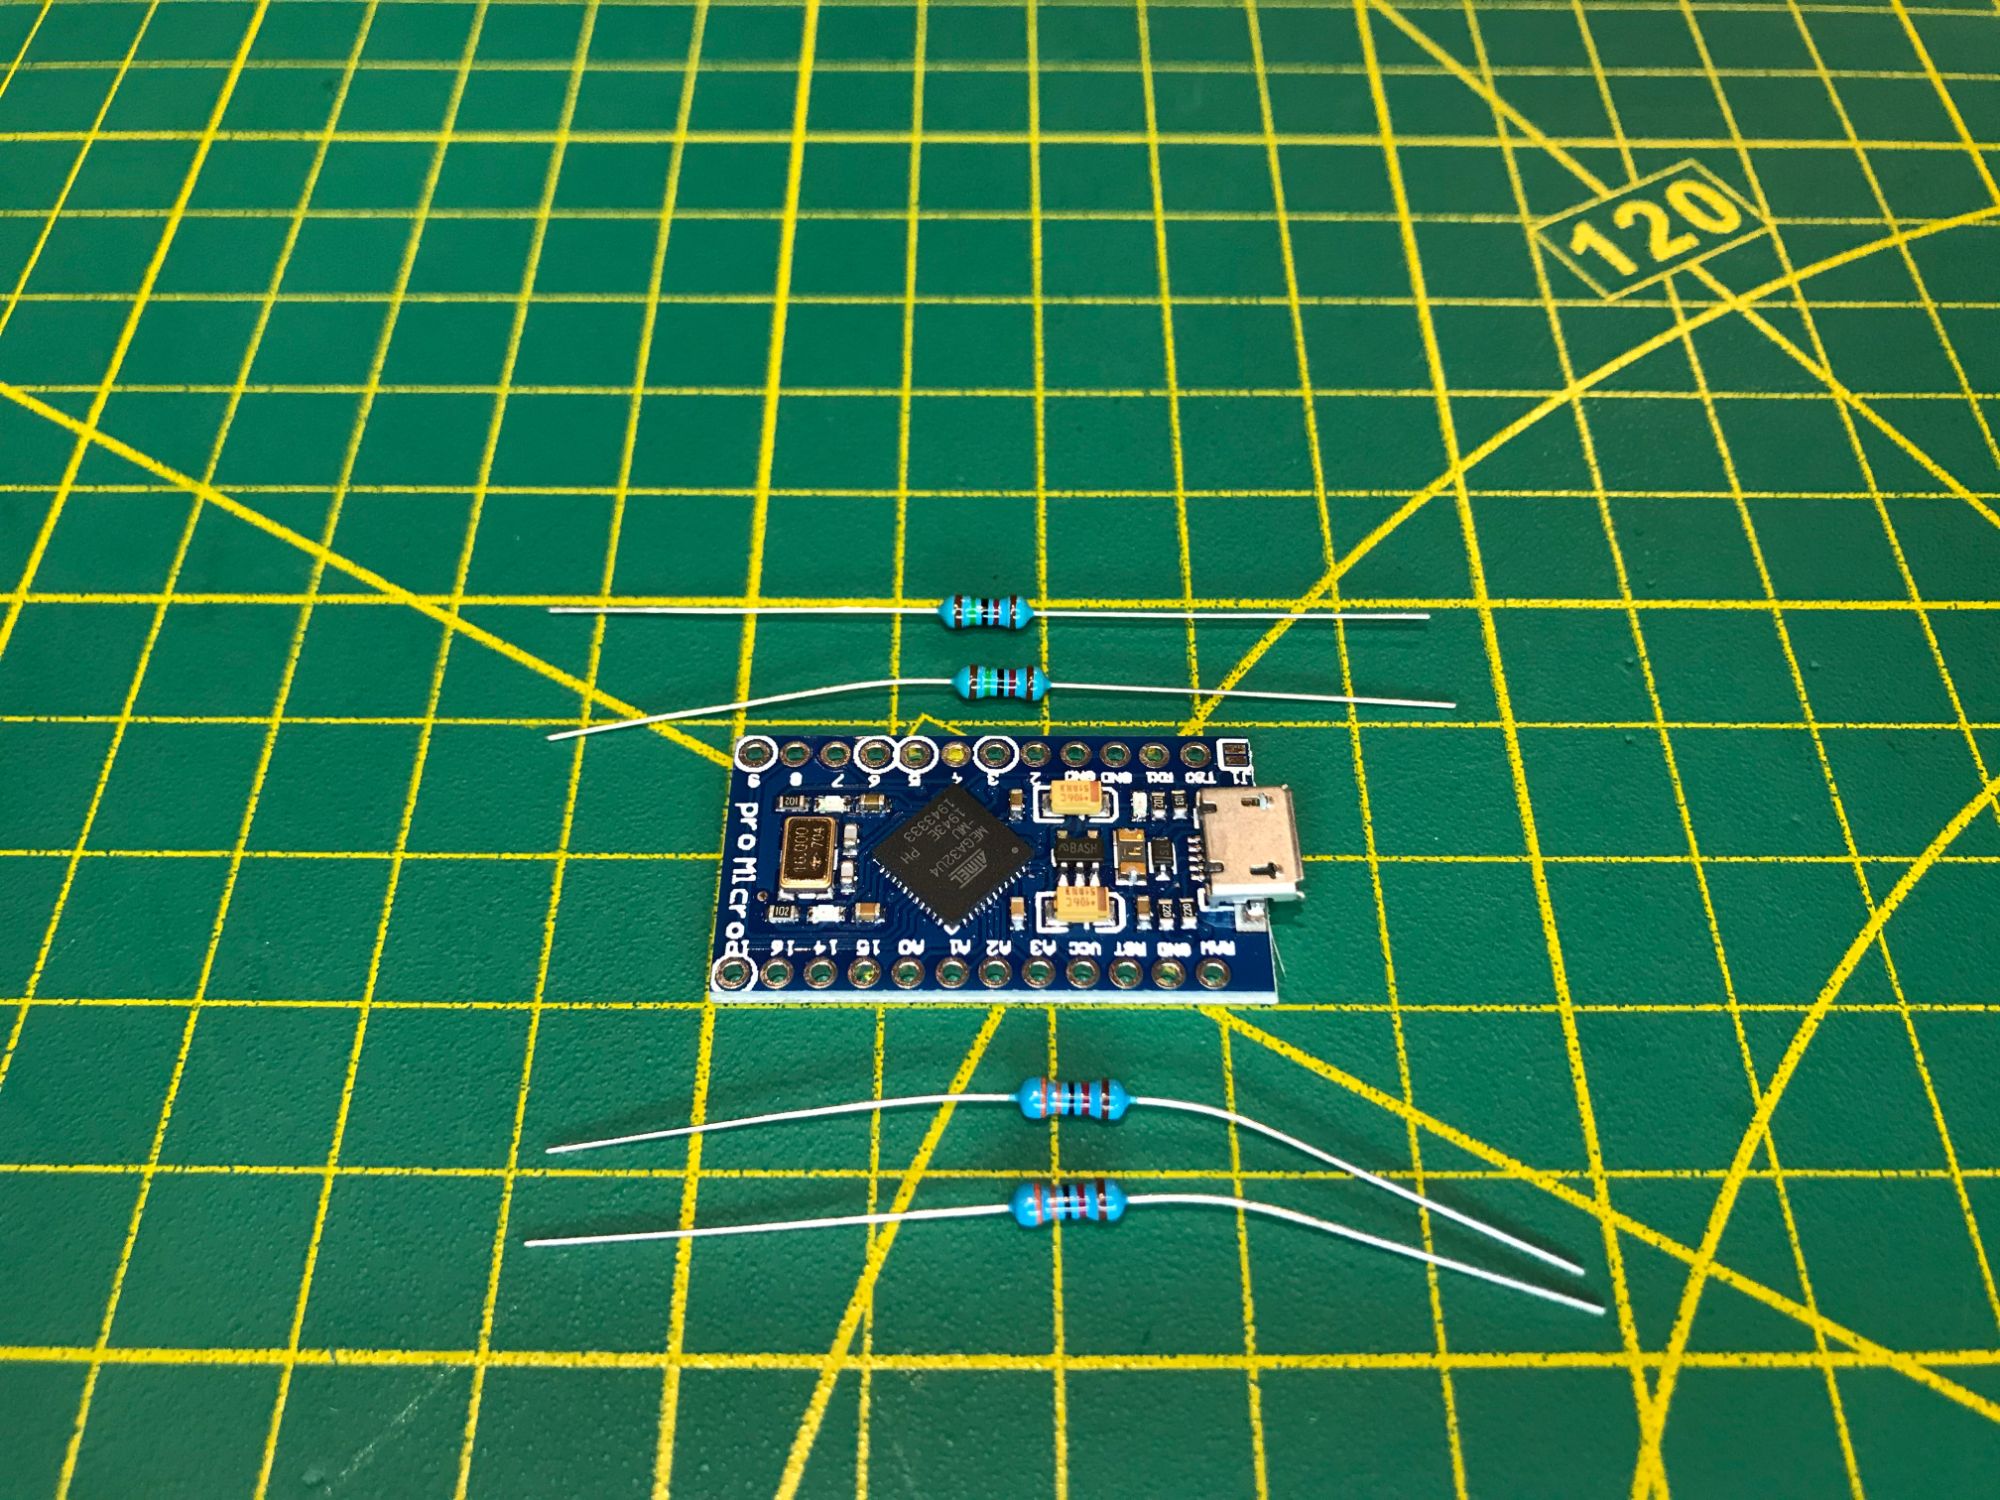
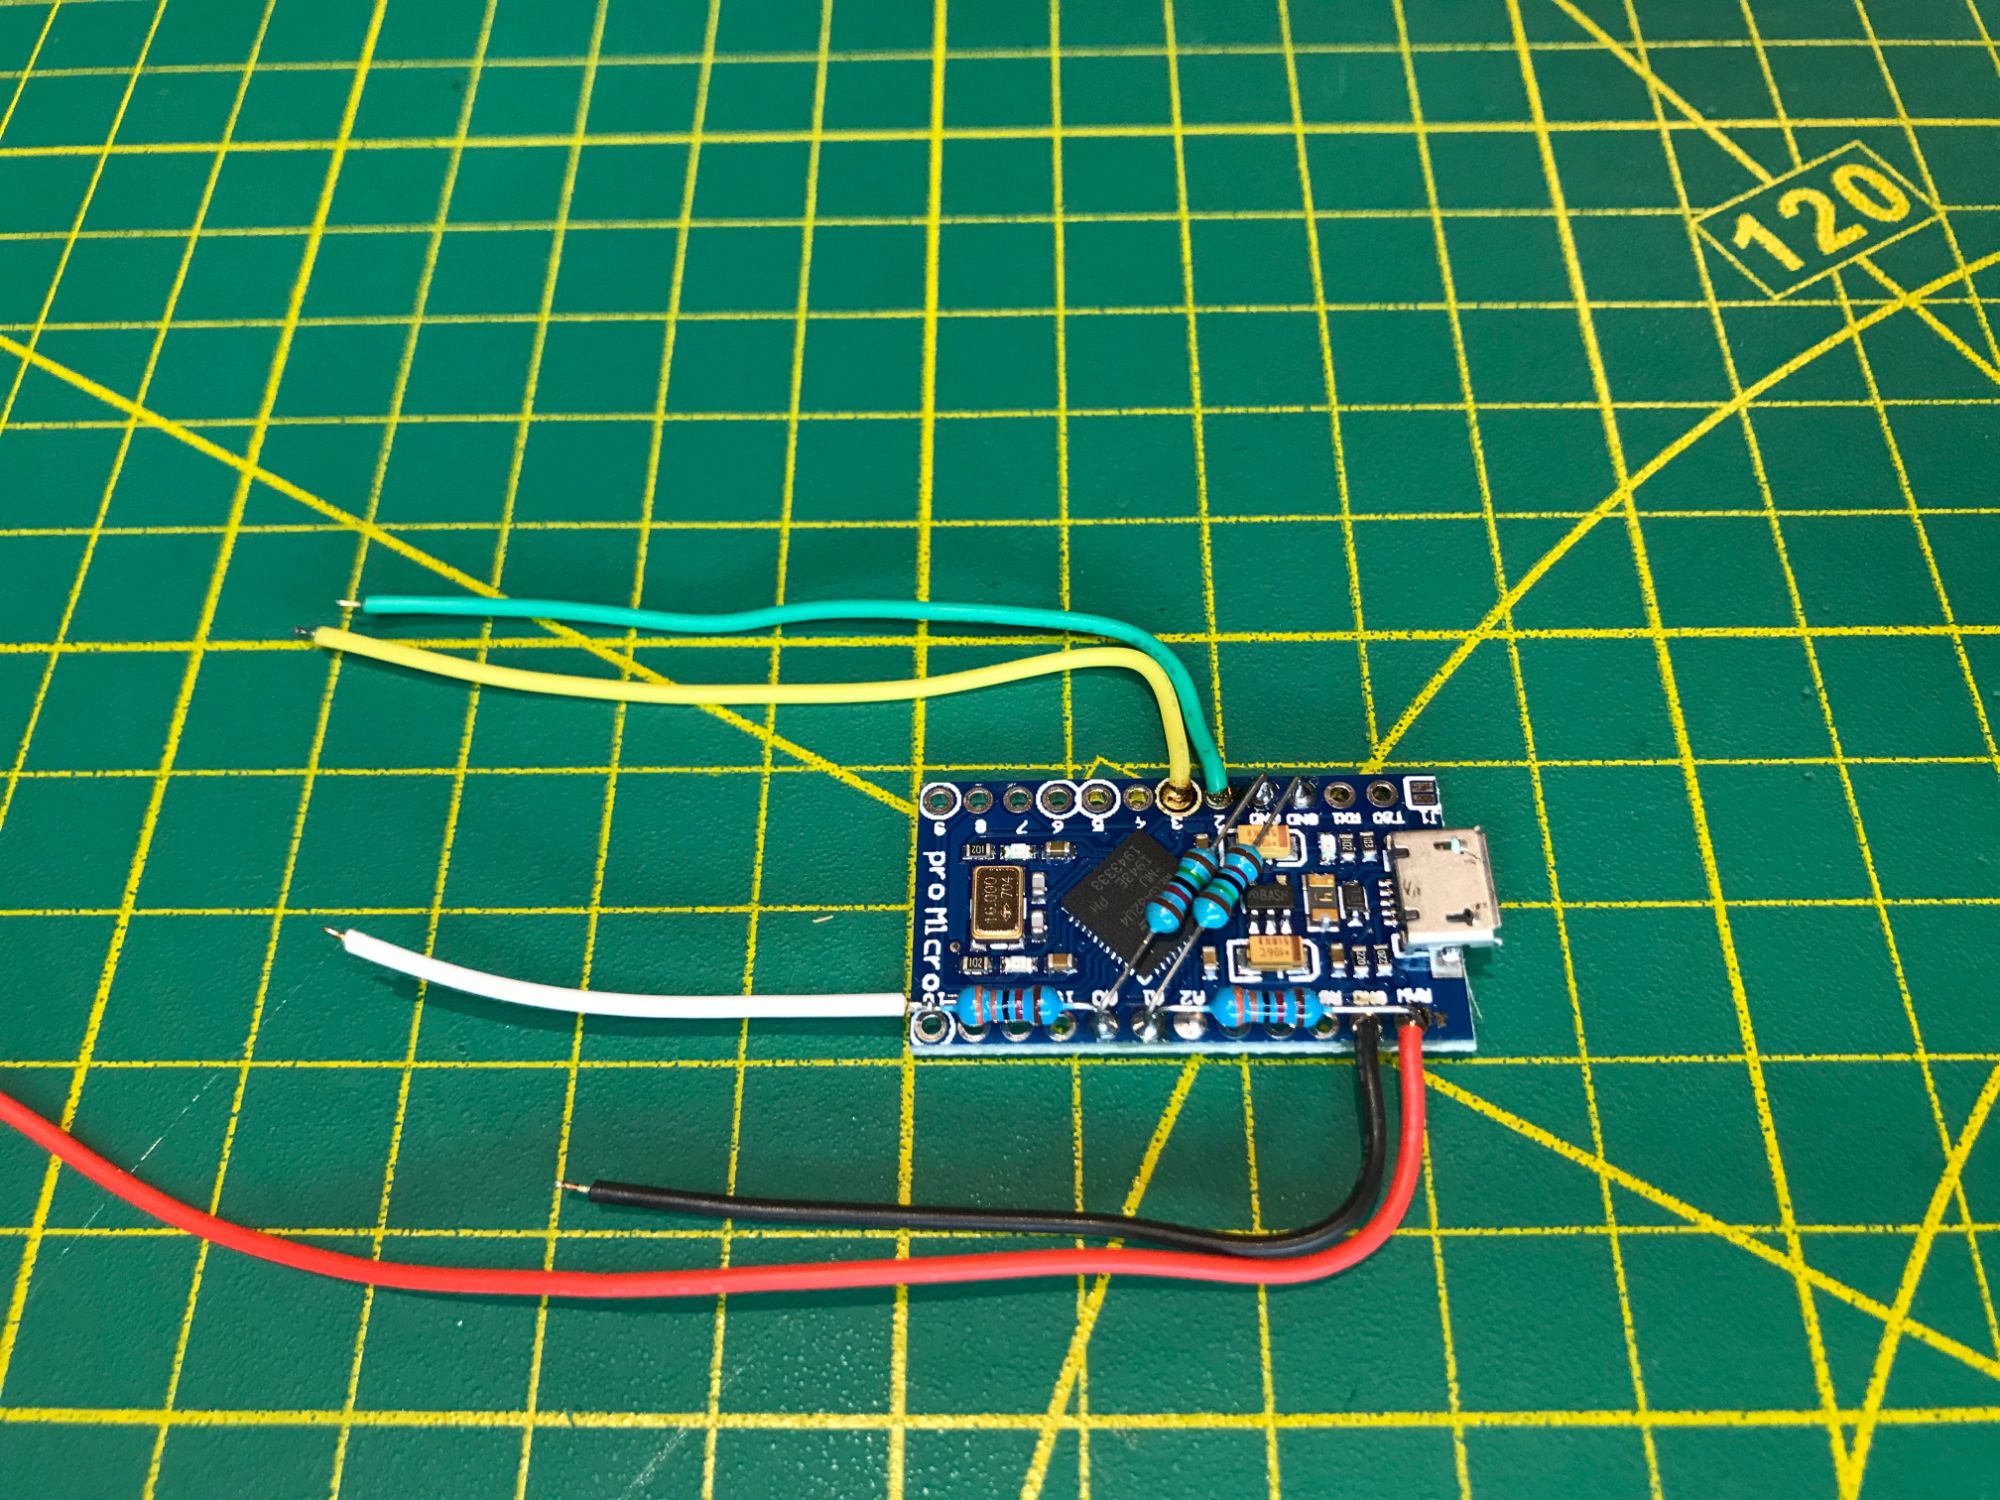
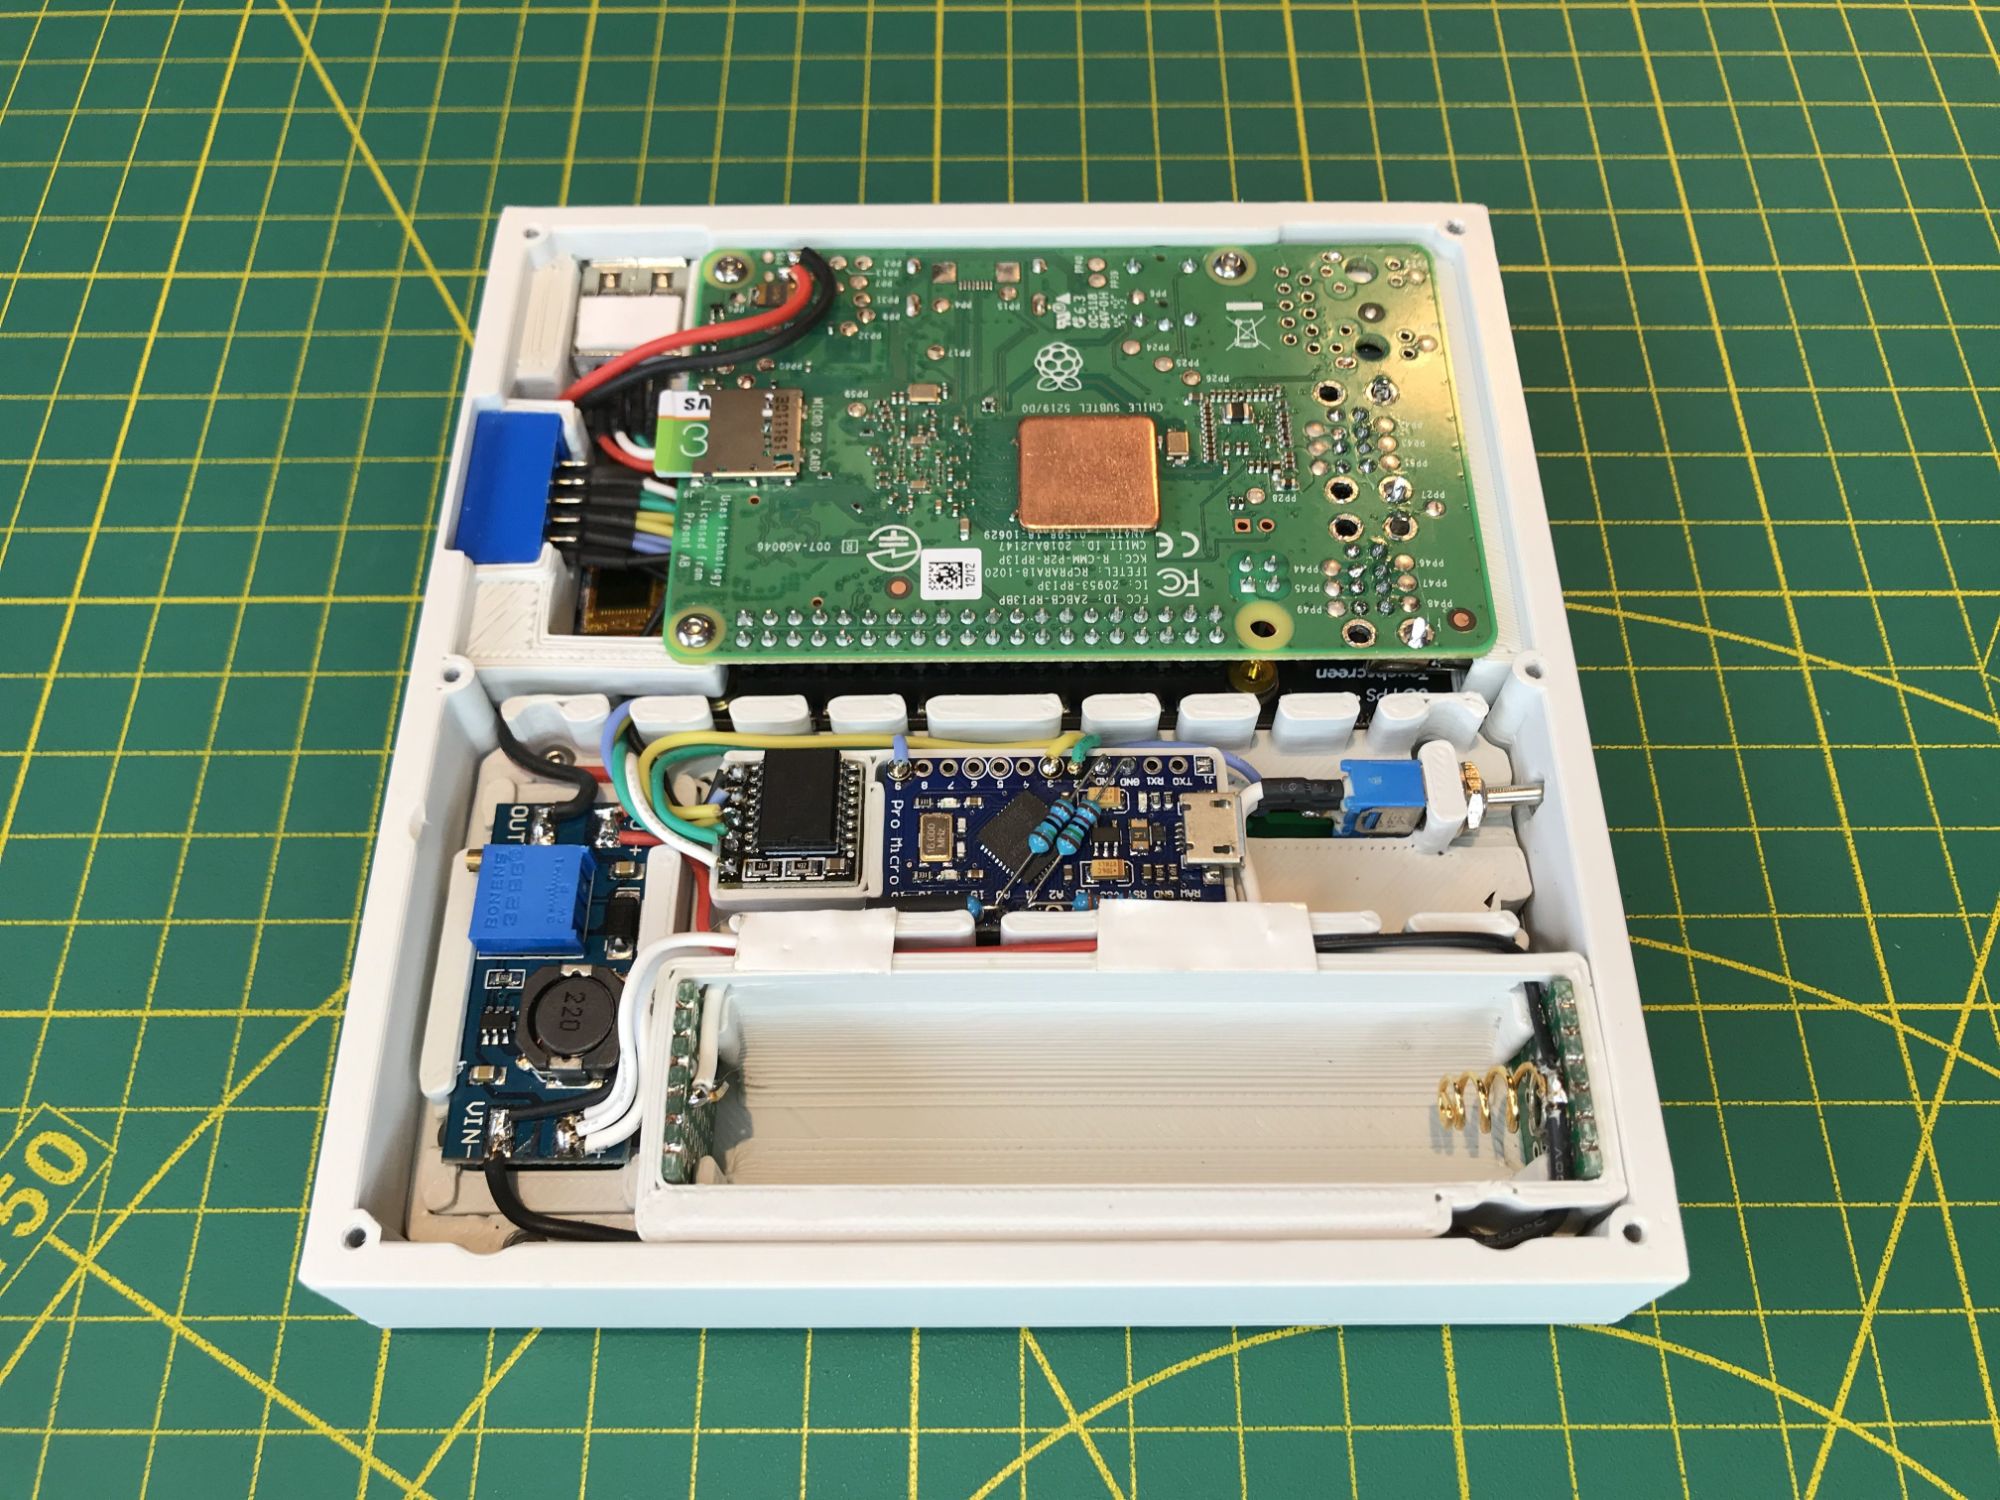
Arduino proMicro module controls the battery voltage. The module reads battery and power supply voltage, making the results available over I2C bus to the Raspberry Pi and to various custom build applications. The module also controls power LED as a way to indicate battery charge status.
With Arduino IDE installed, it is possible to program proMicro directly on the device, to customize battery charge LED indicator, and to add other creative functionality.
The DS3231 High Precision RTC Clock Module is used to store current time and date for the Raspberry Pi.
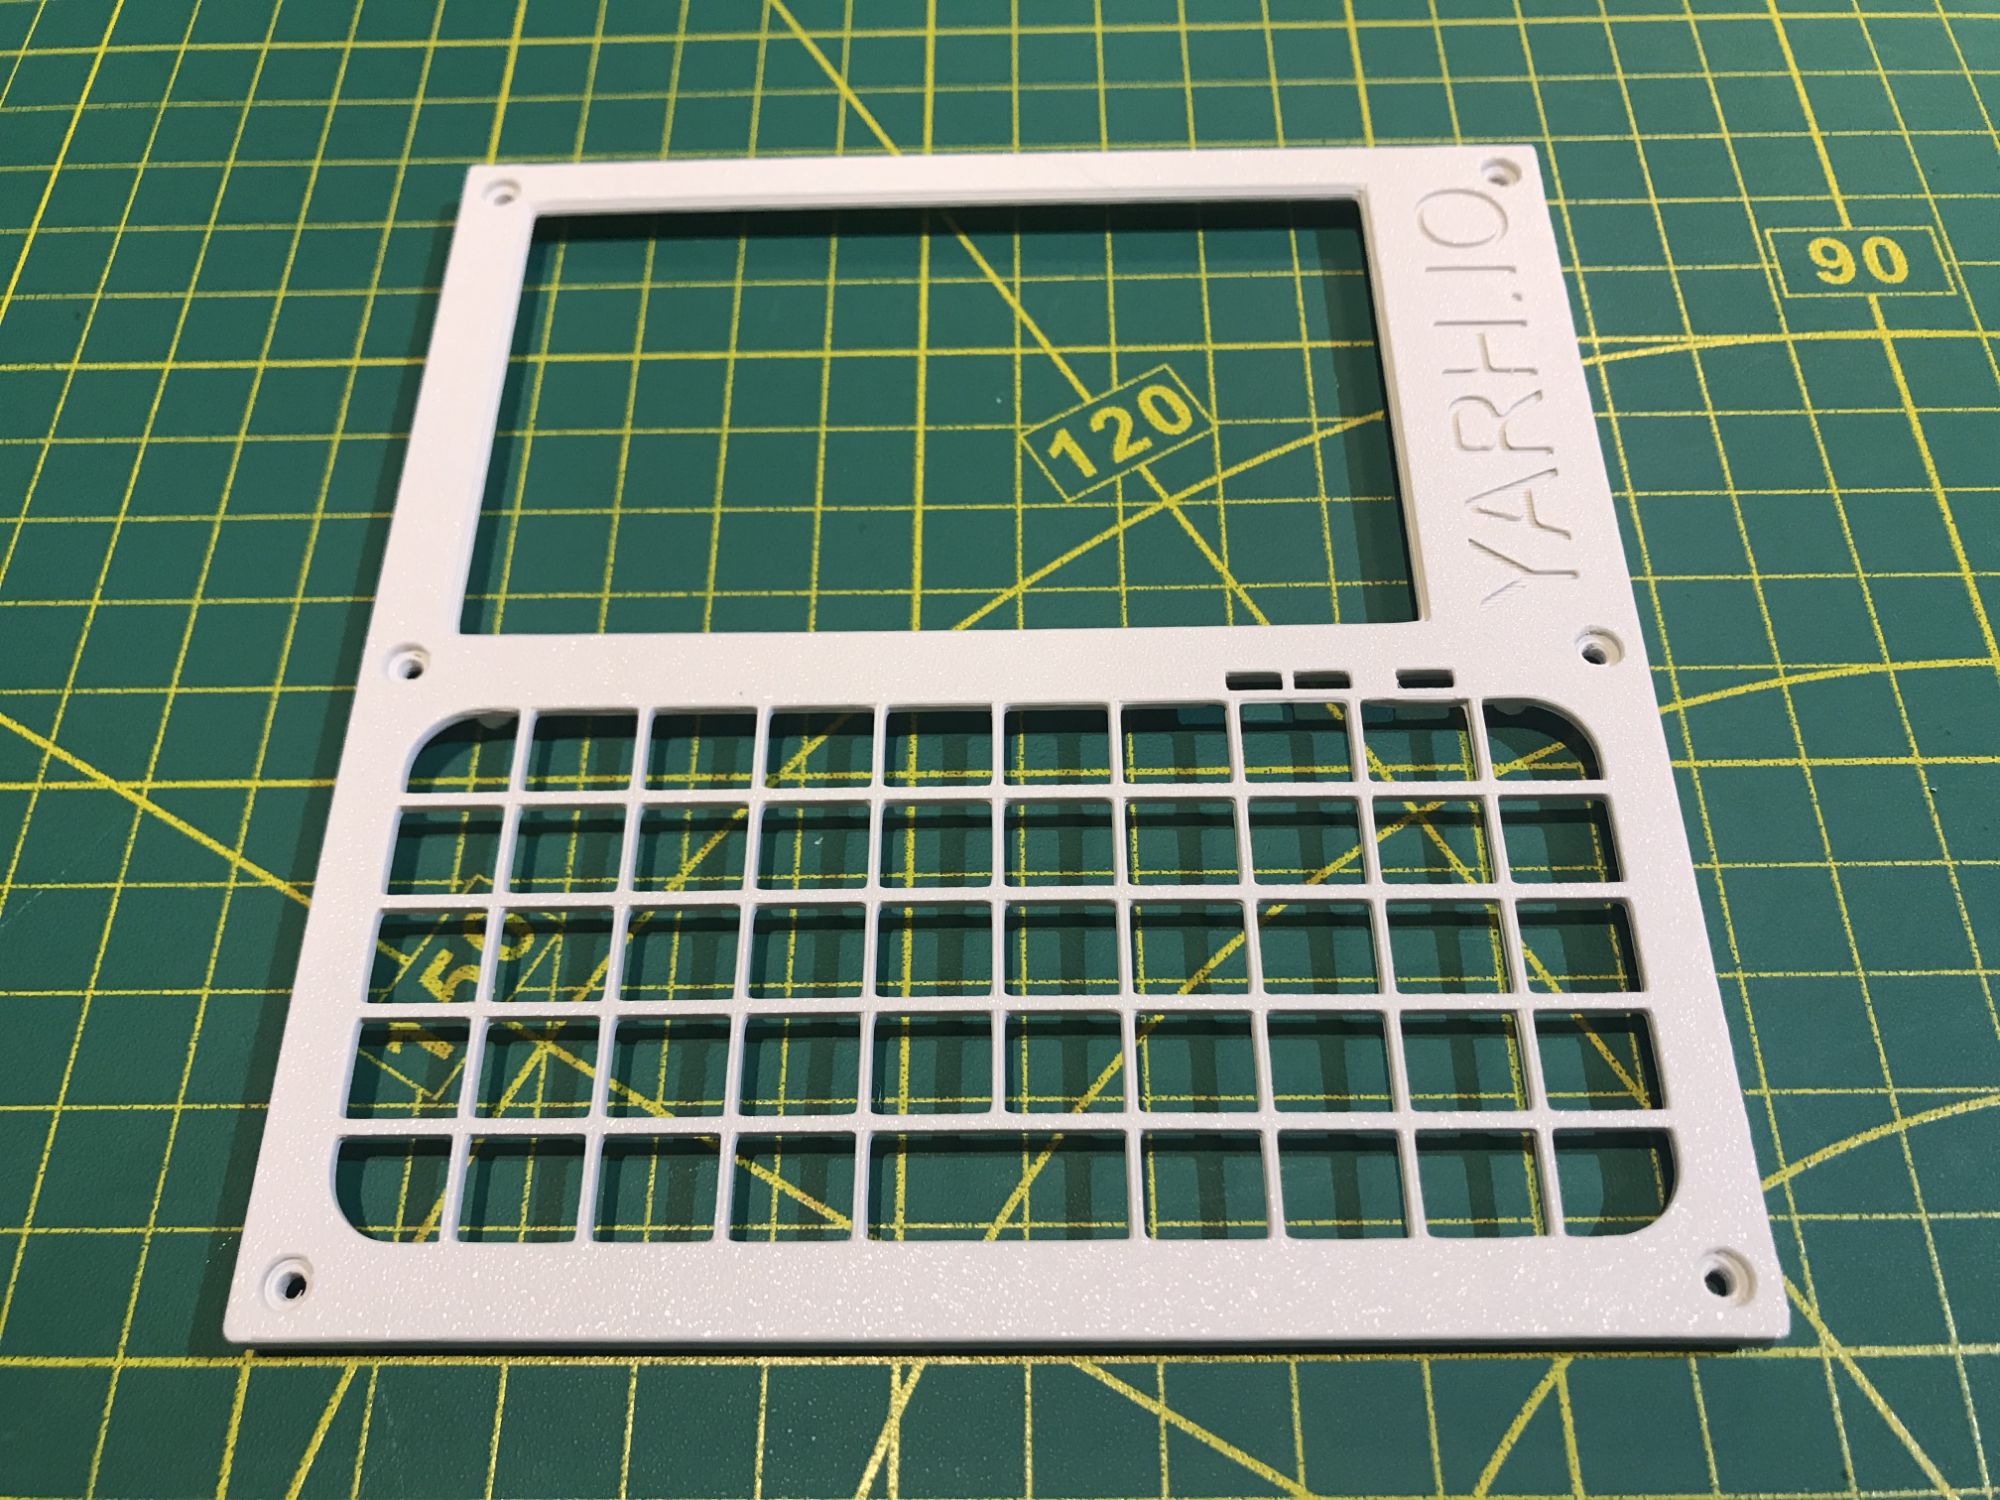
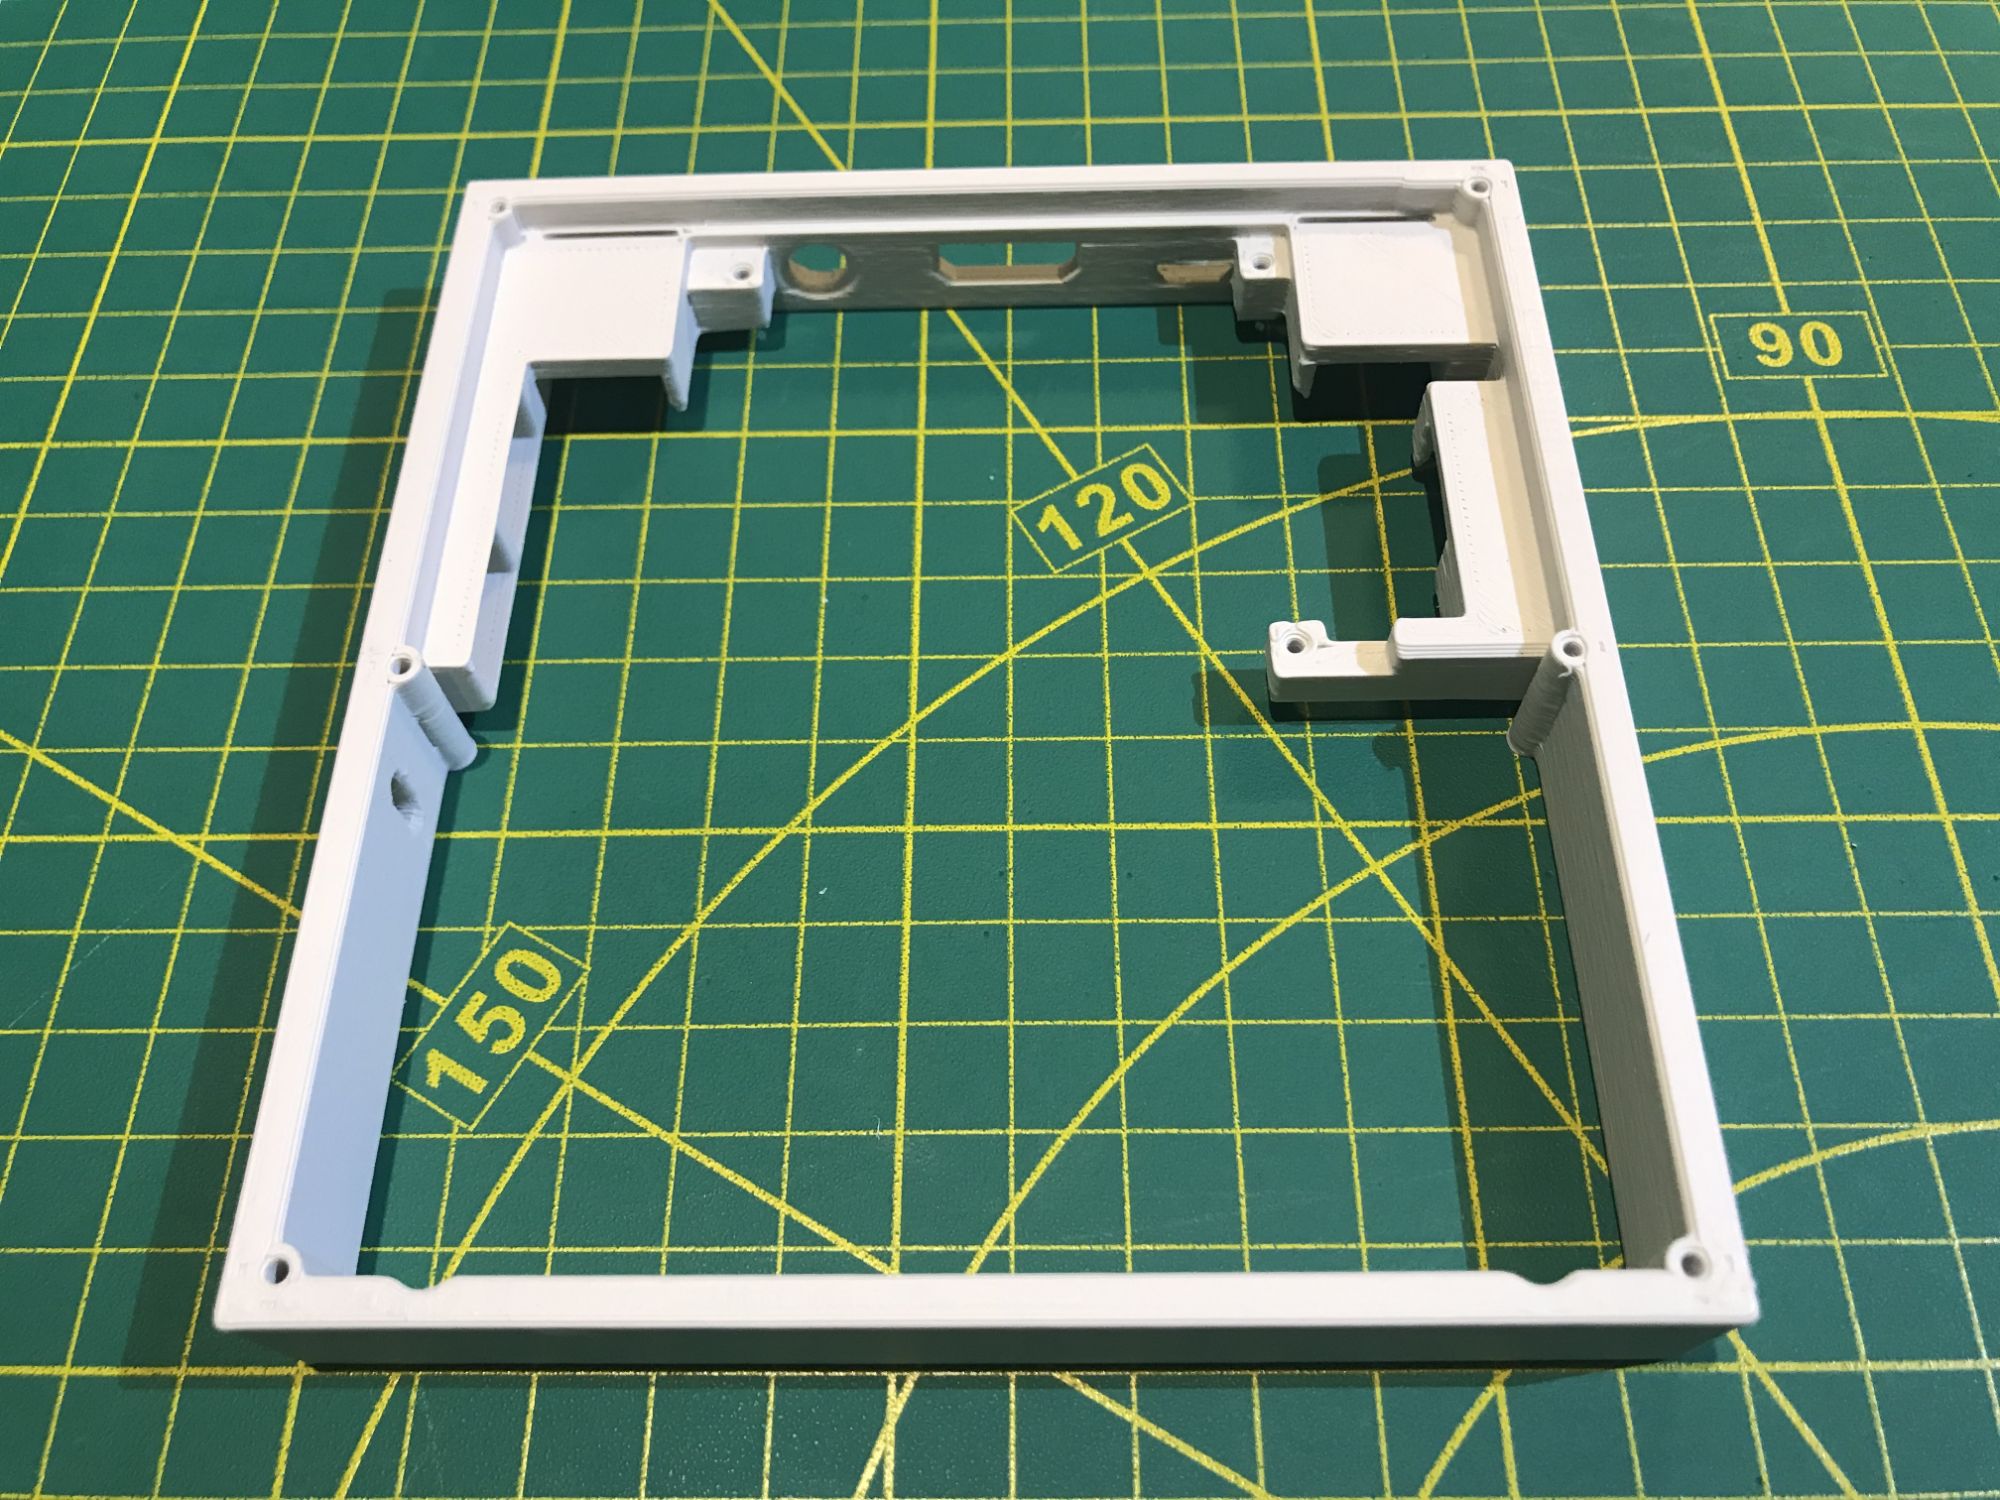
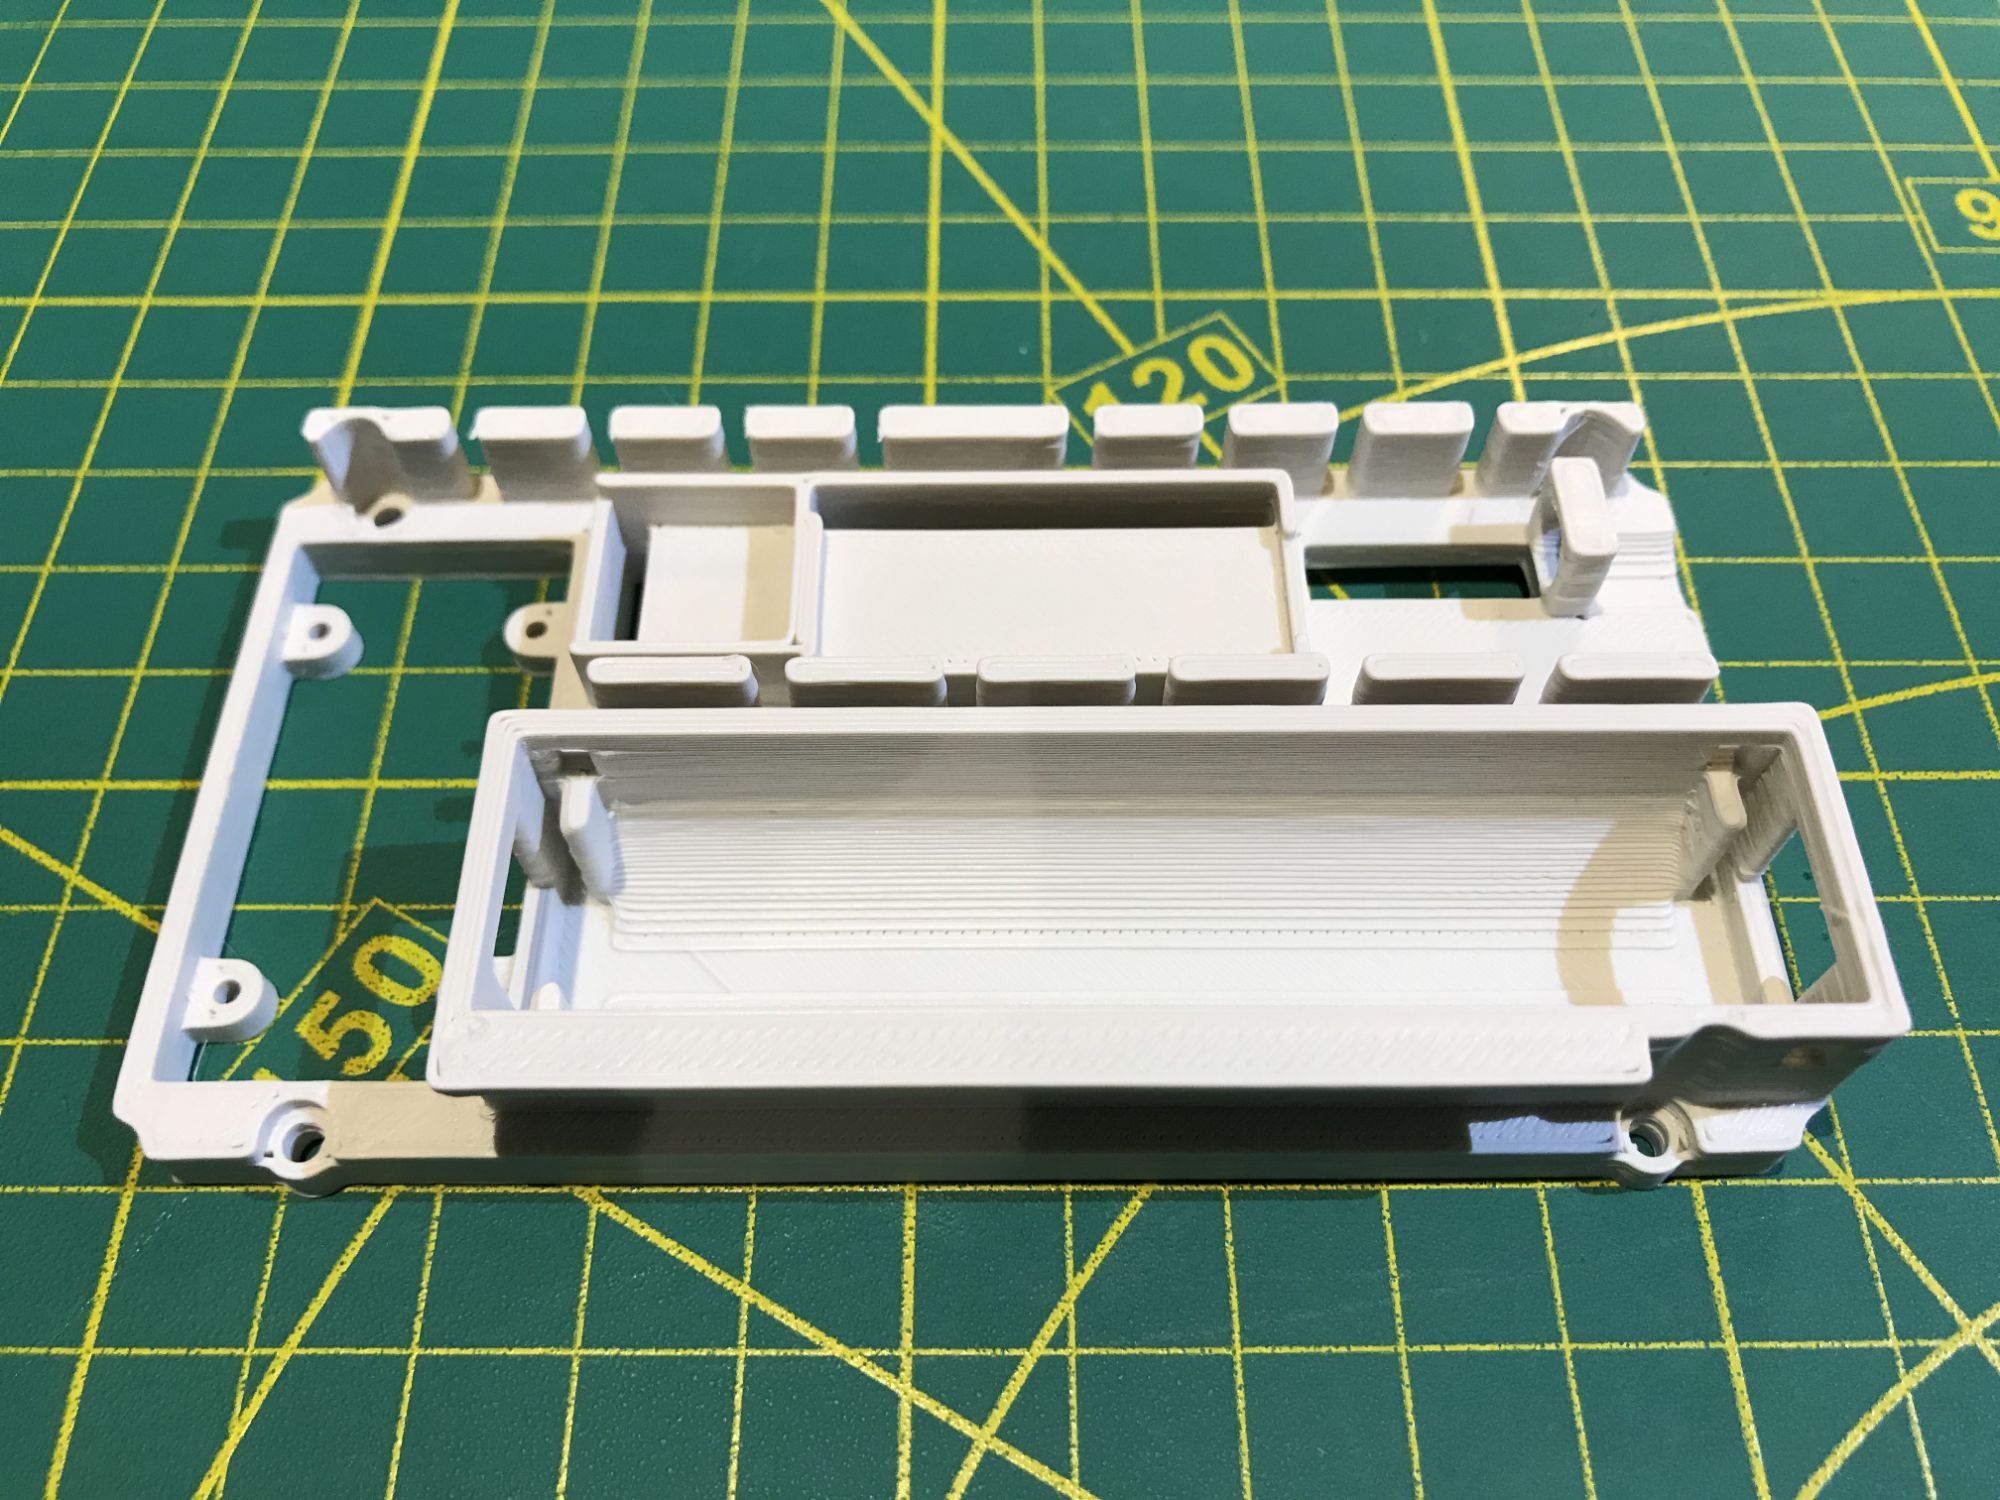
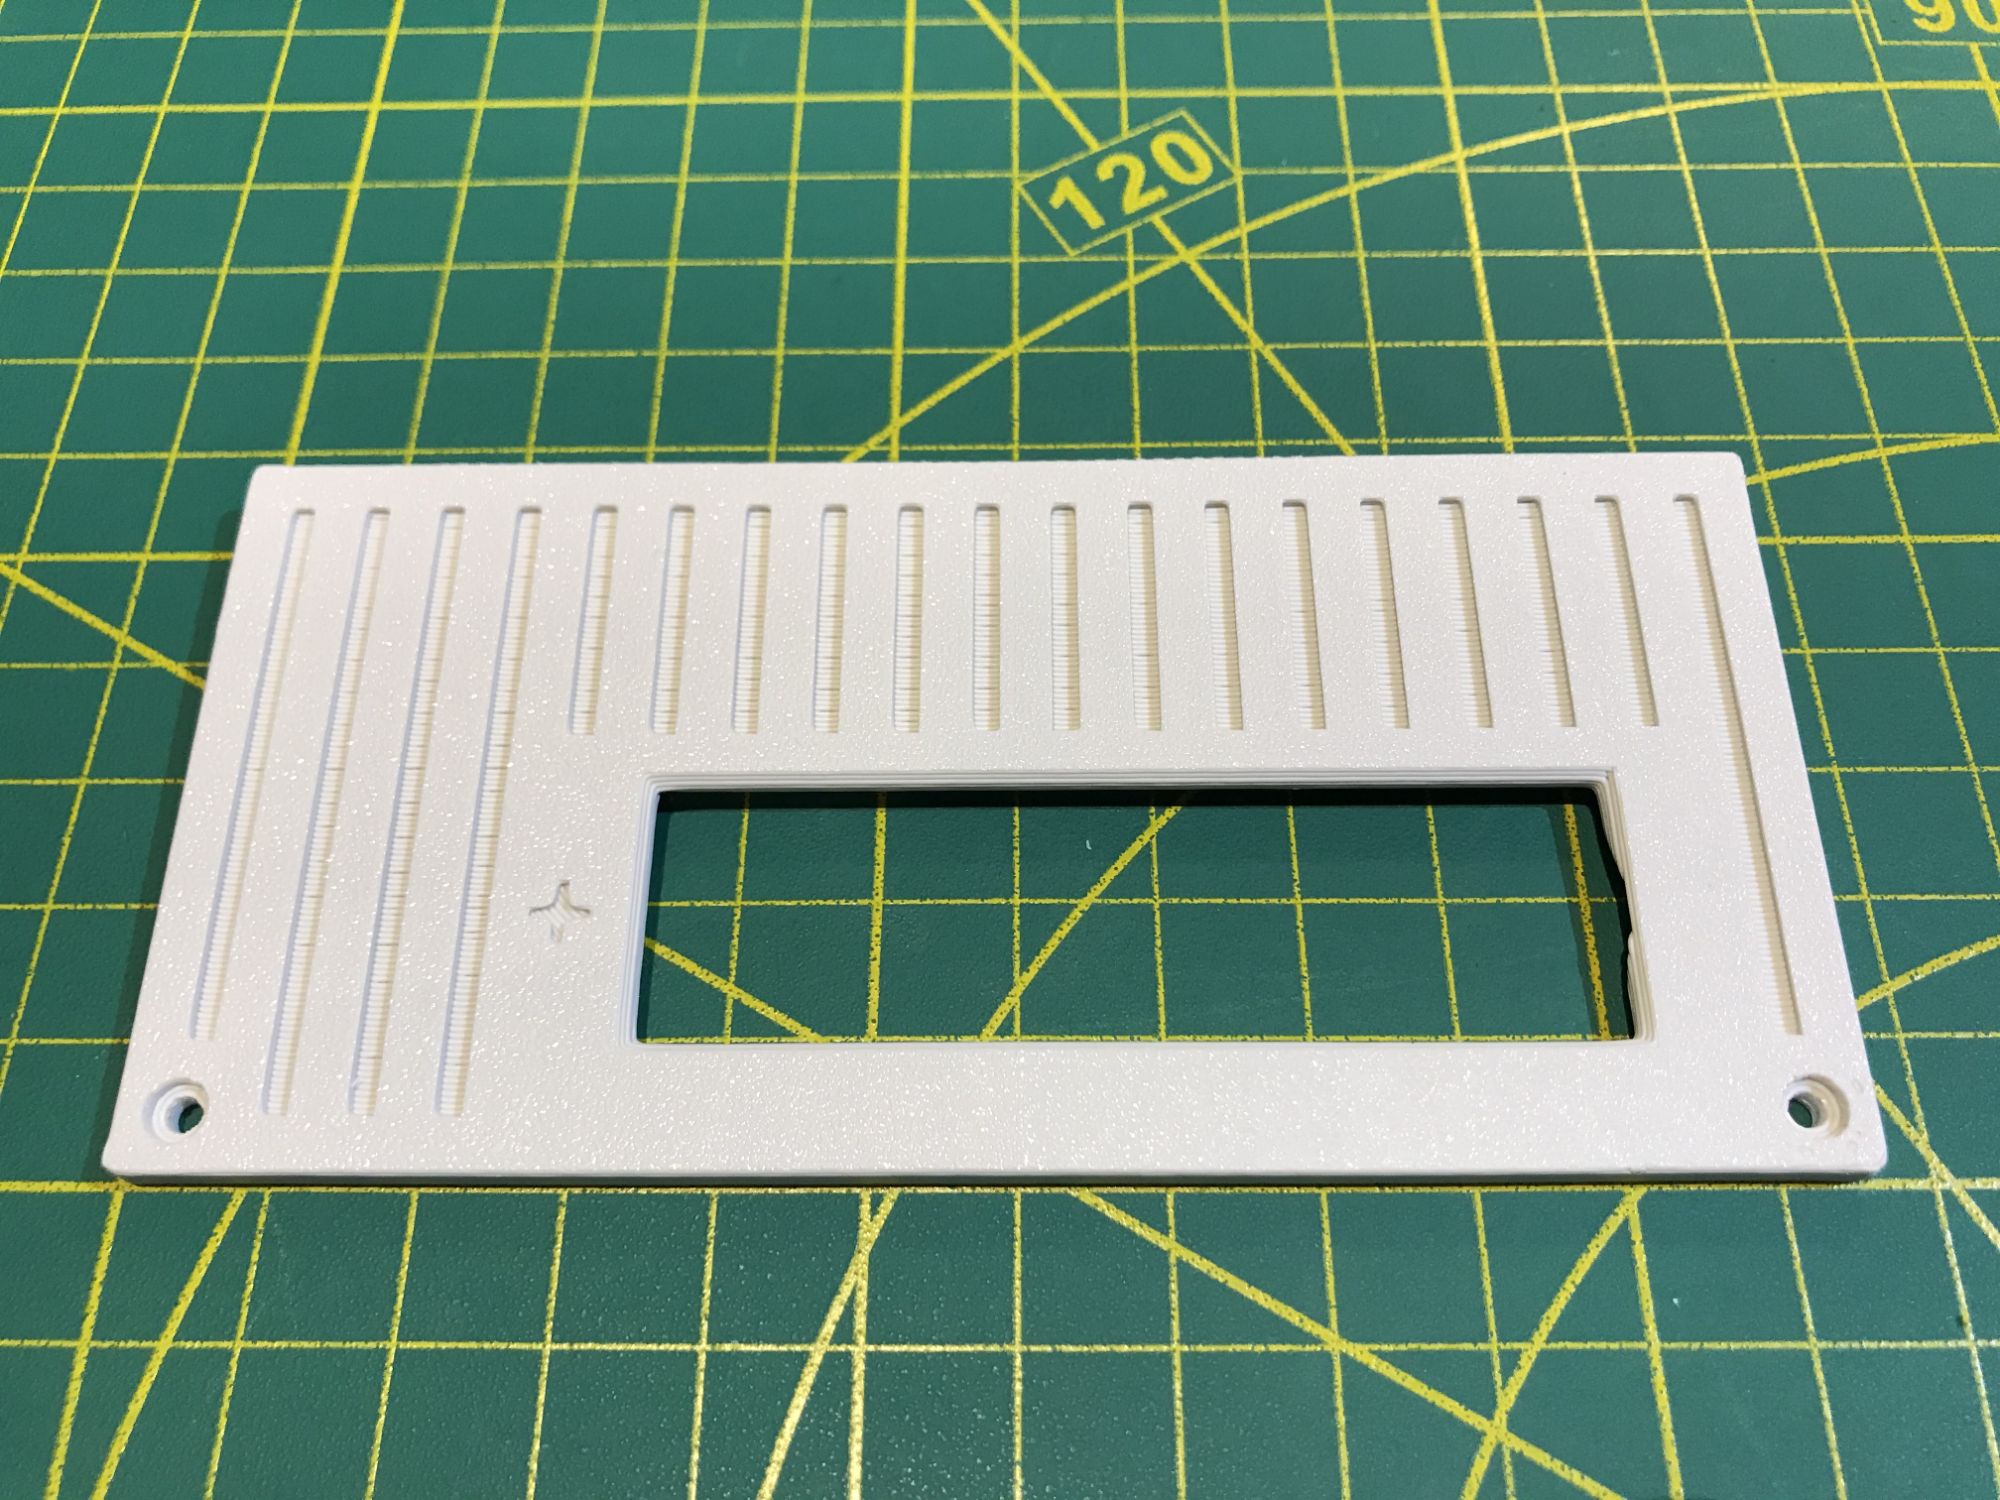
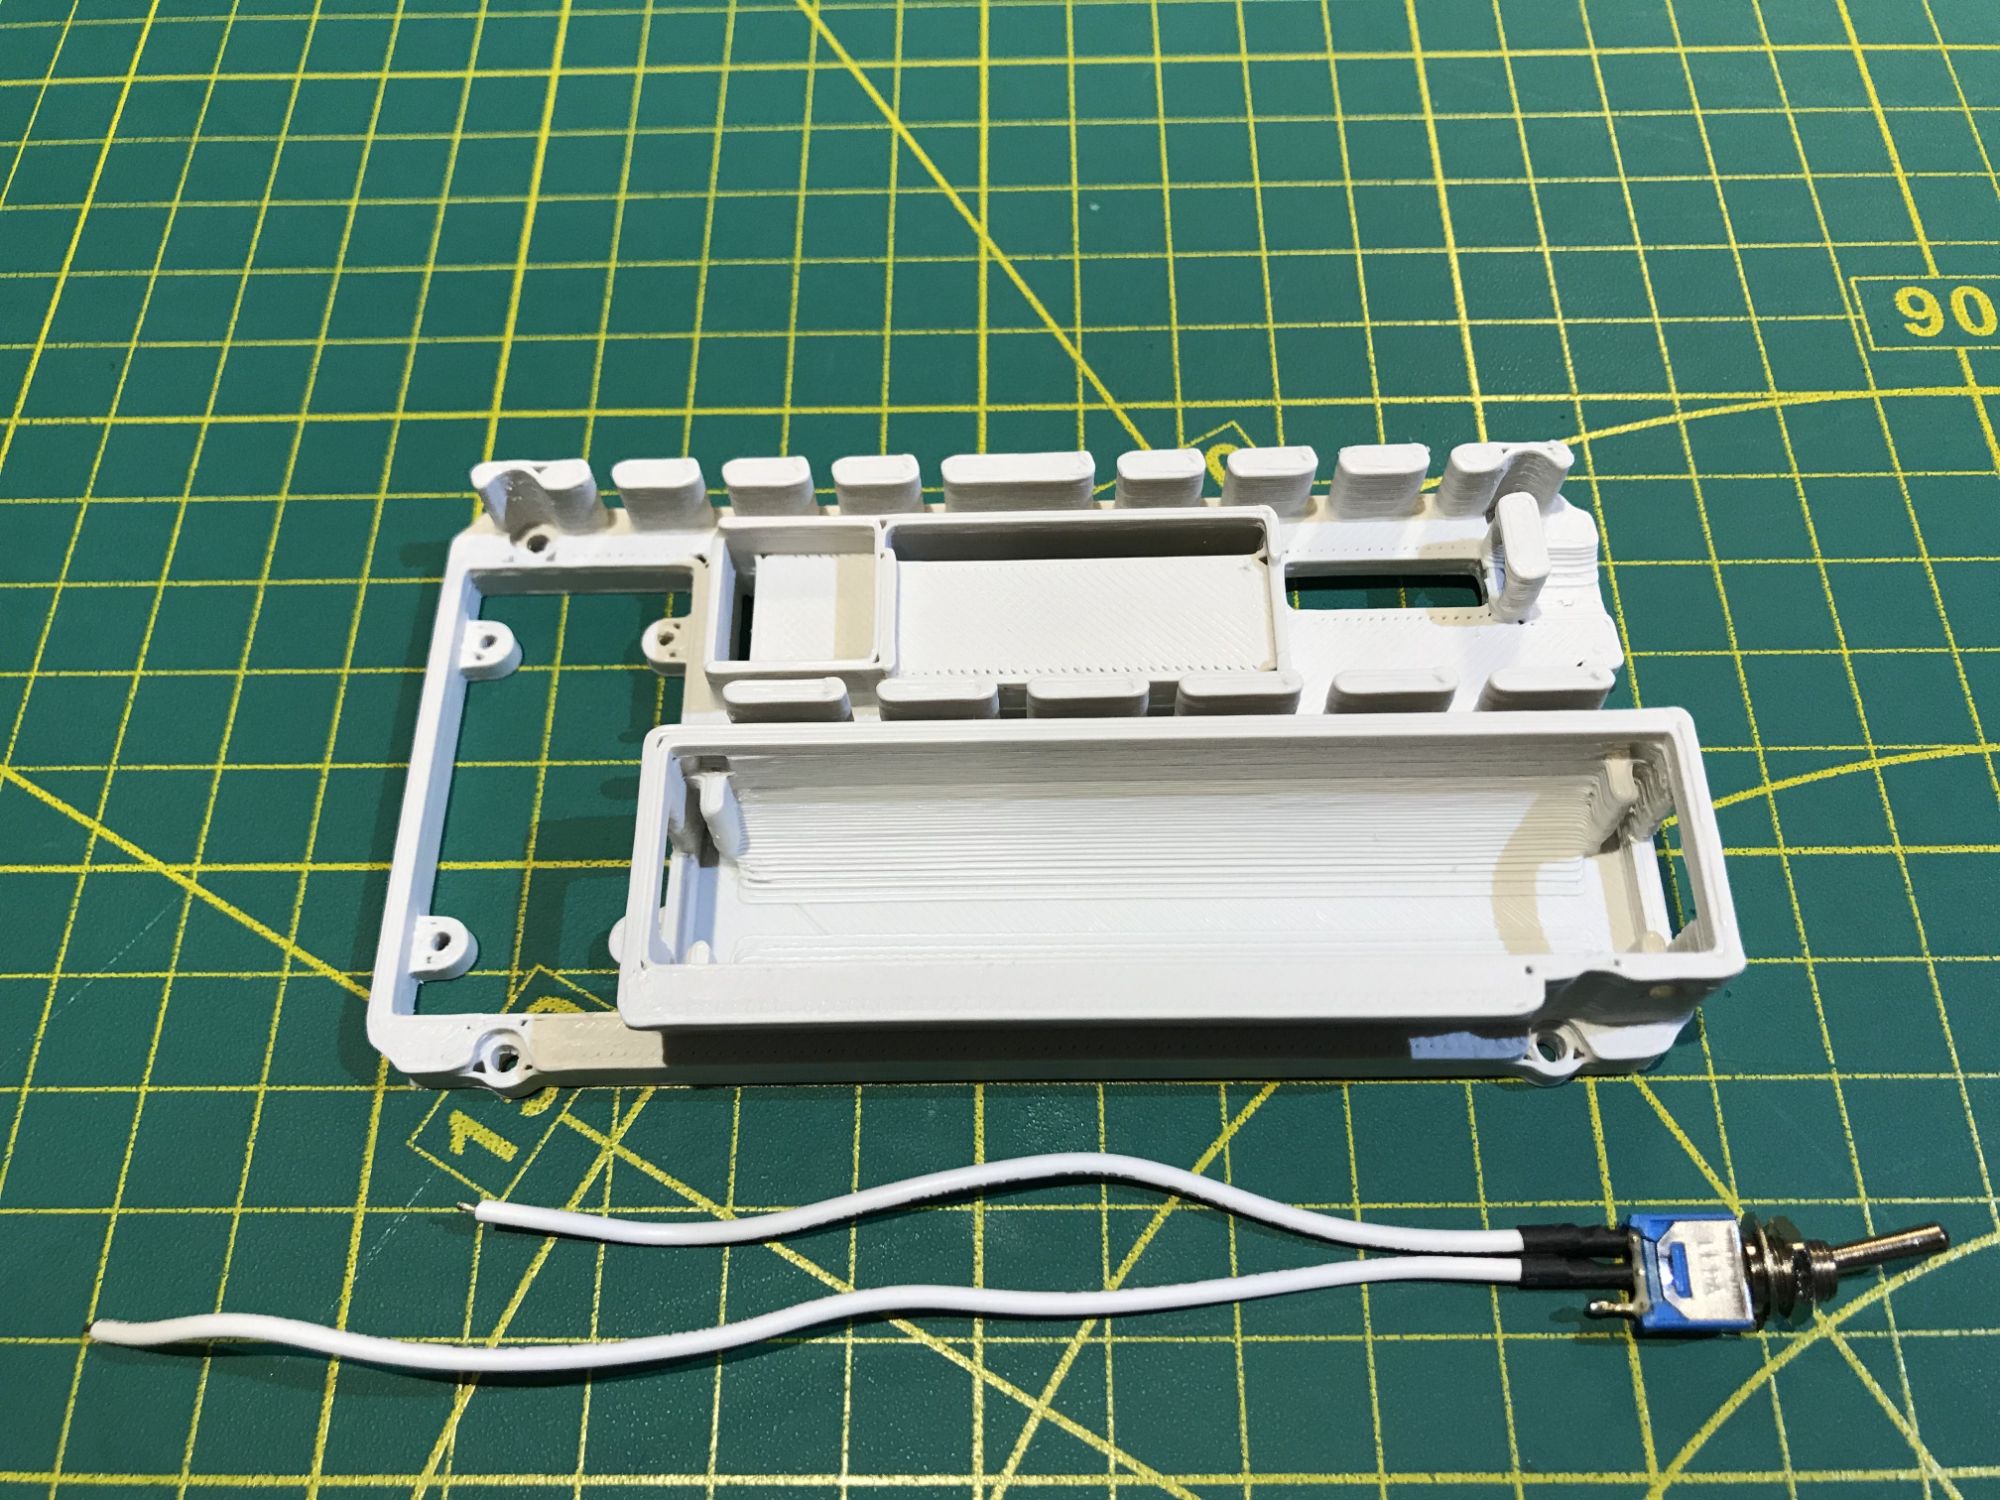
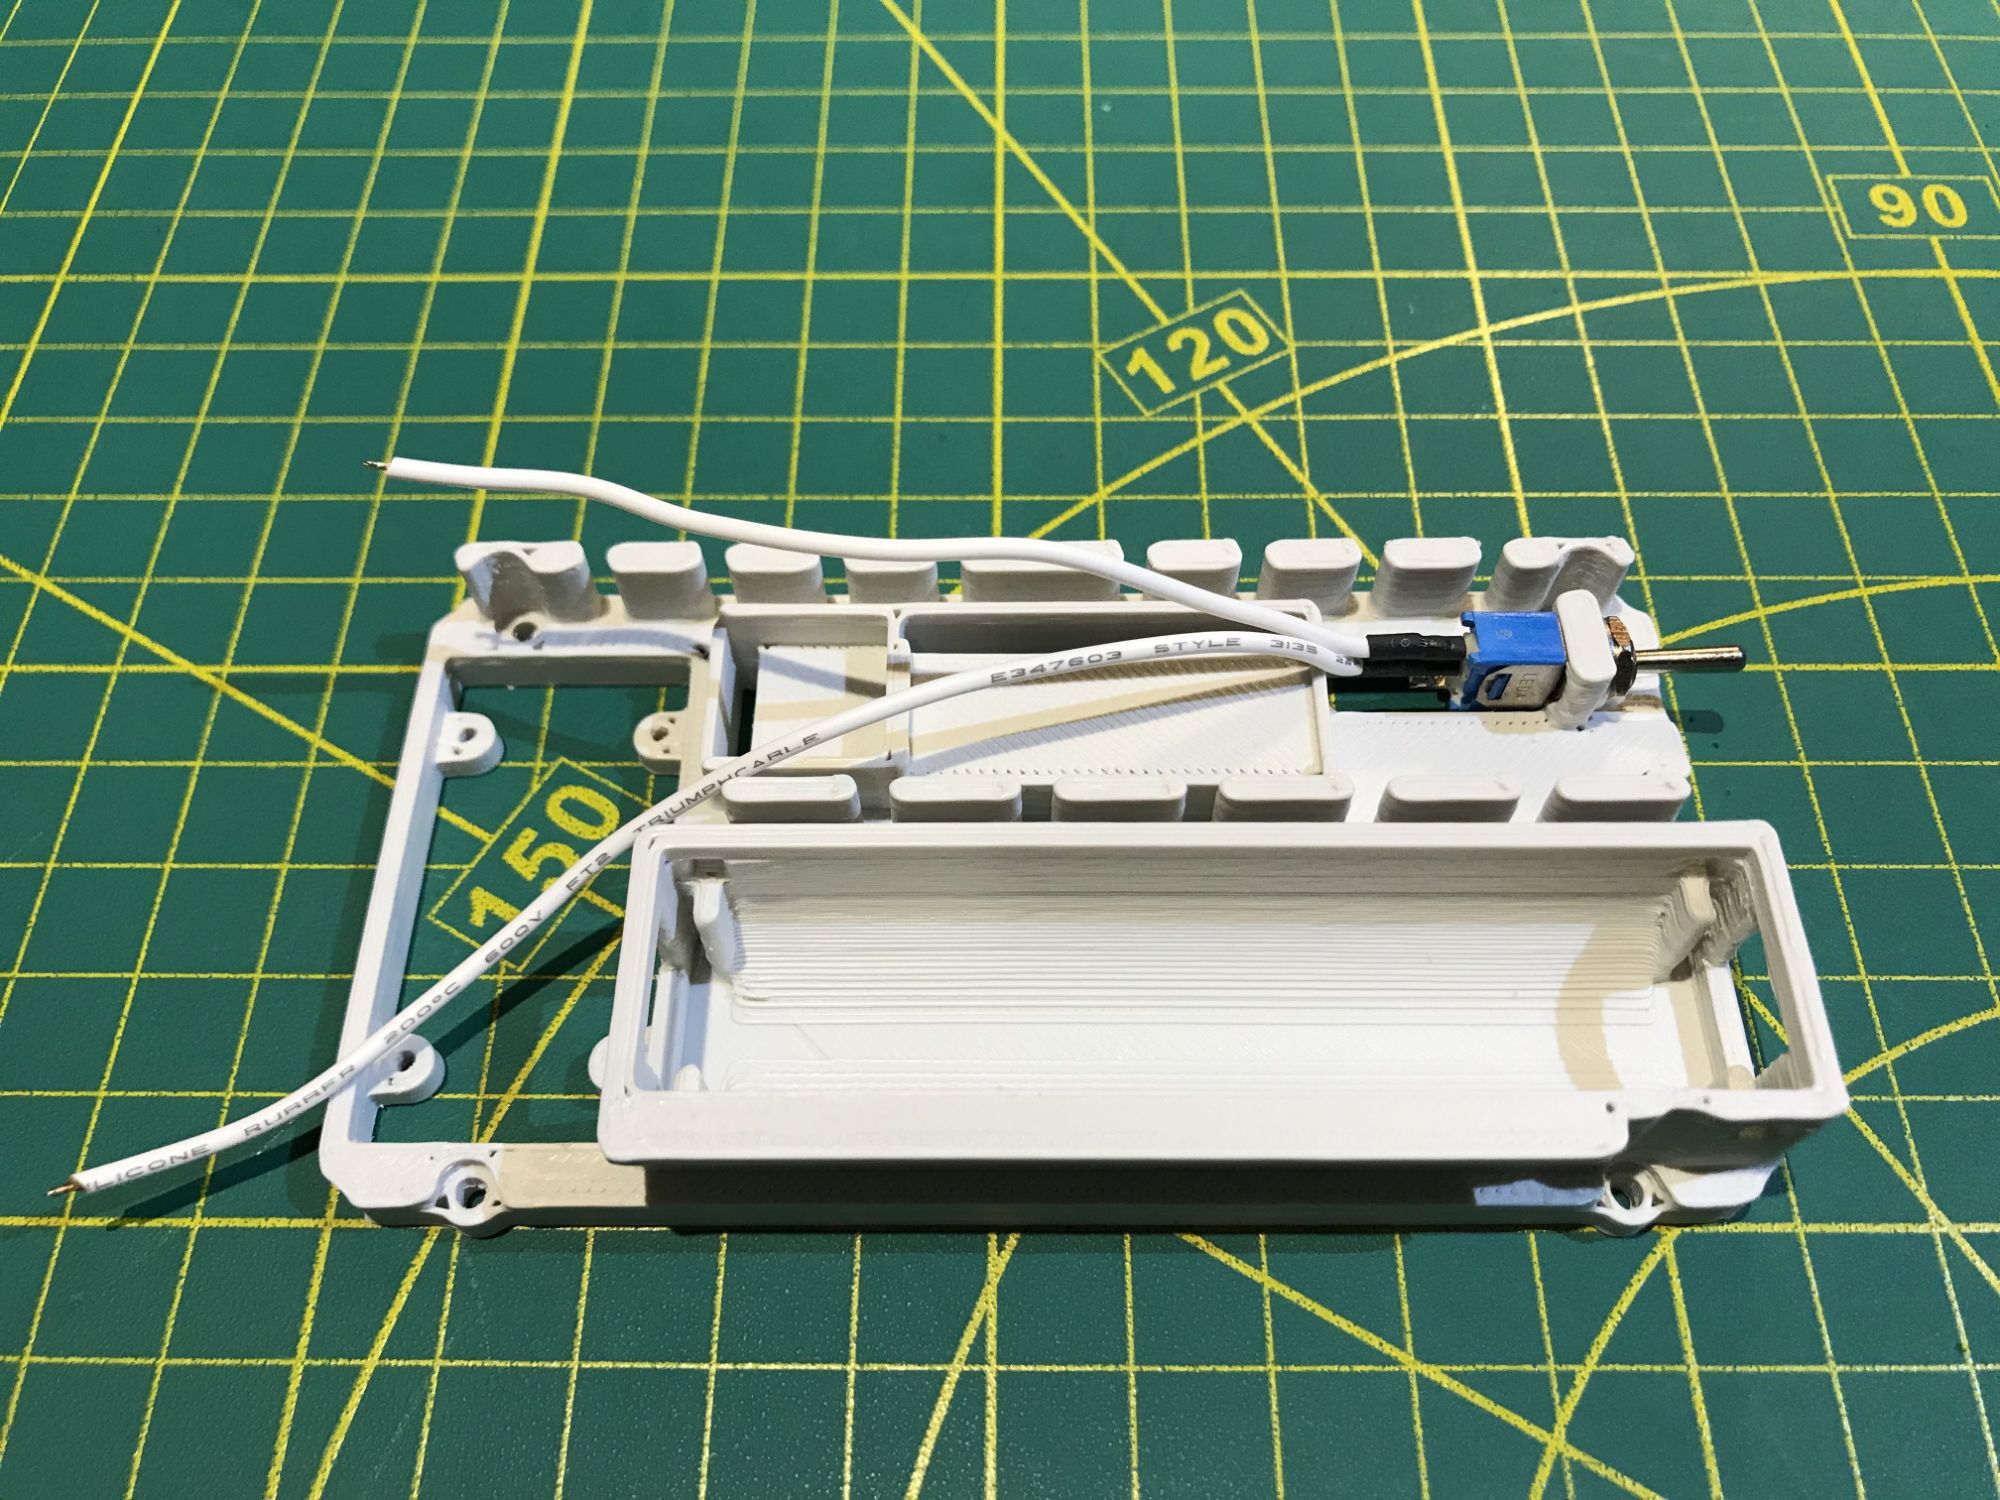
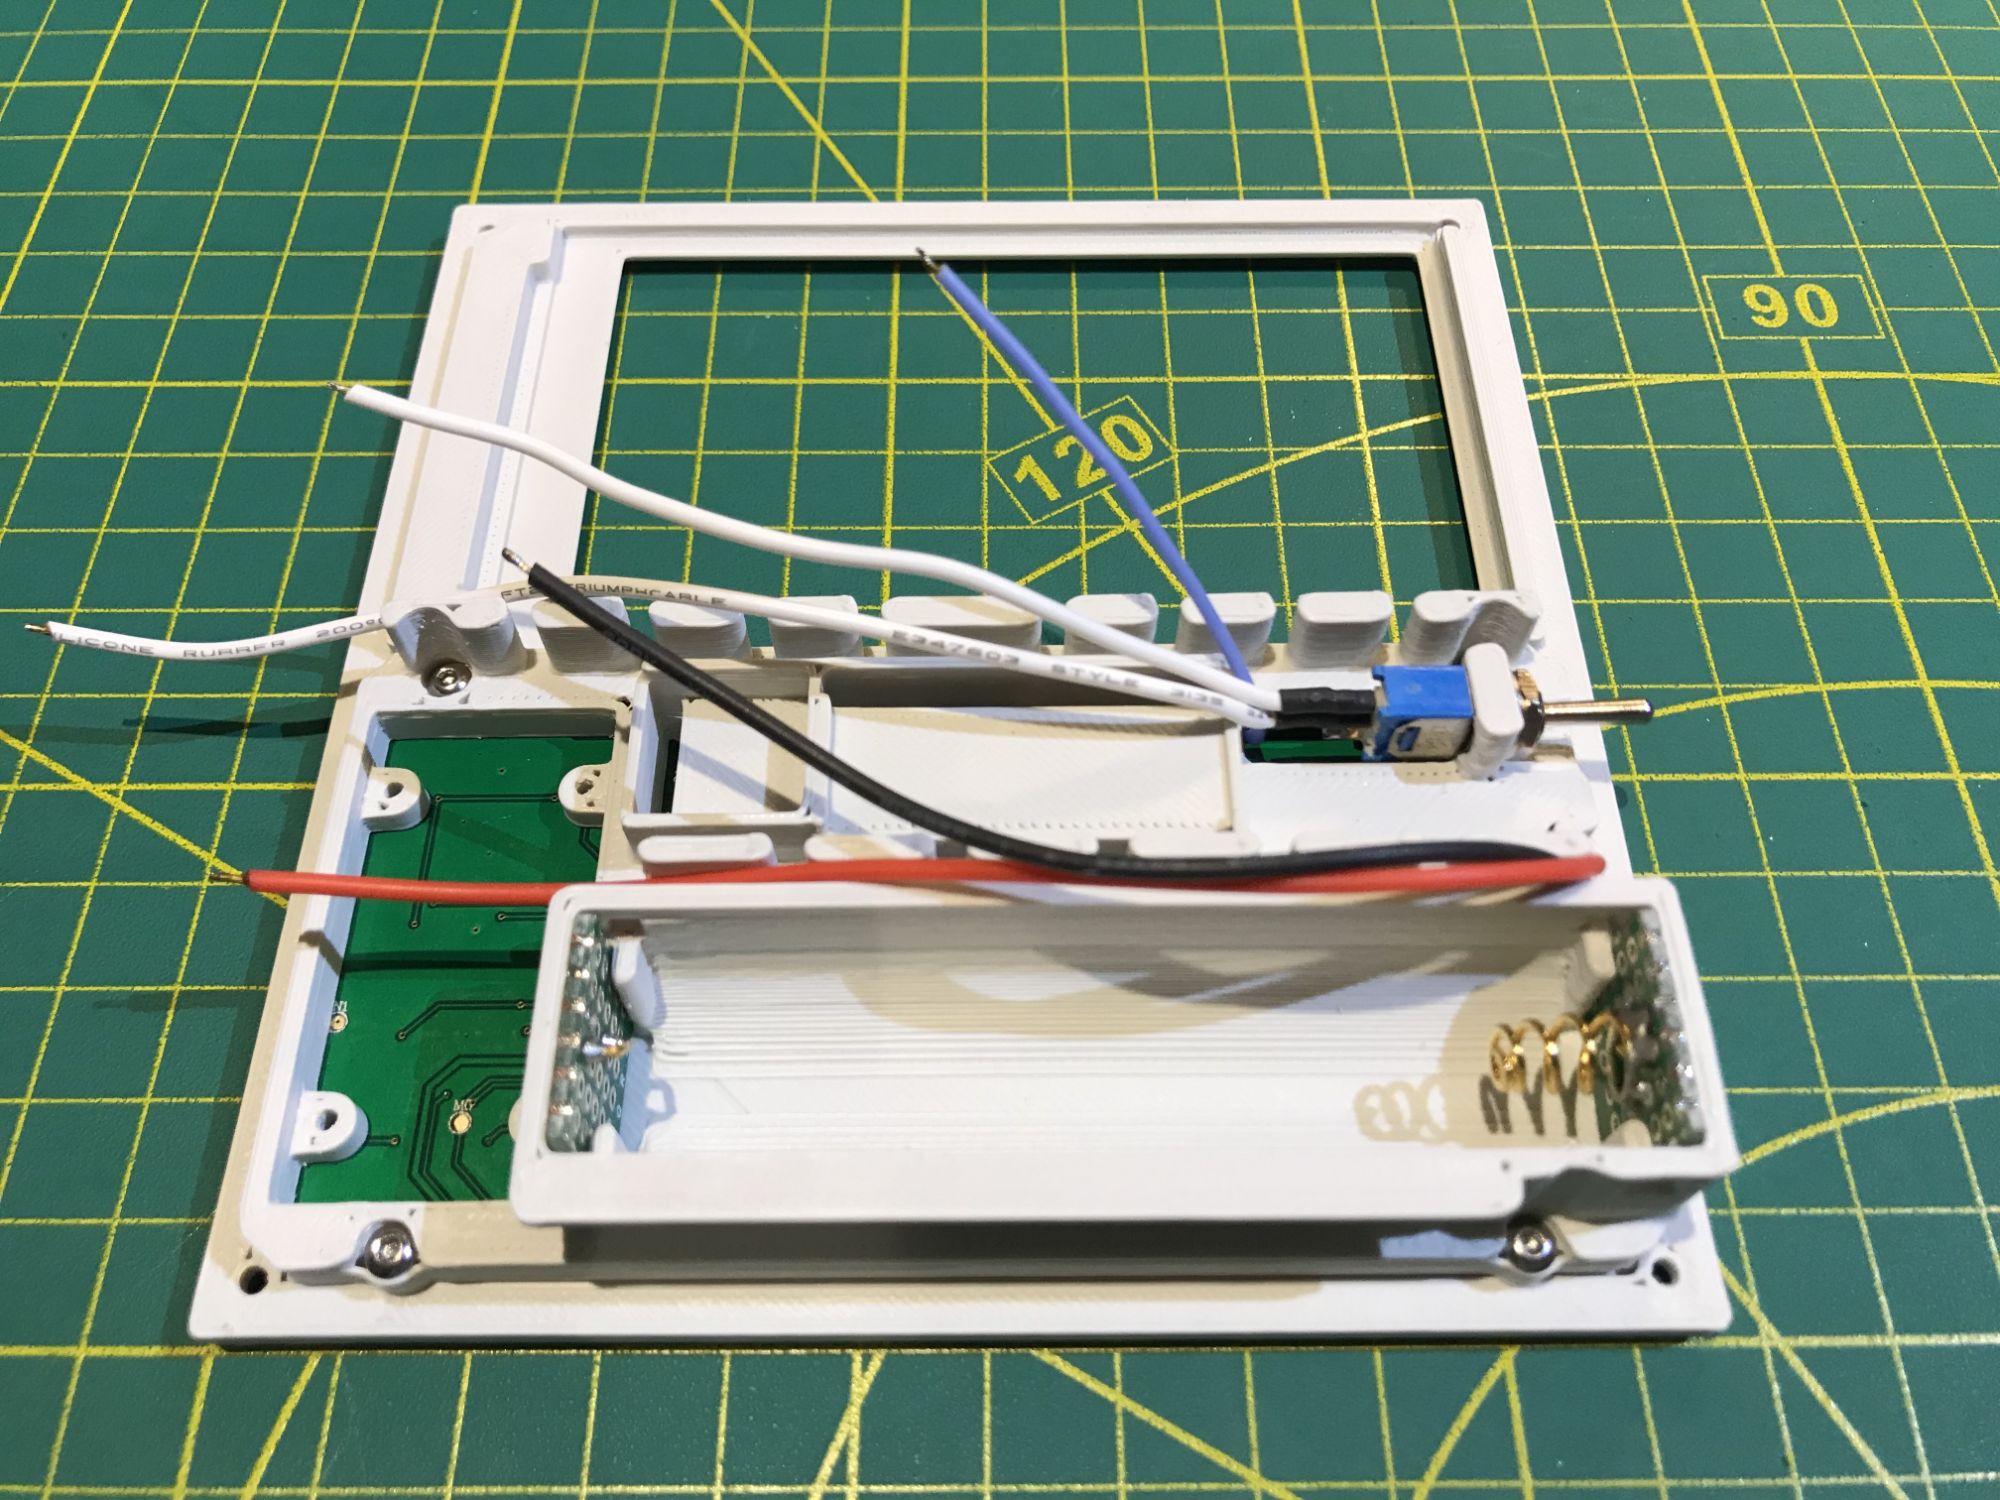
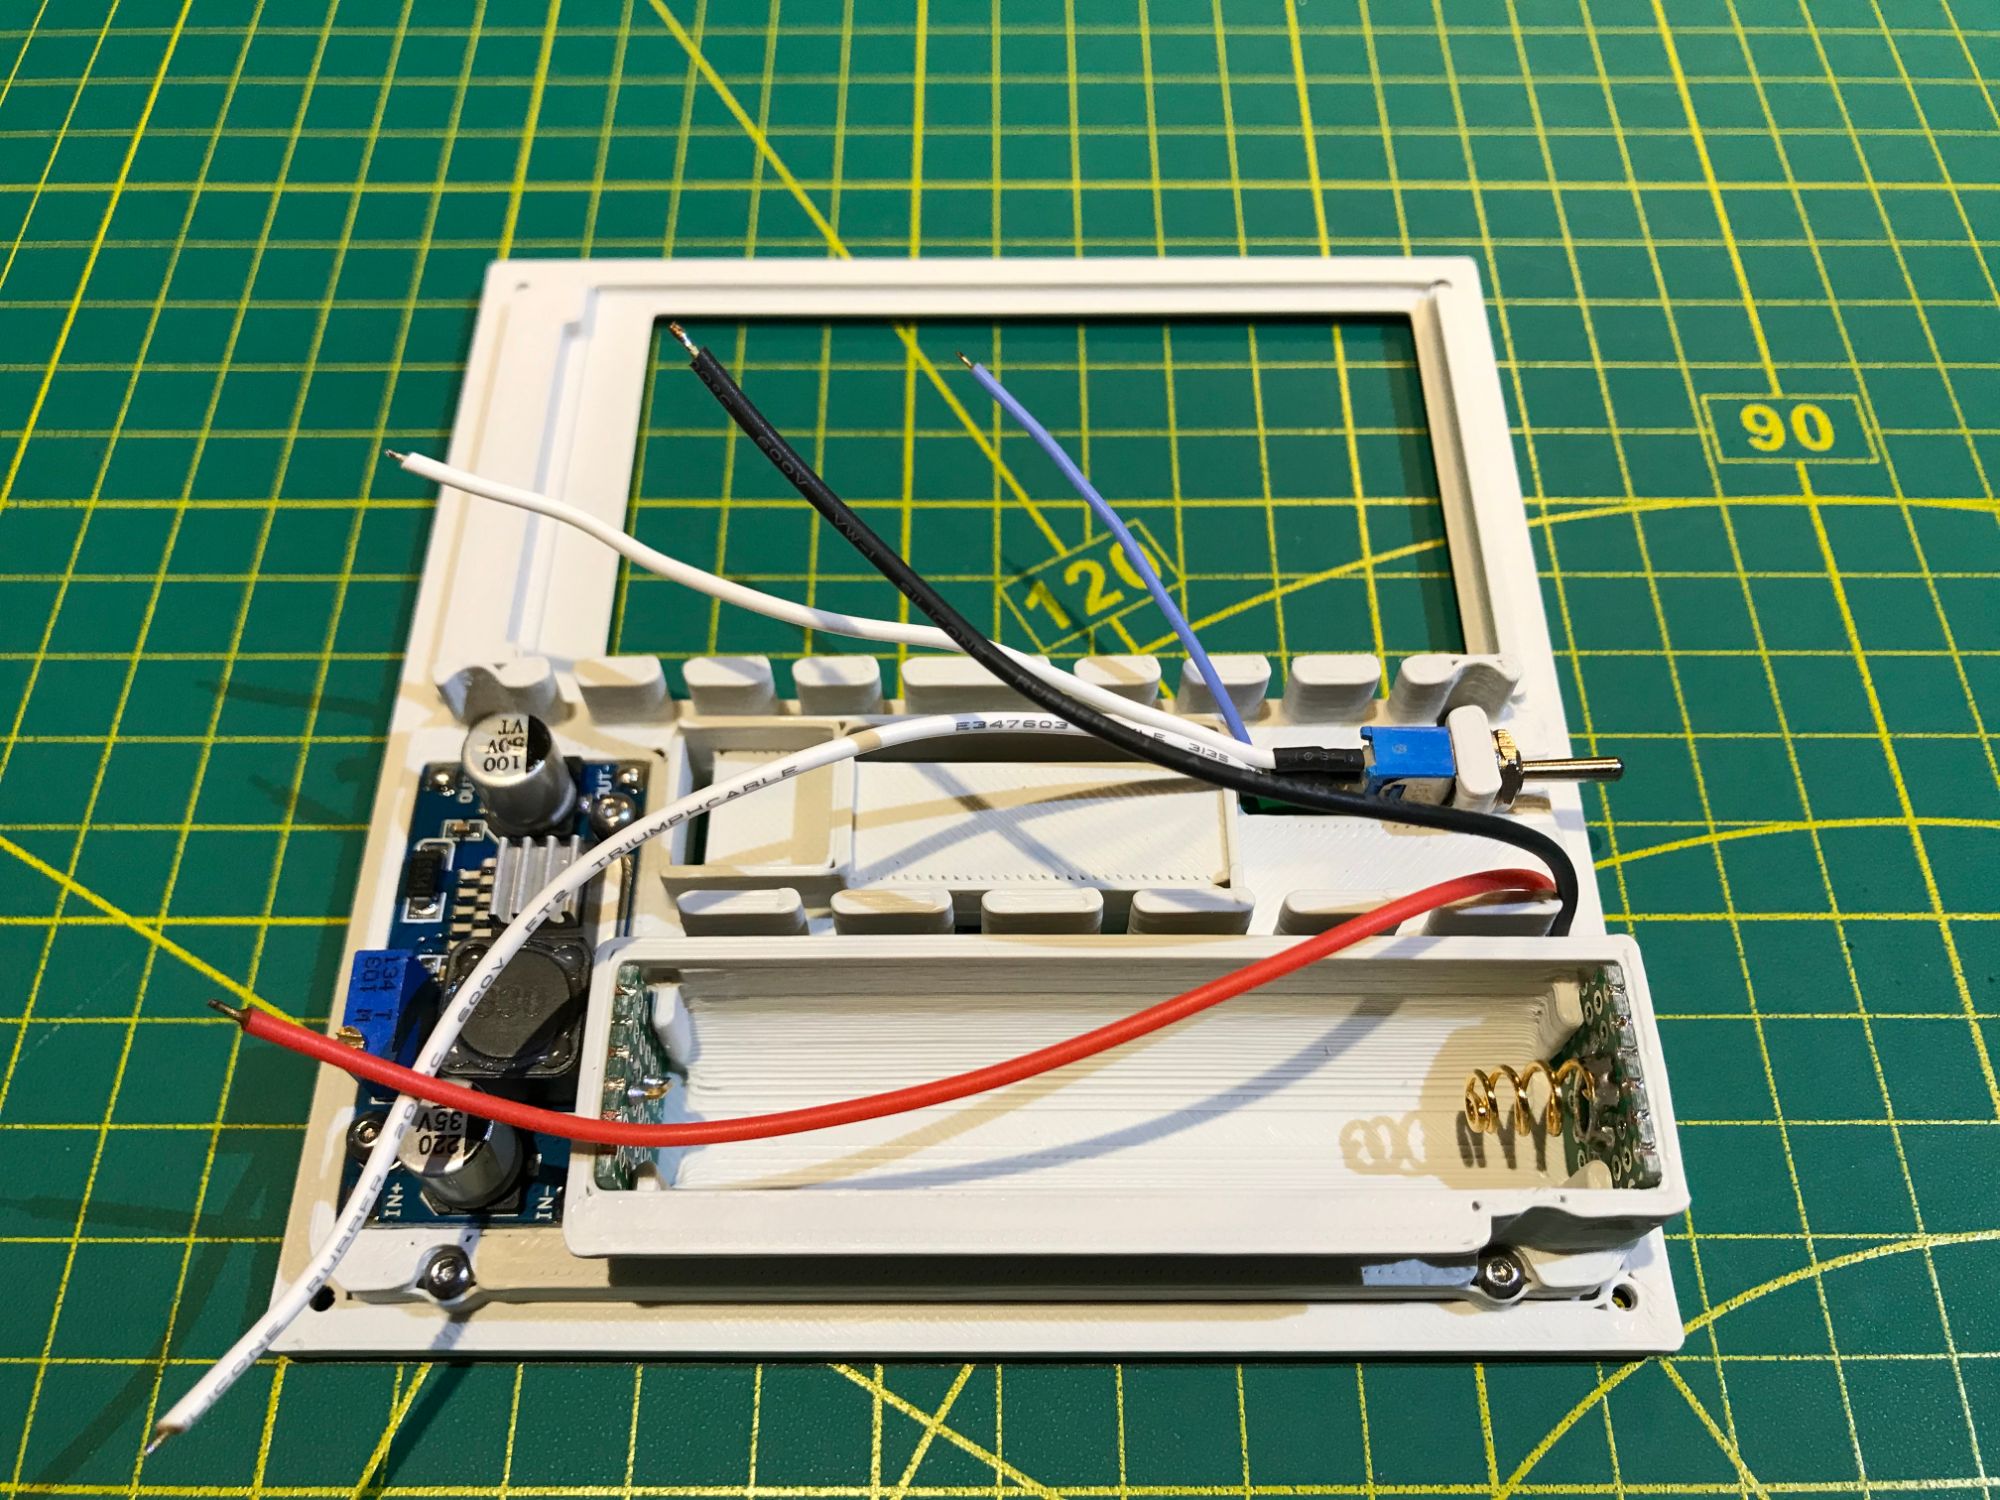
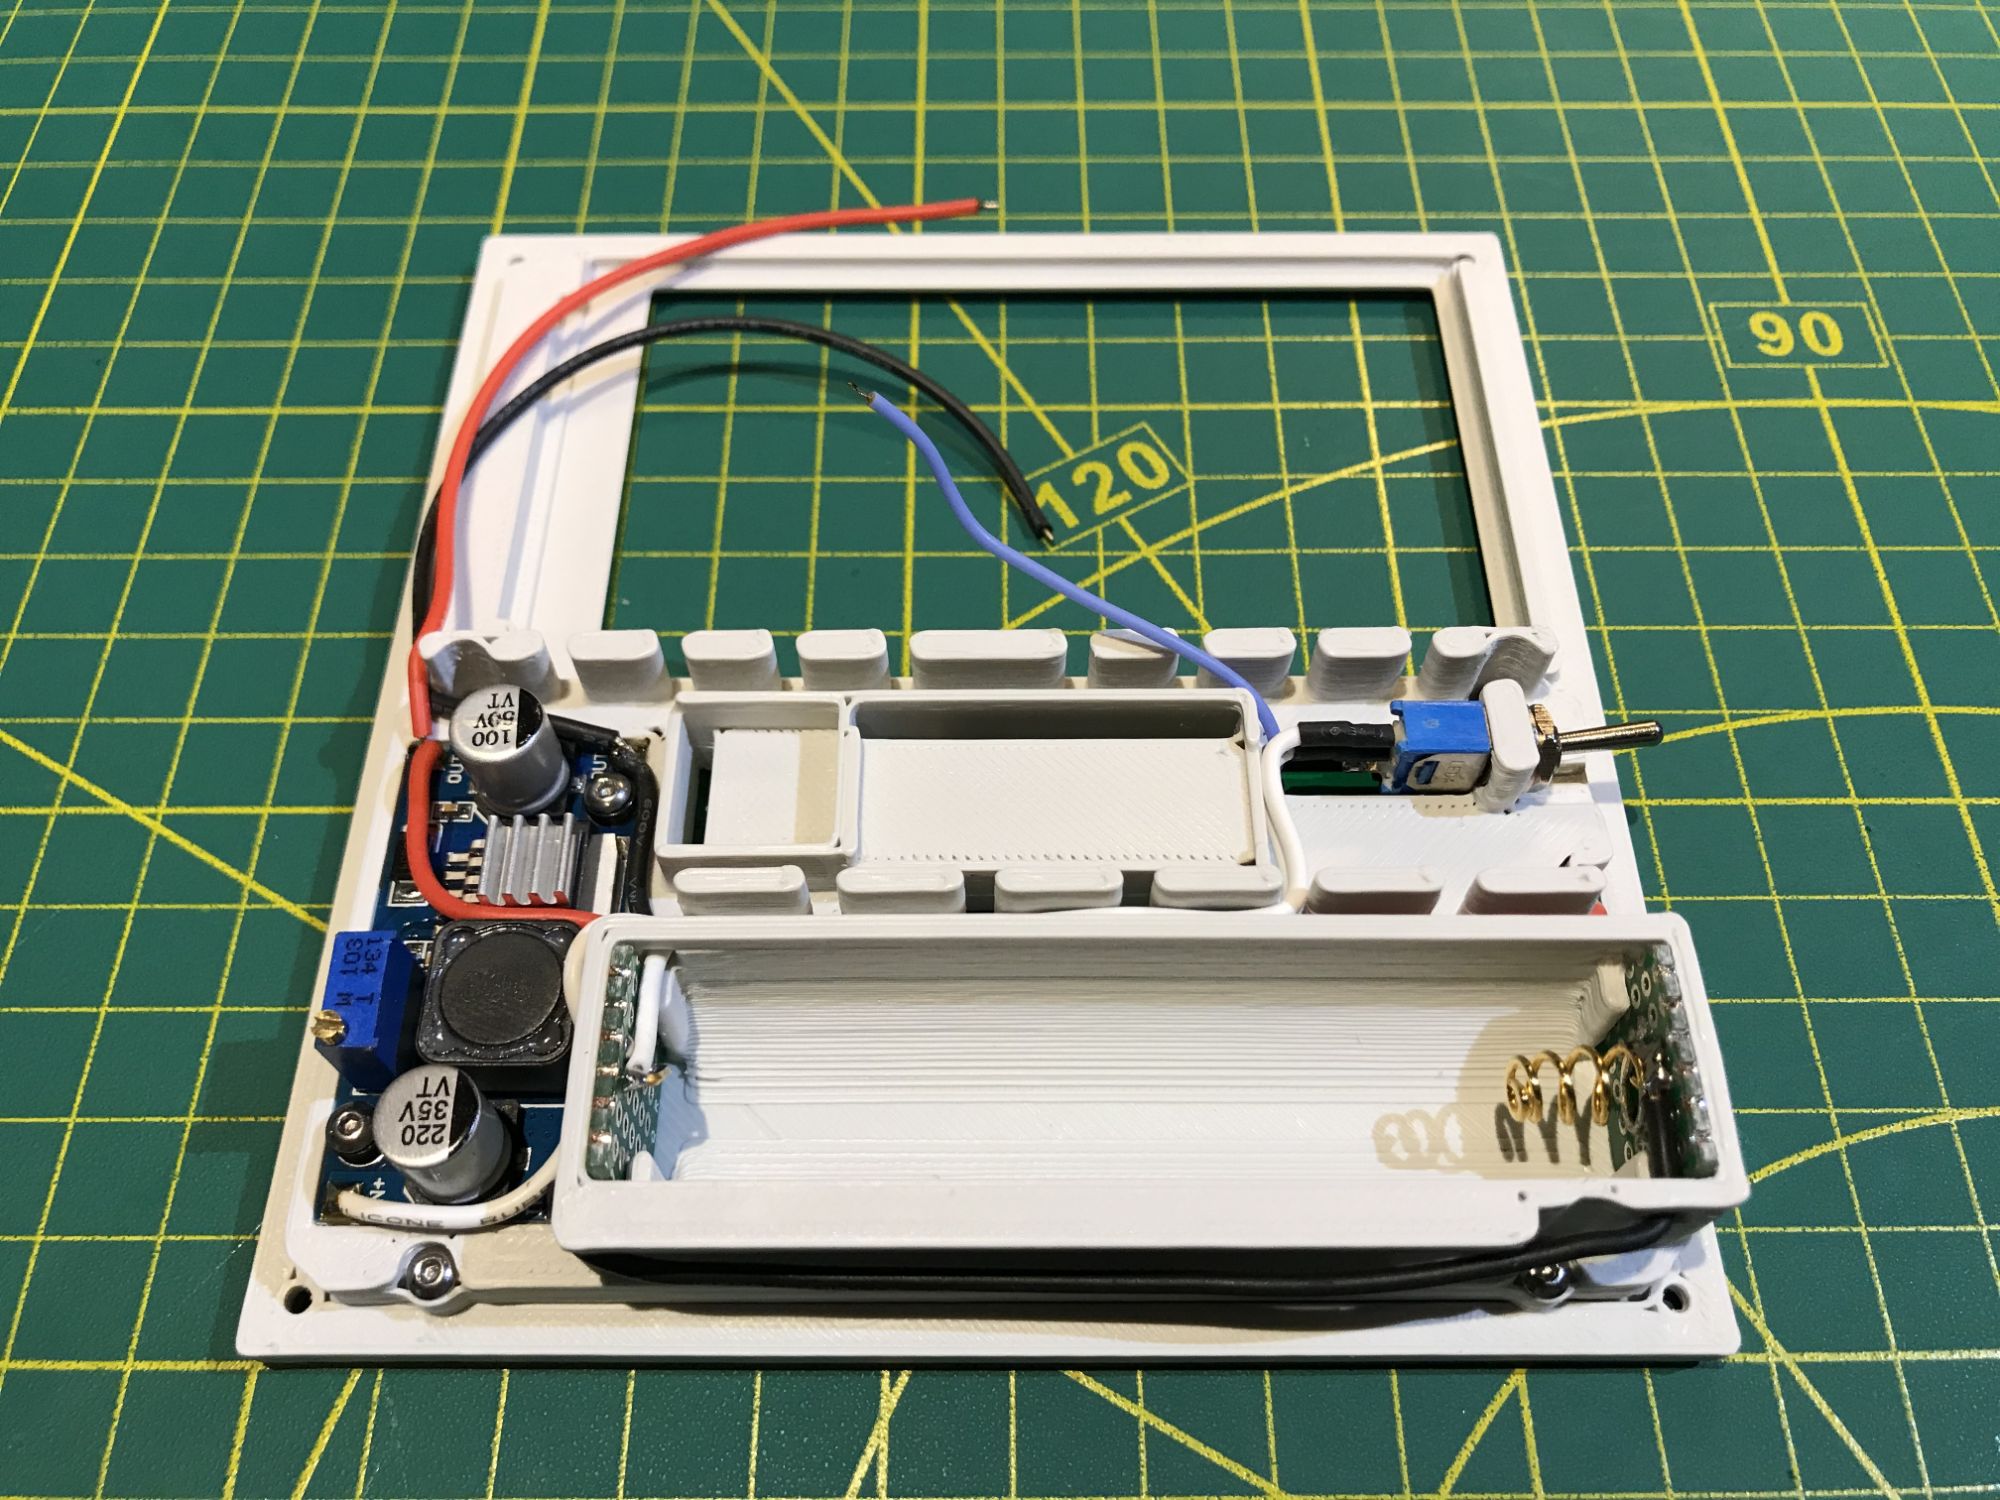
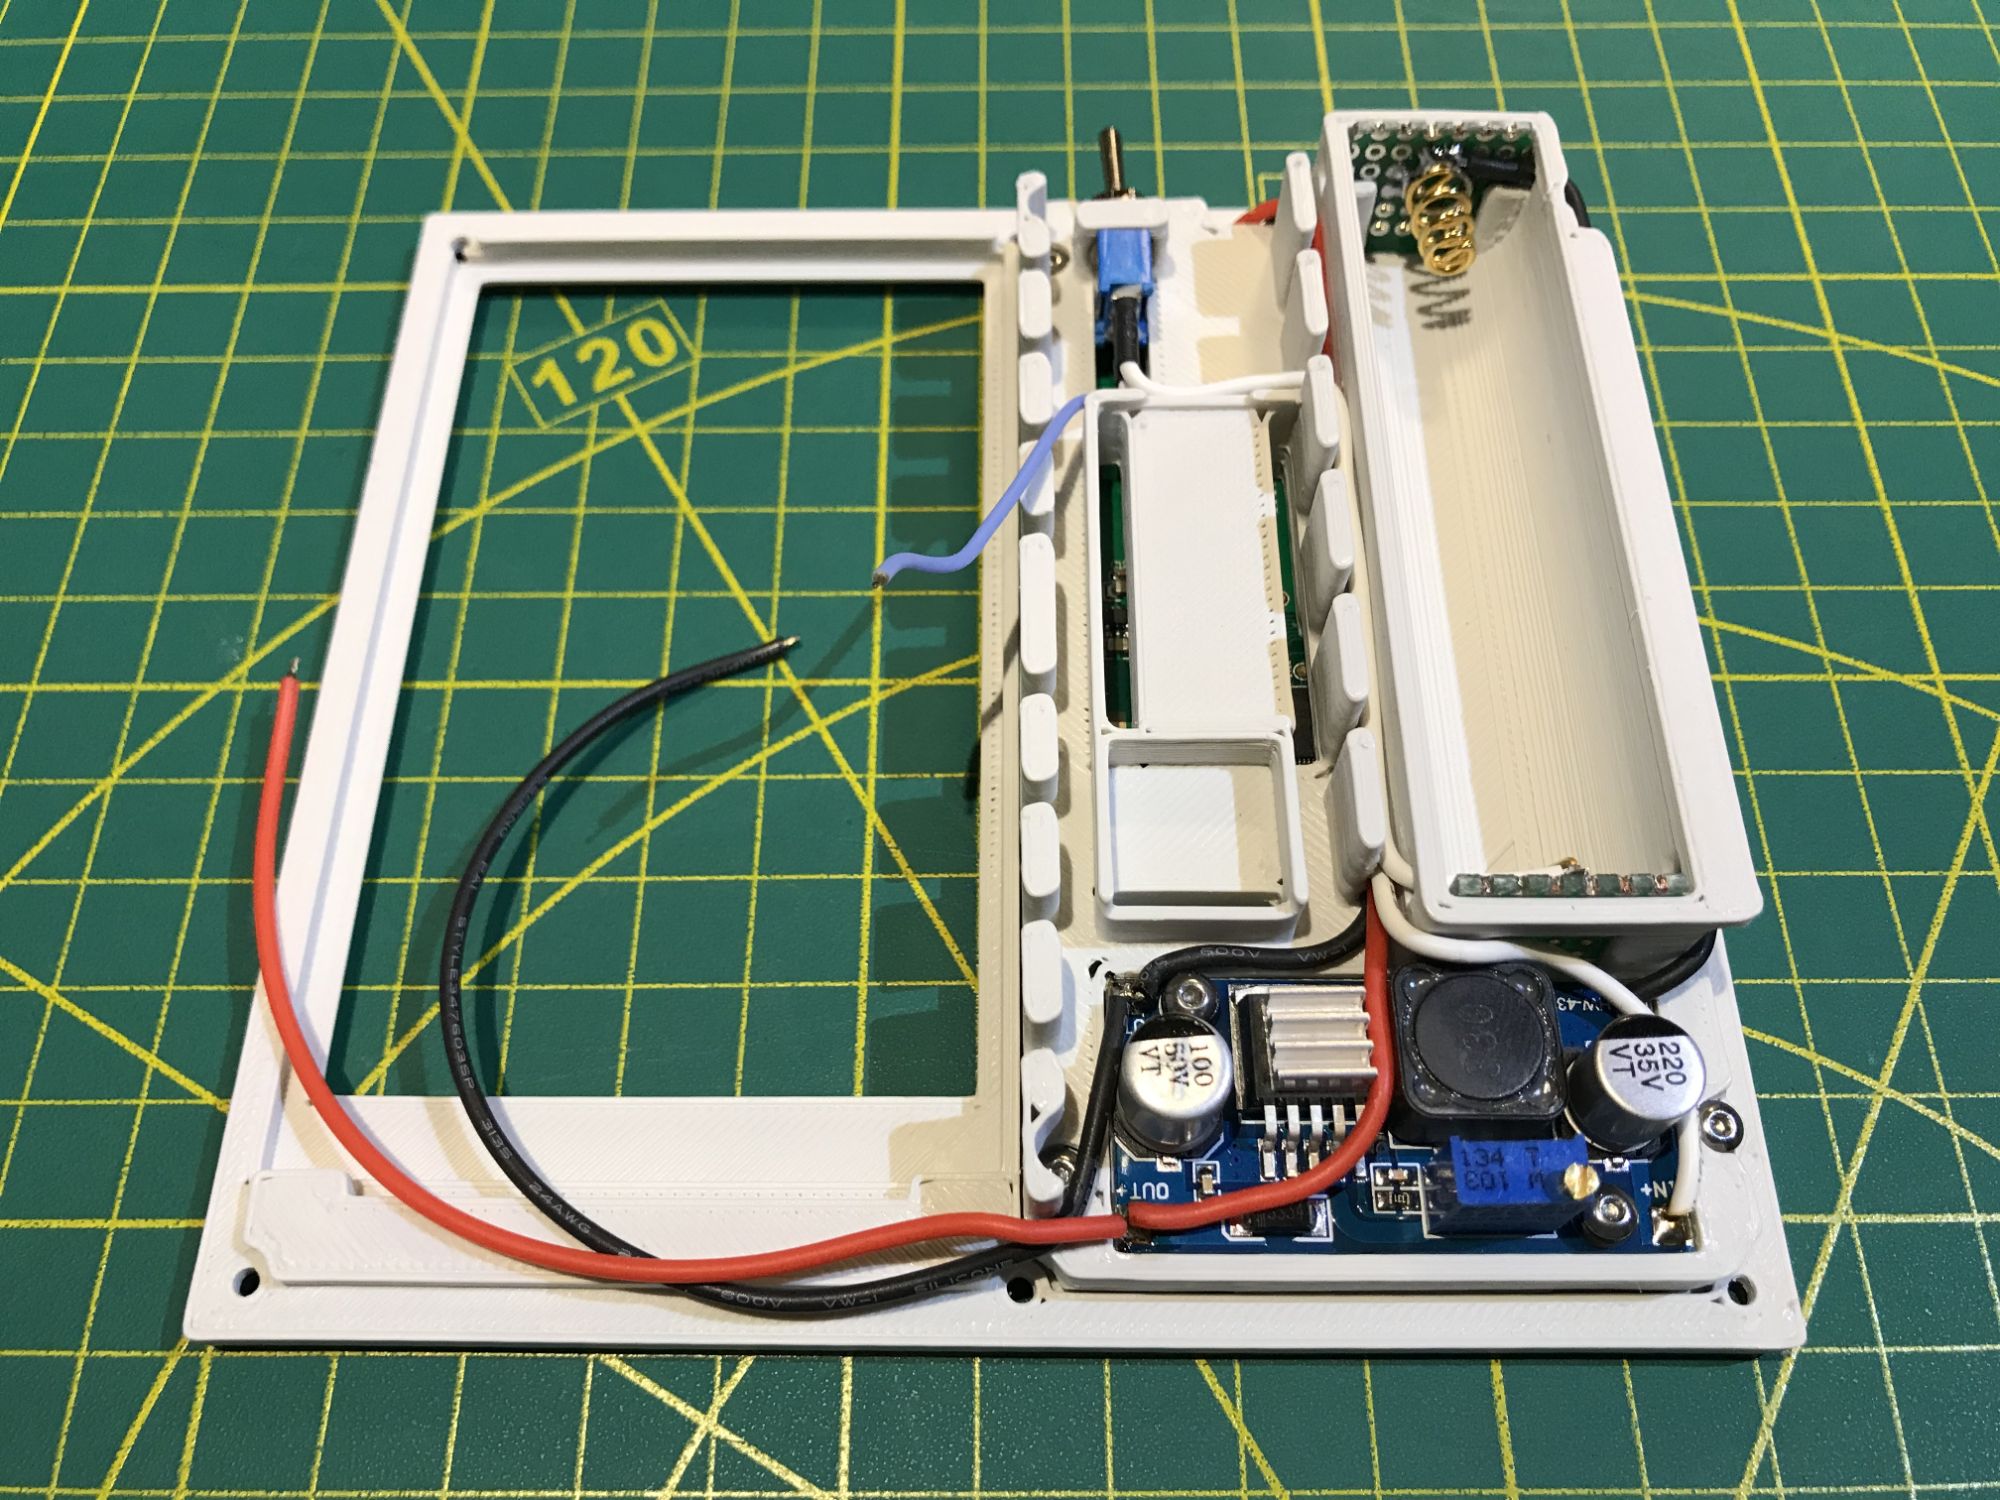
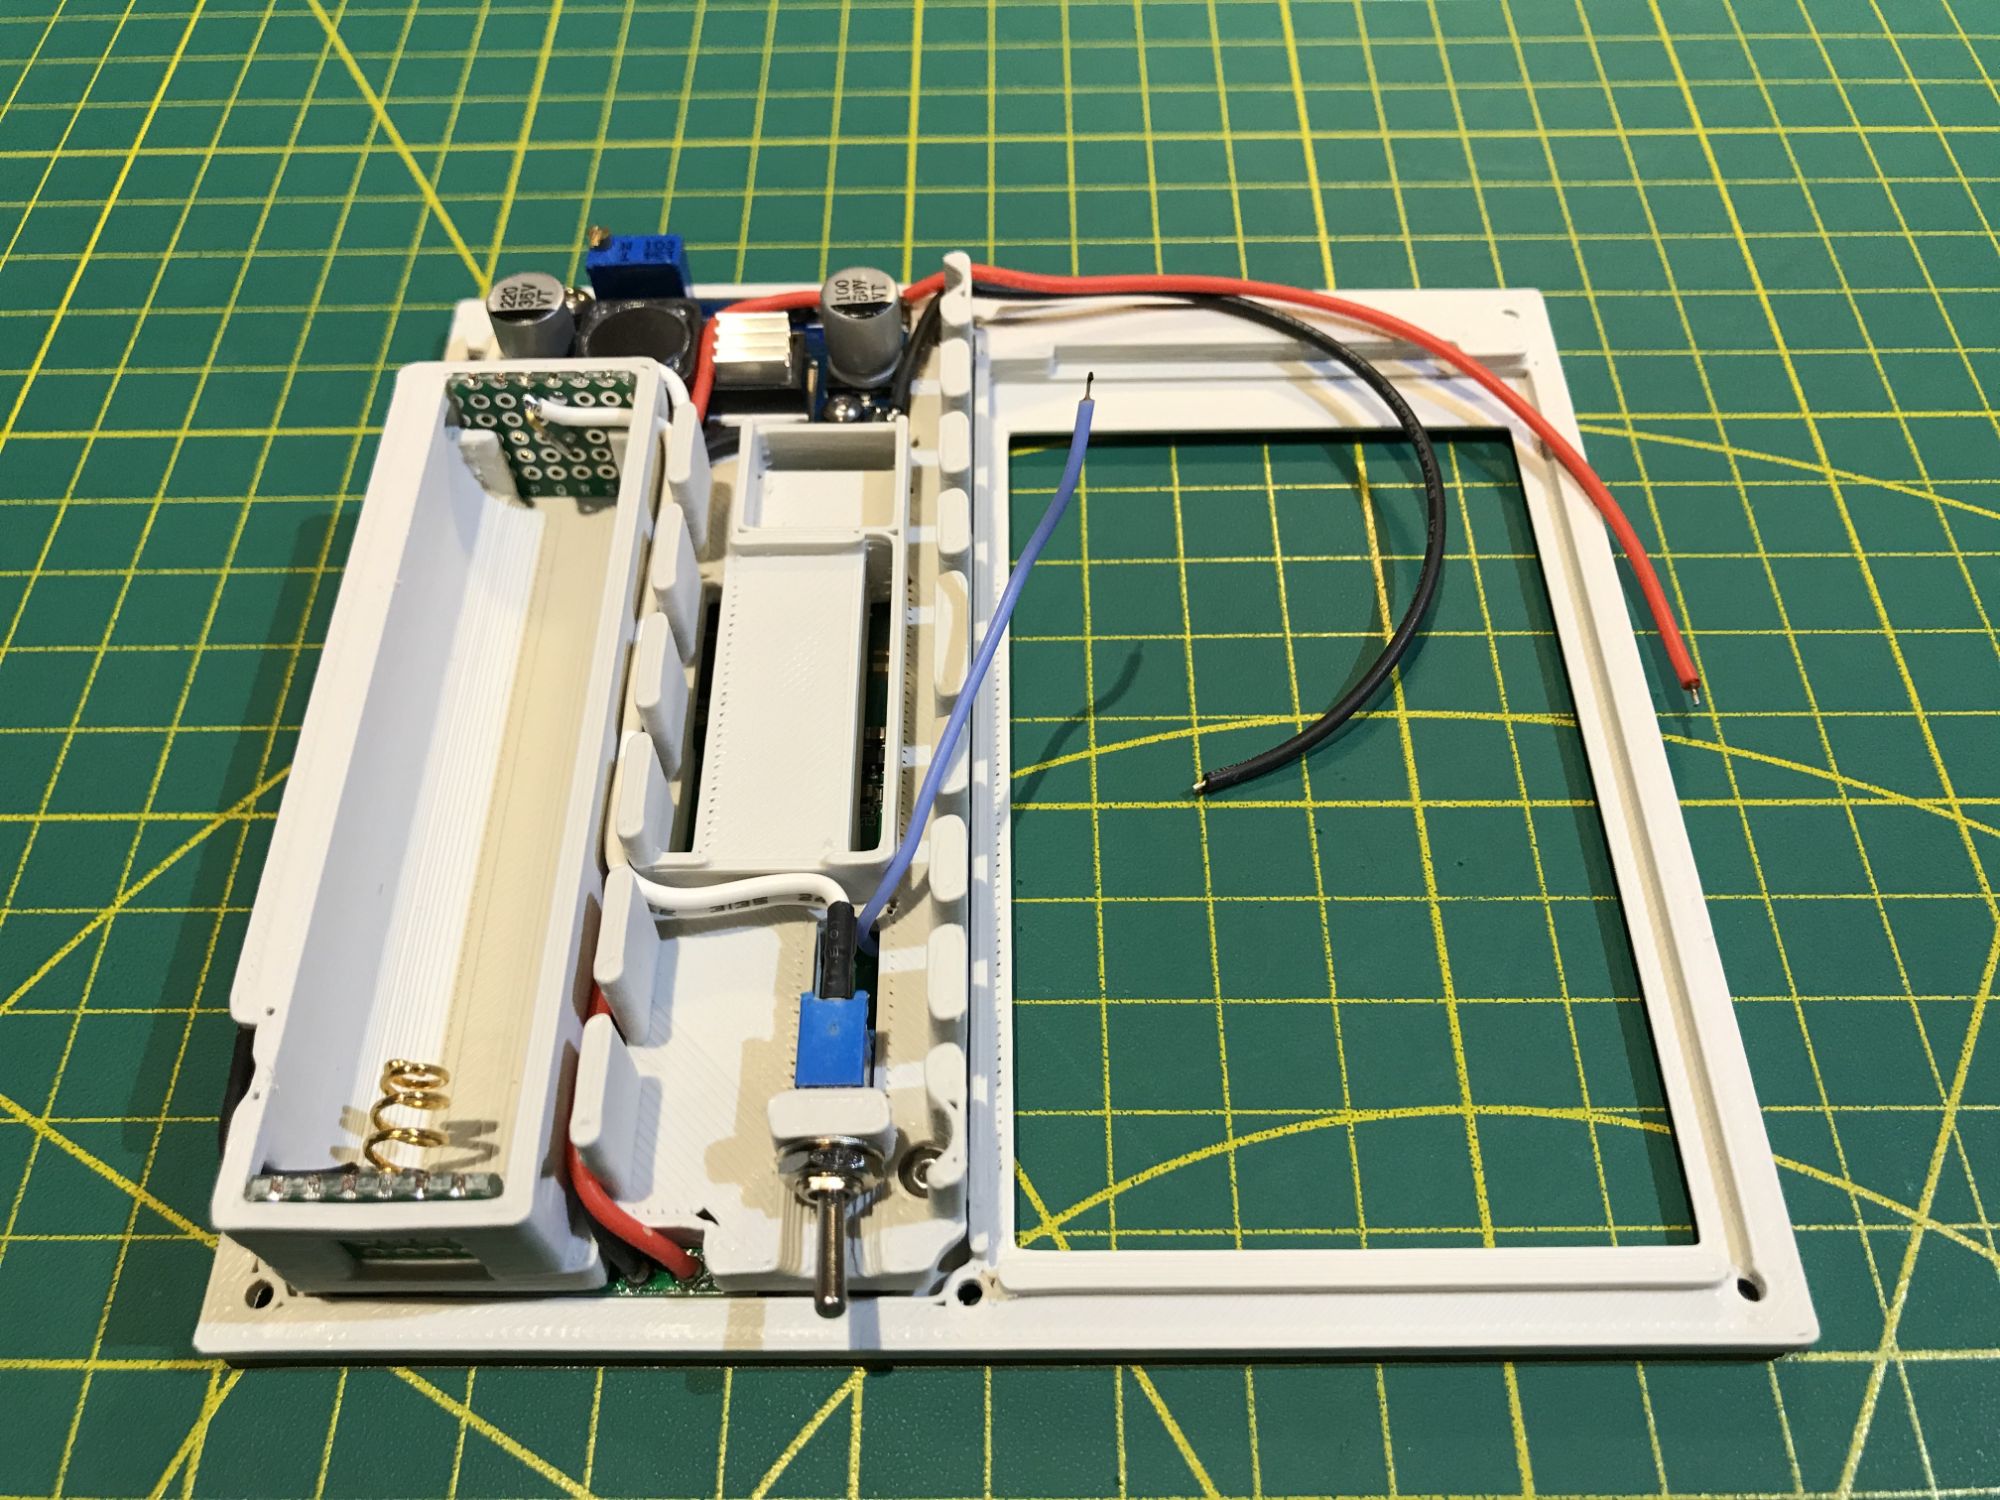
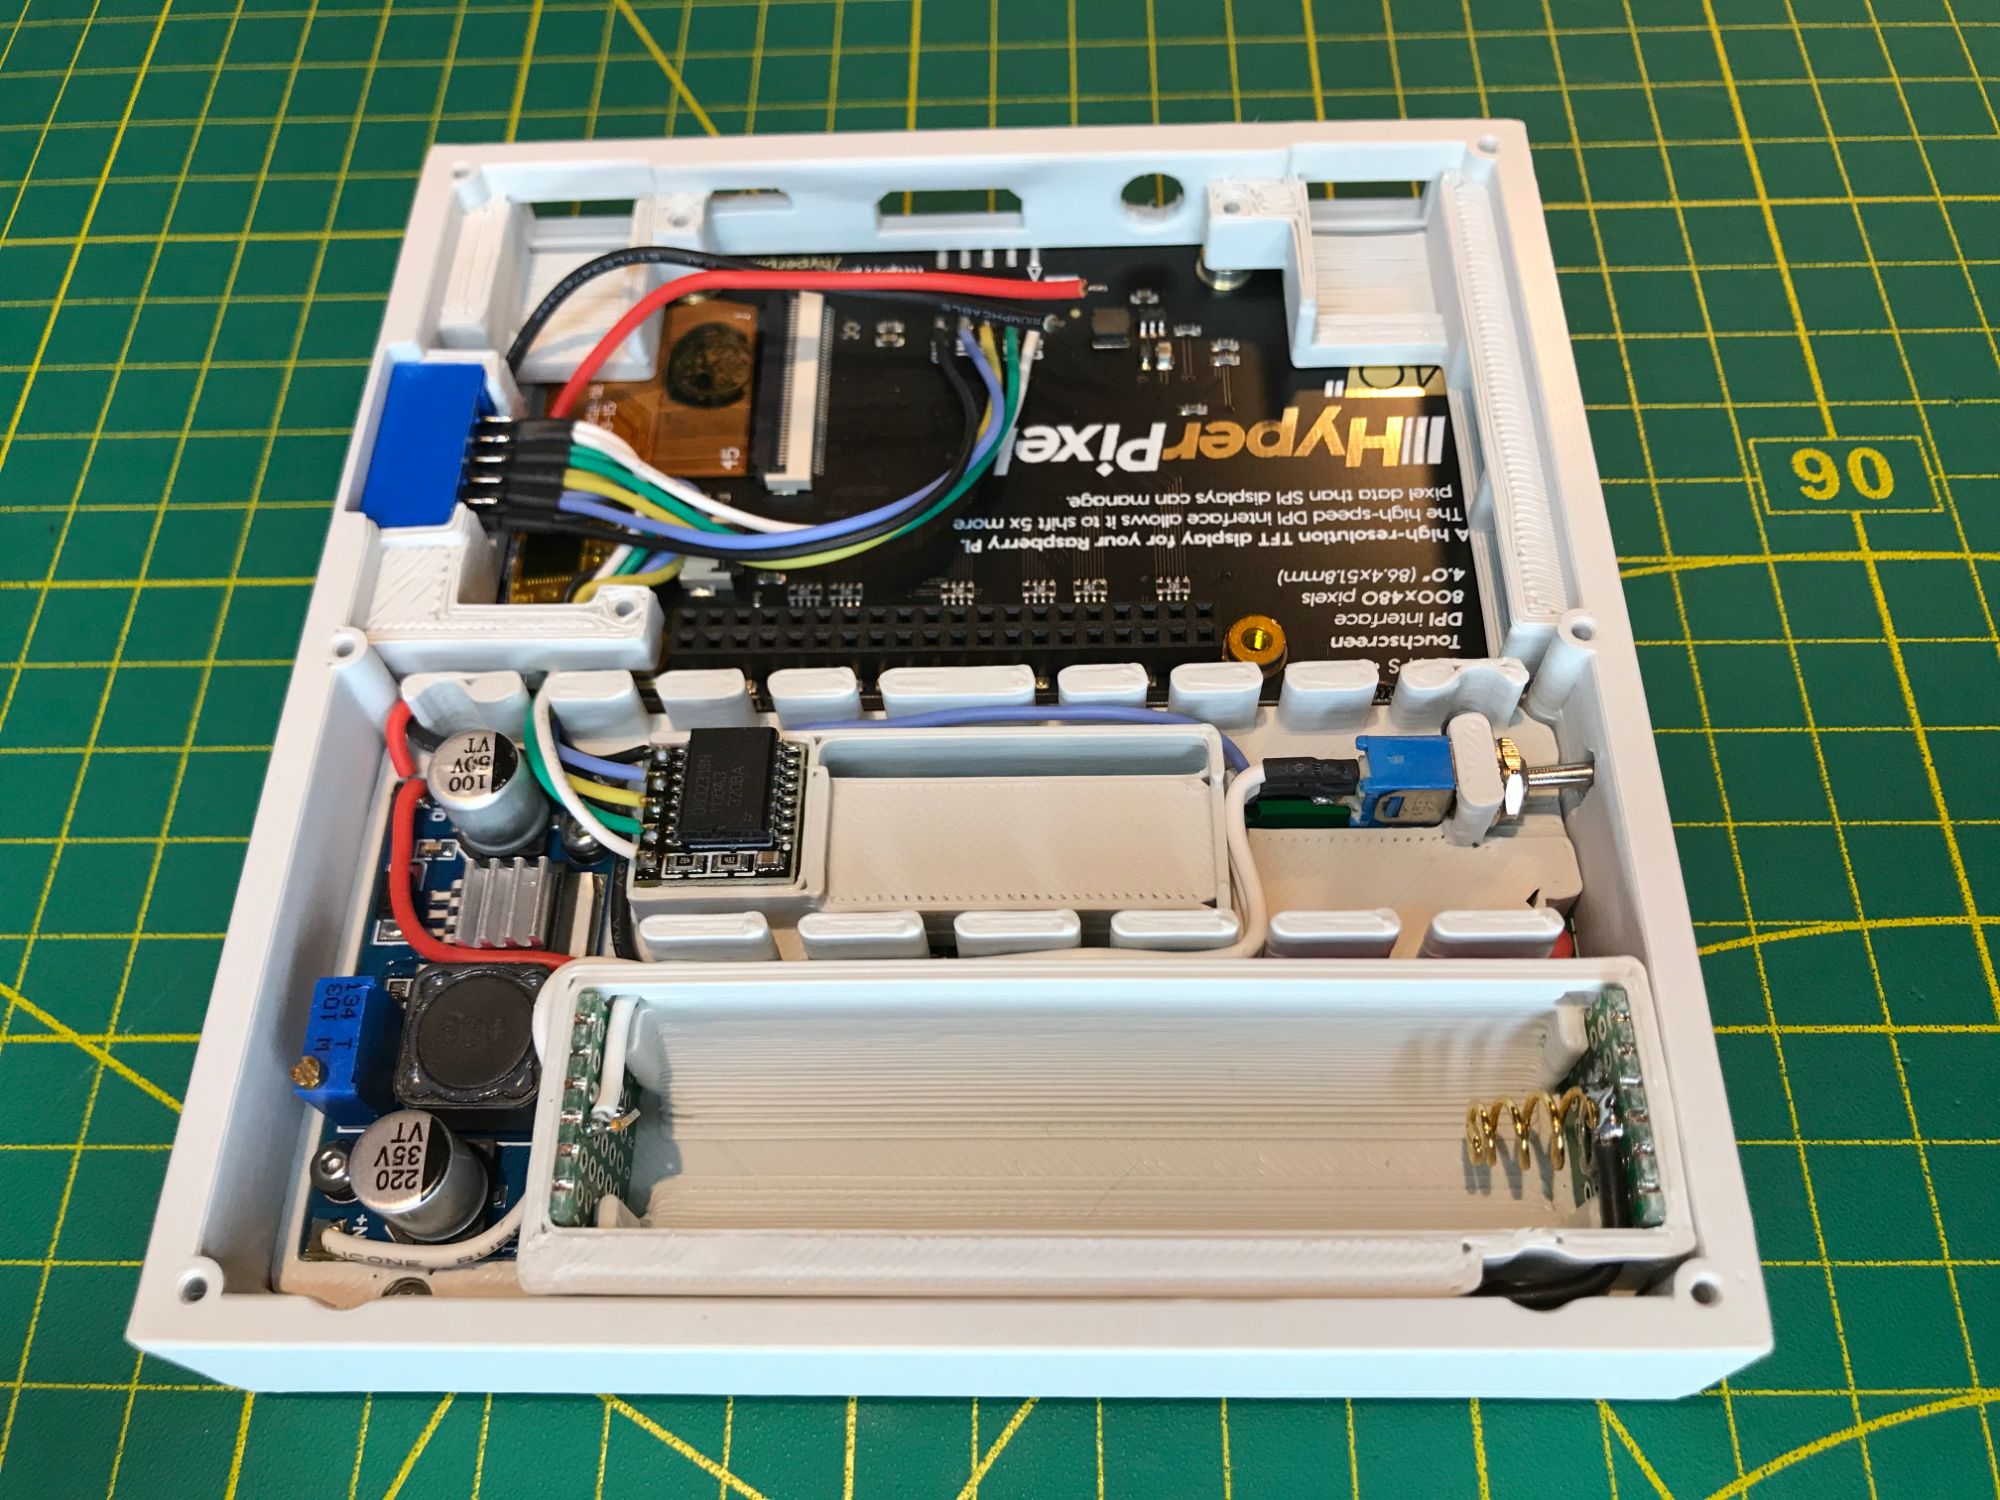
YARH.IO Micro 2 features simple mechanical design. Main frame used for mounting Raspberry Pi board and screen, power bed with conjunction with front panel provides mounting points for keyboard, power supply, battery, RTC and proMicro module.
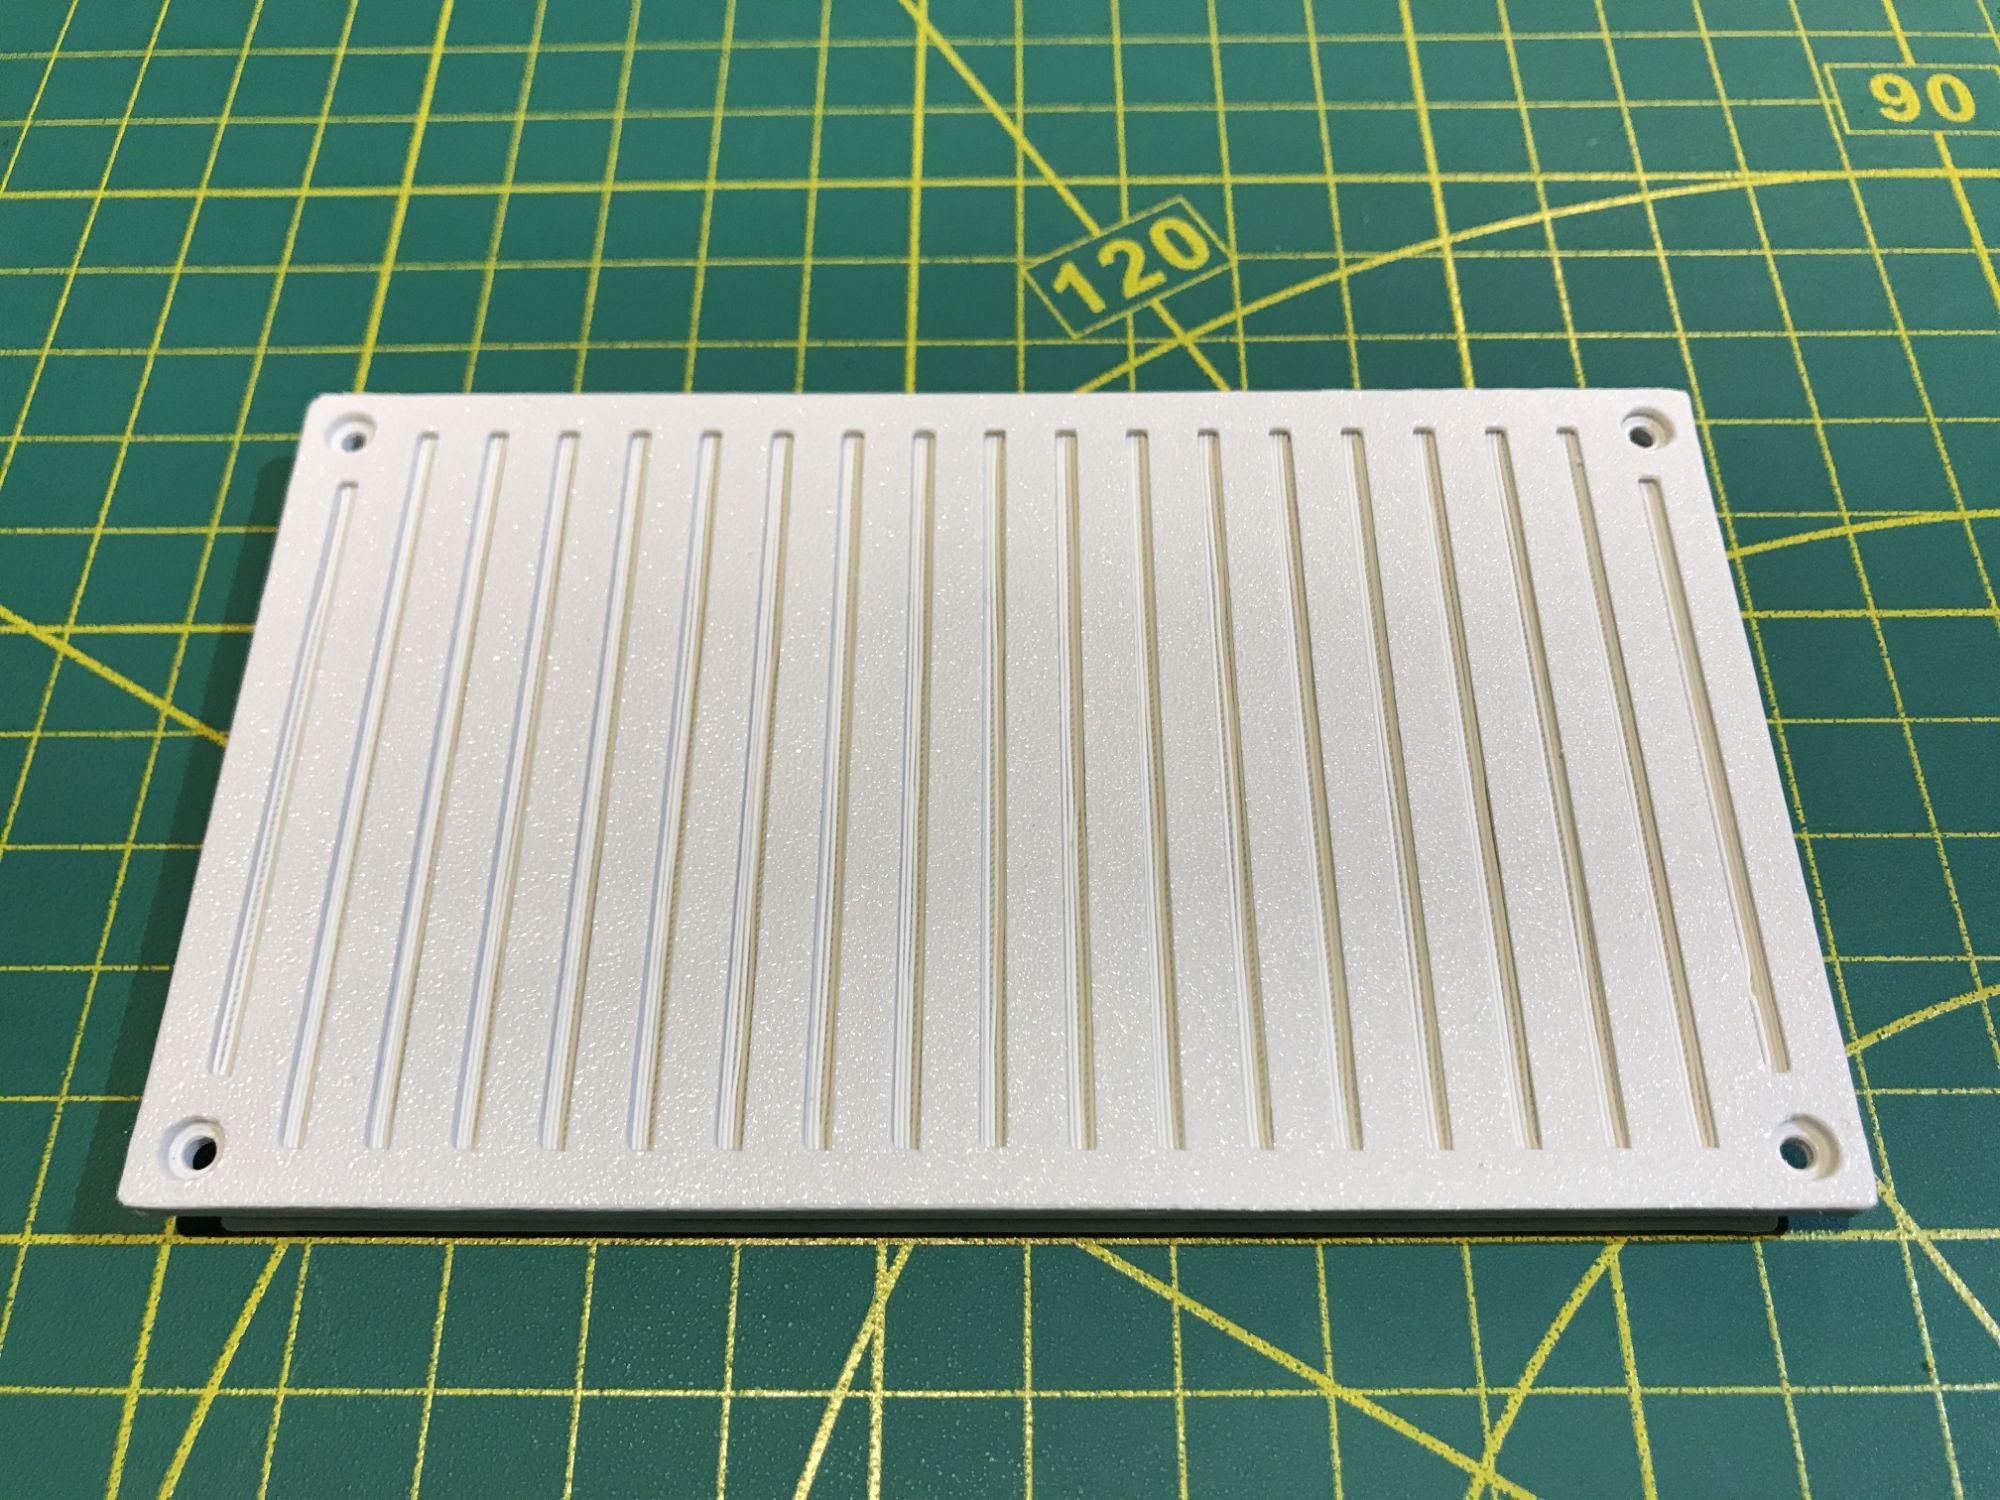
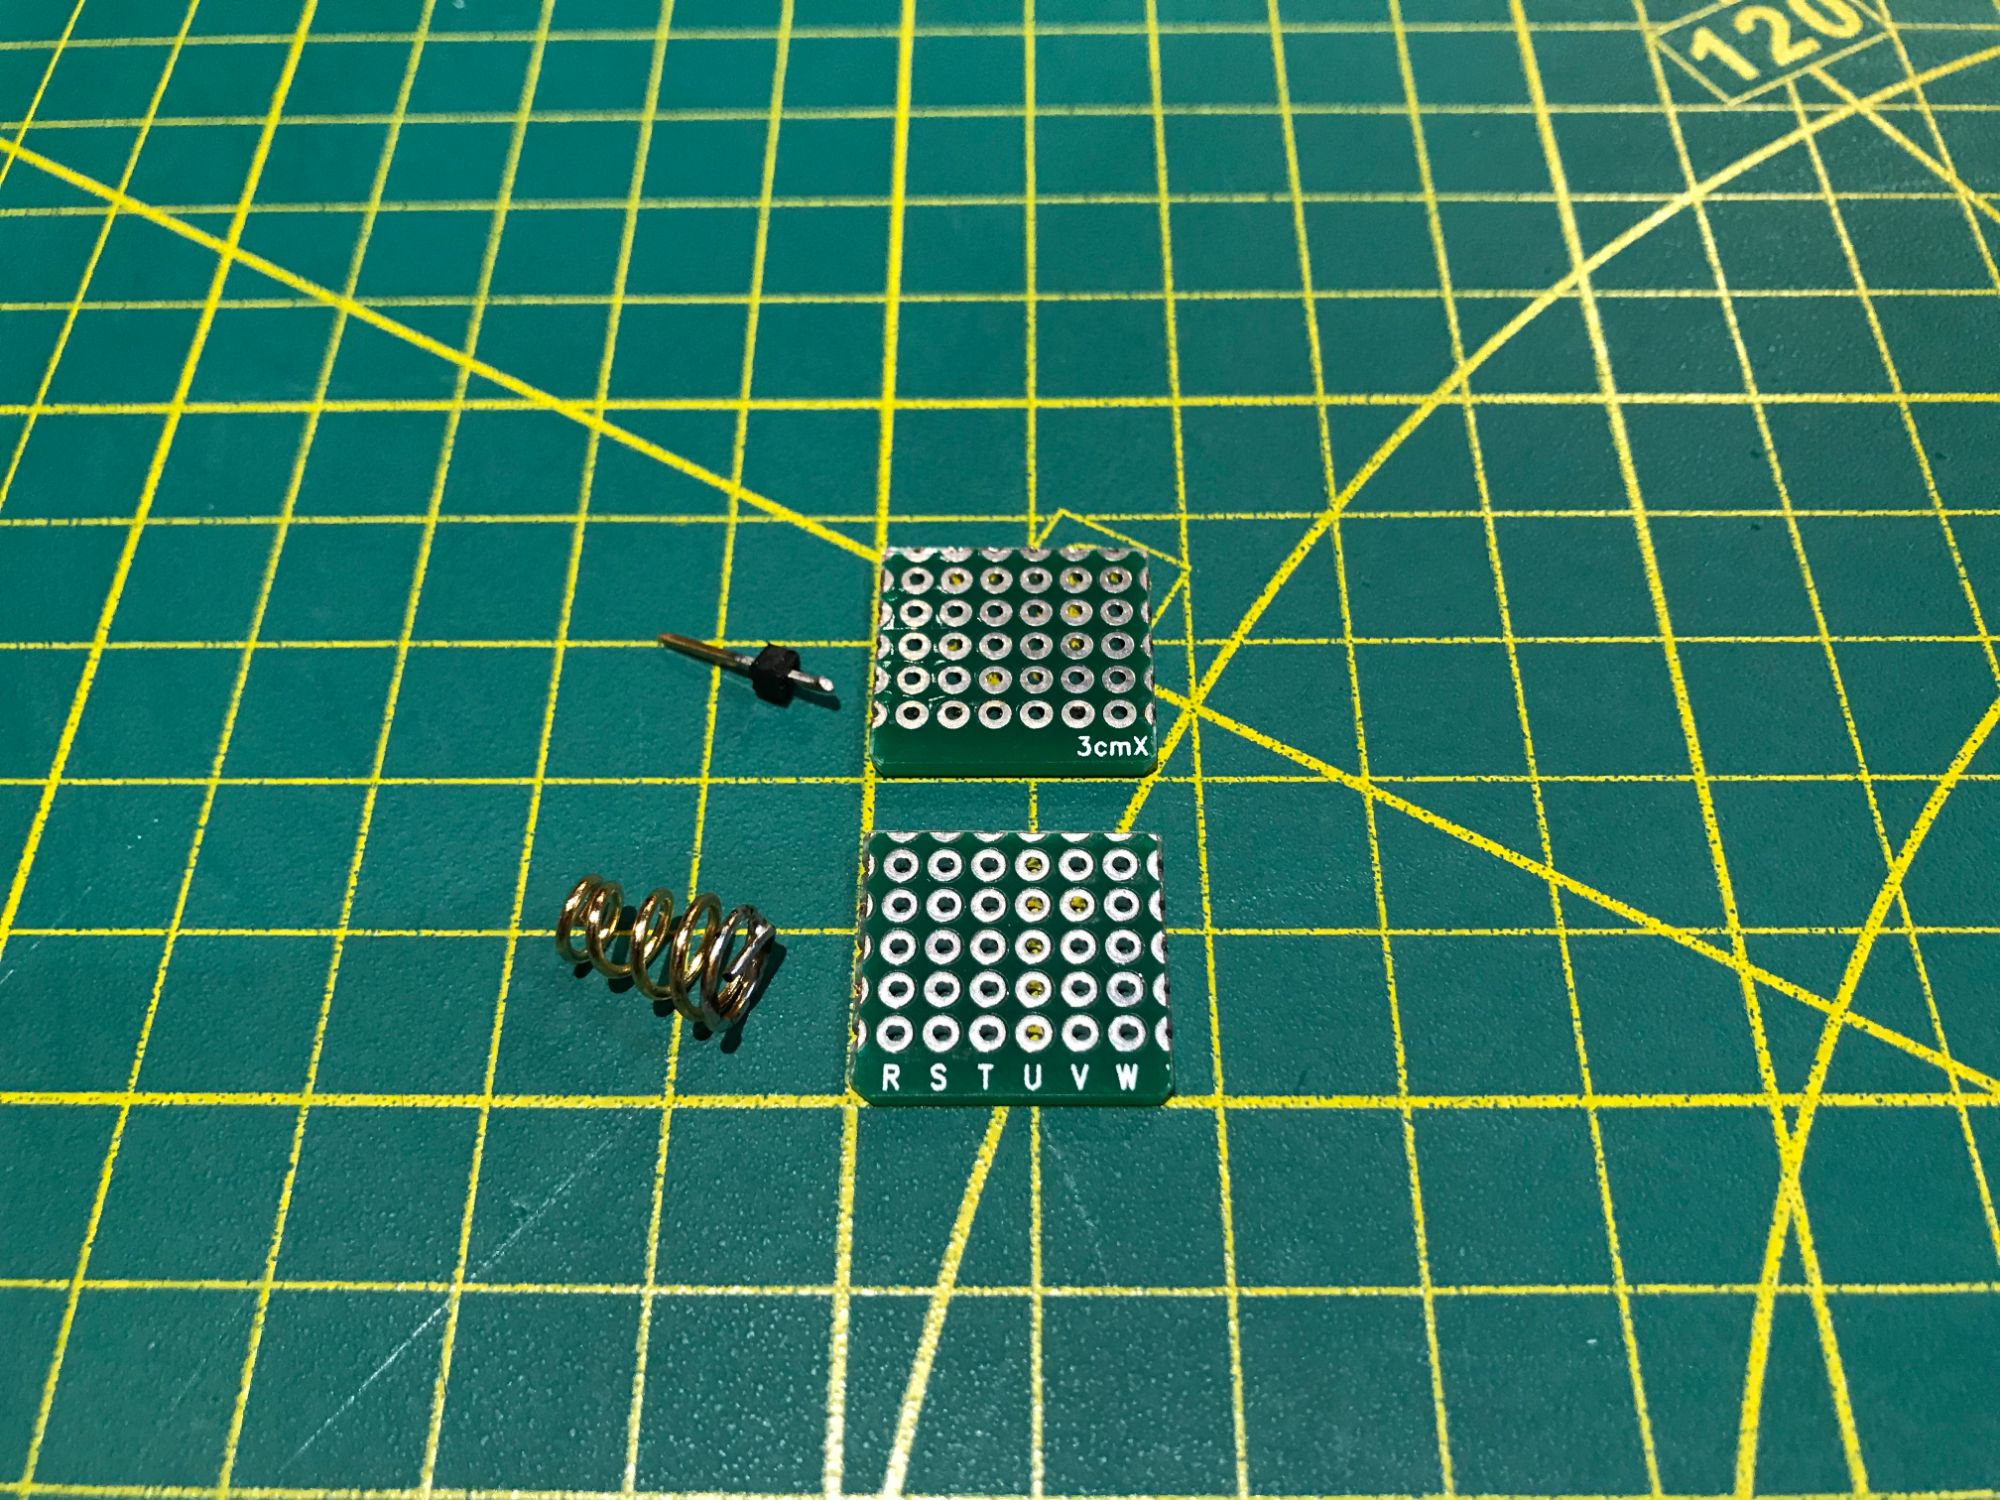
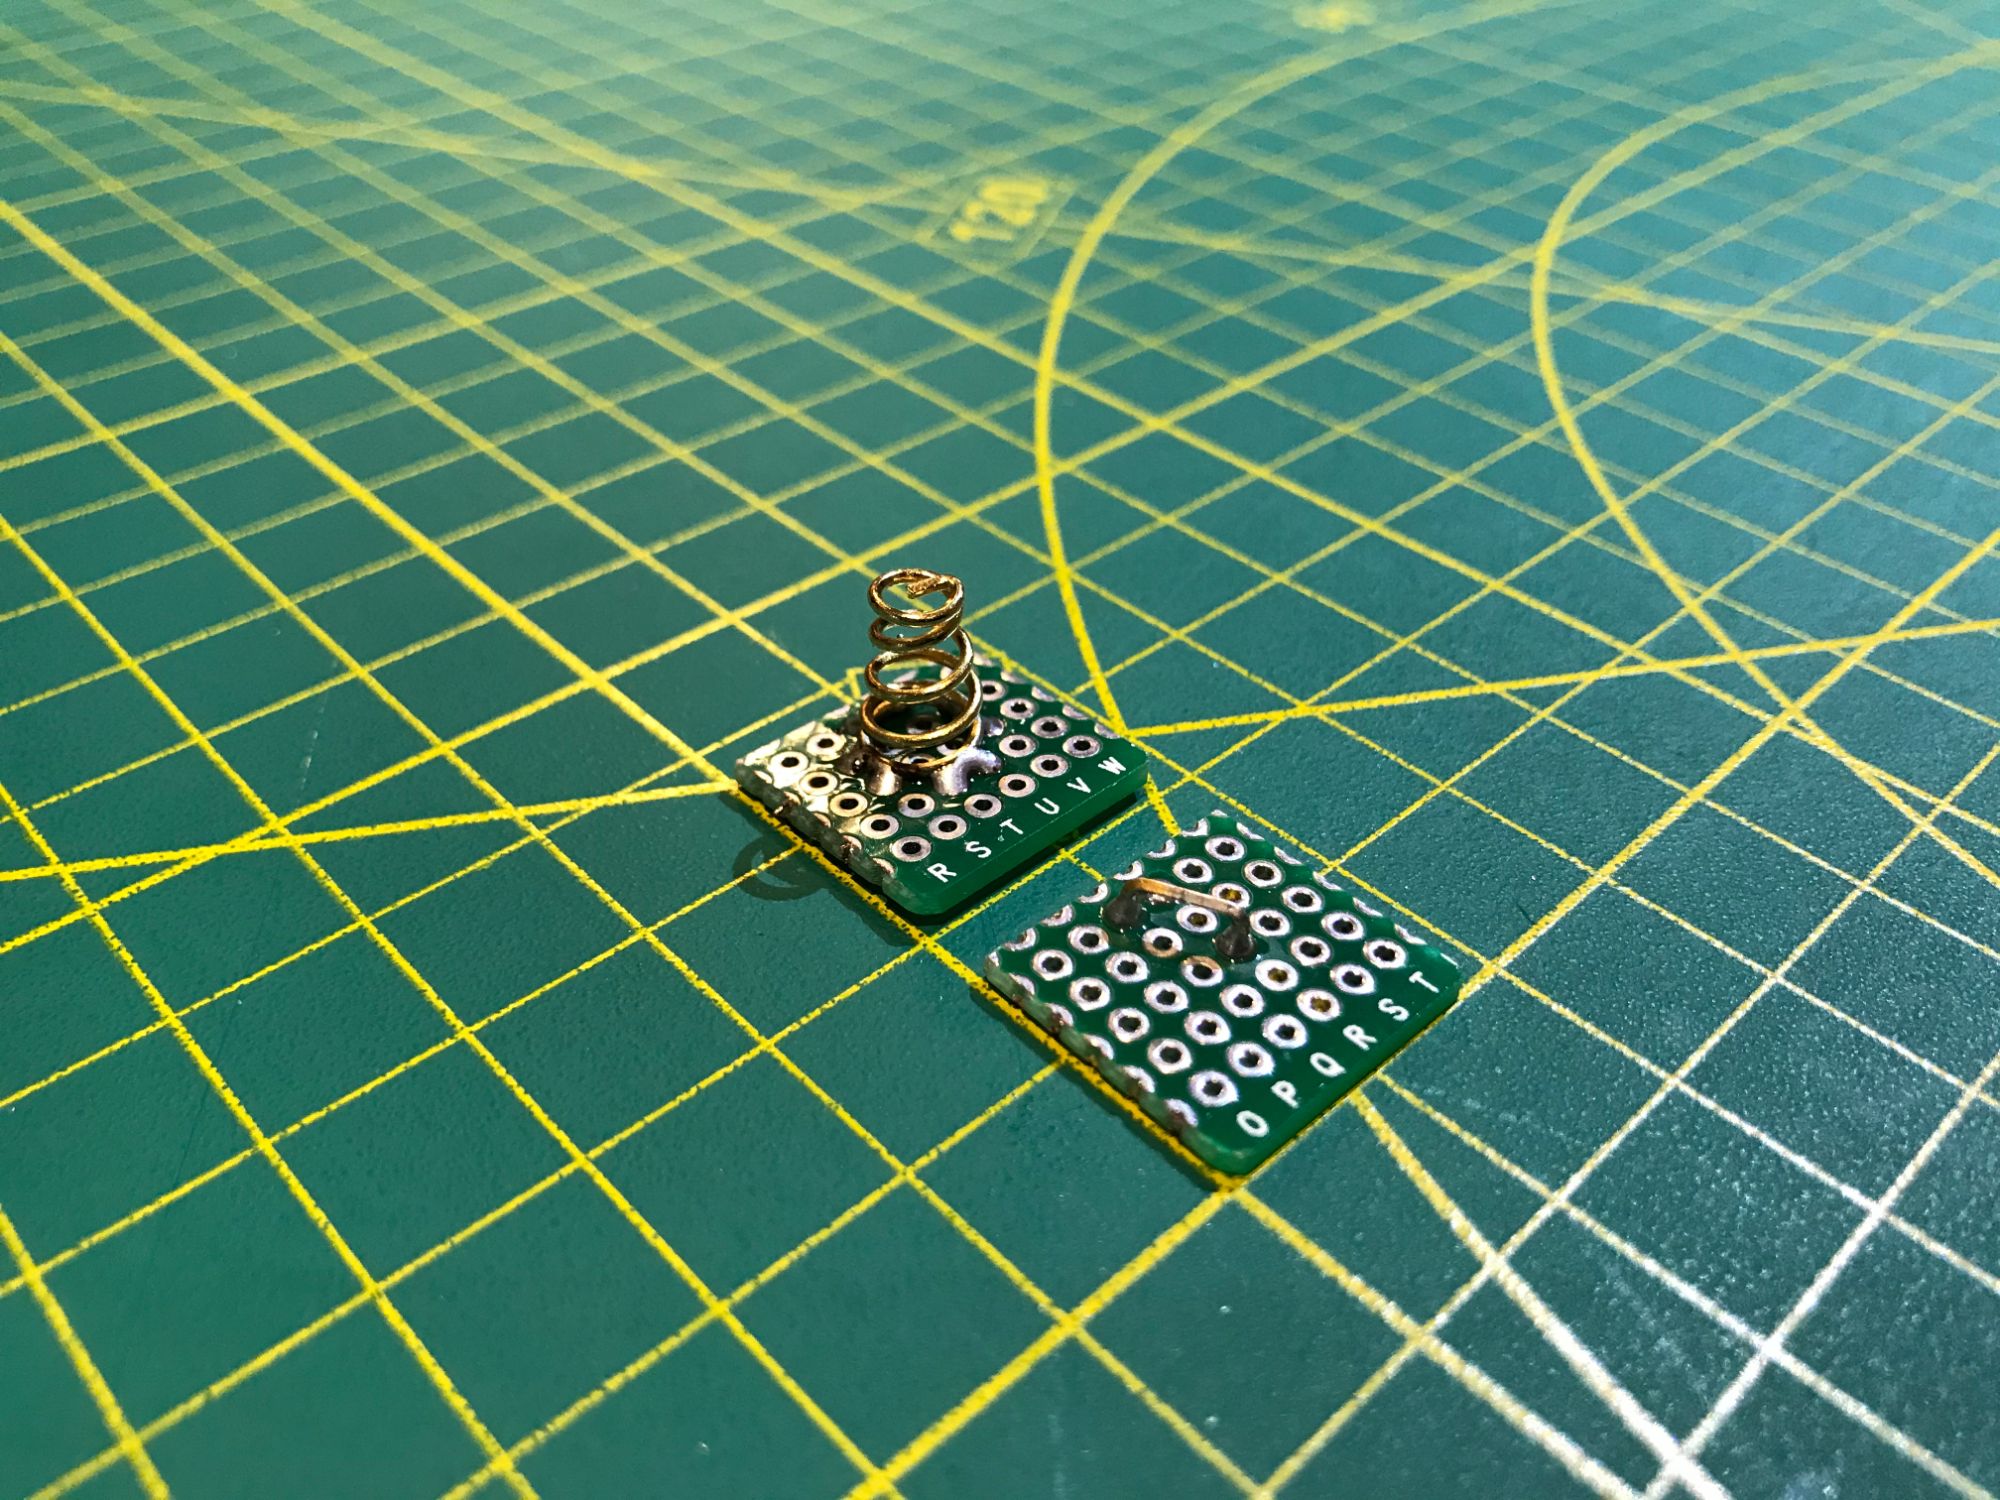
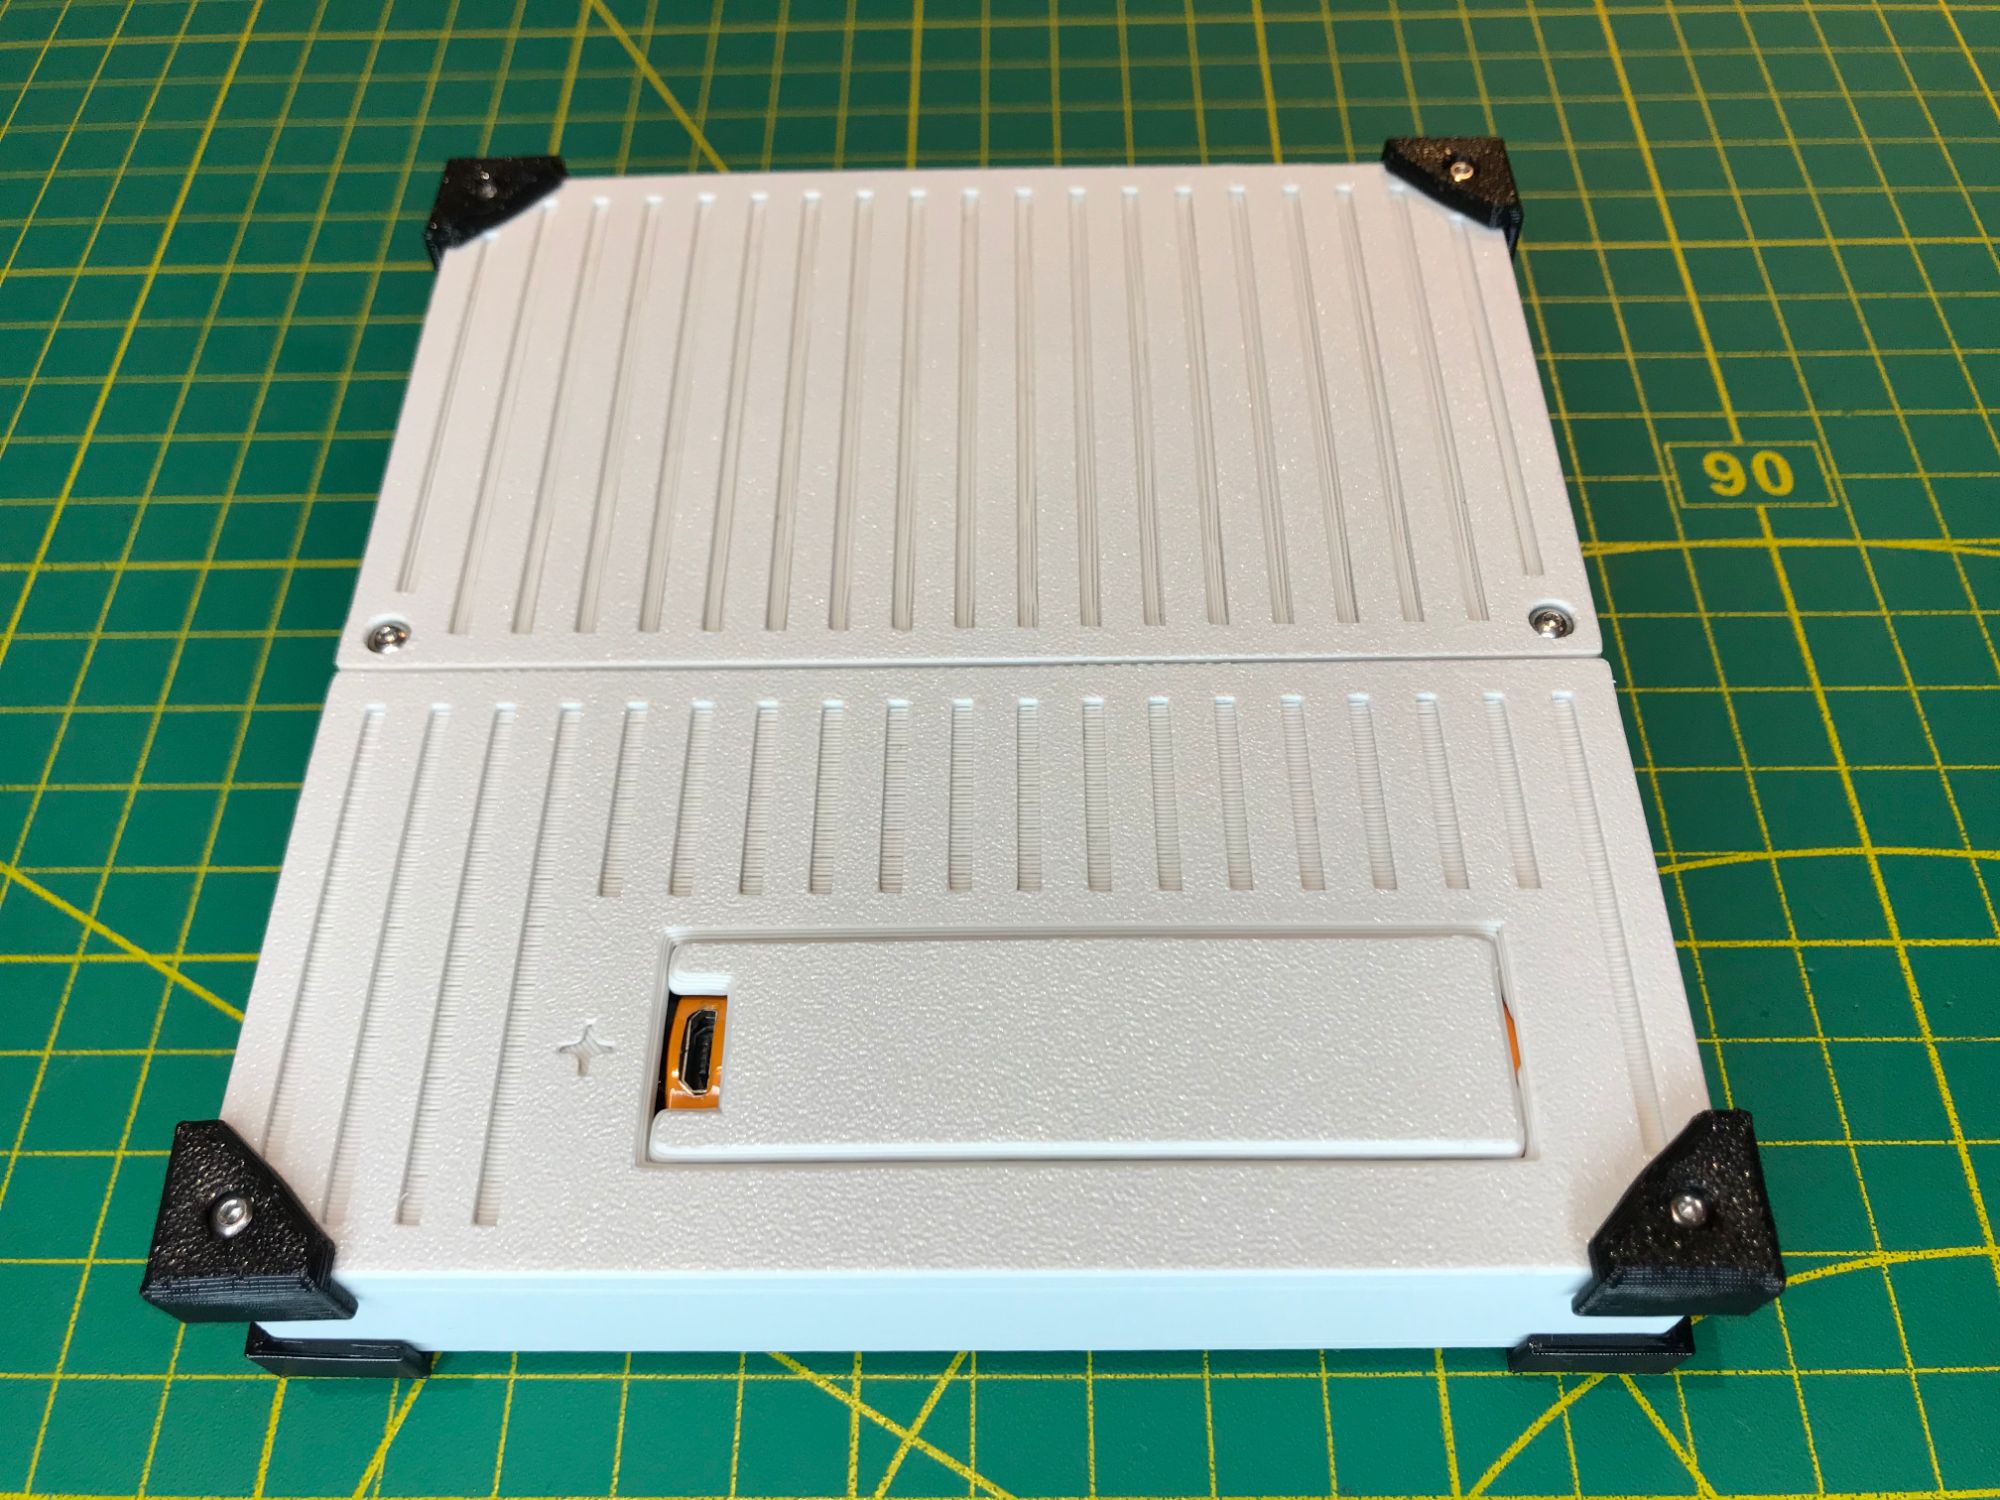
Back panel features an open battery bay, allowing for quick battery replacement. In instances when battery replacement is not required, the bay can be covered with the battery cover. This set-up ensures that the battery can always be charged using the battery's built-in charger.
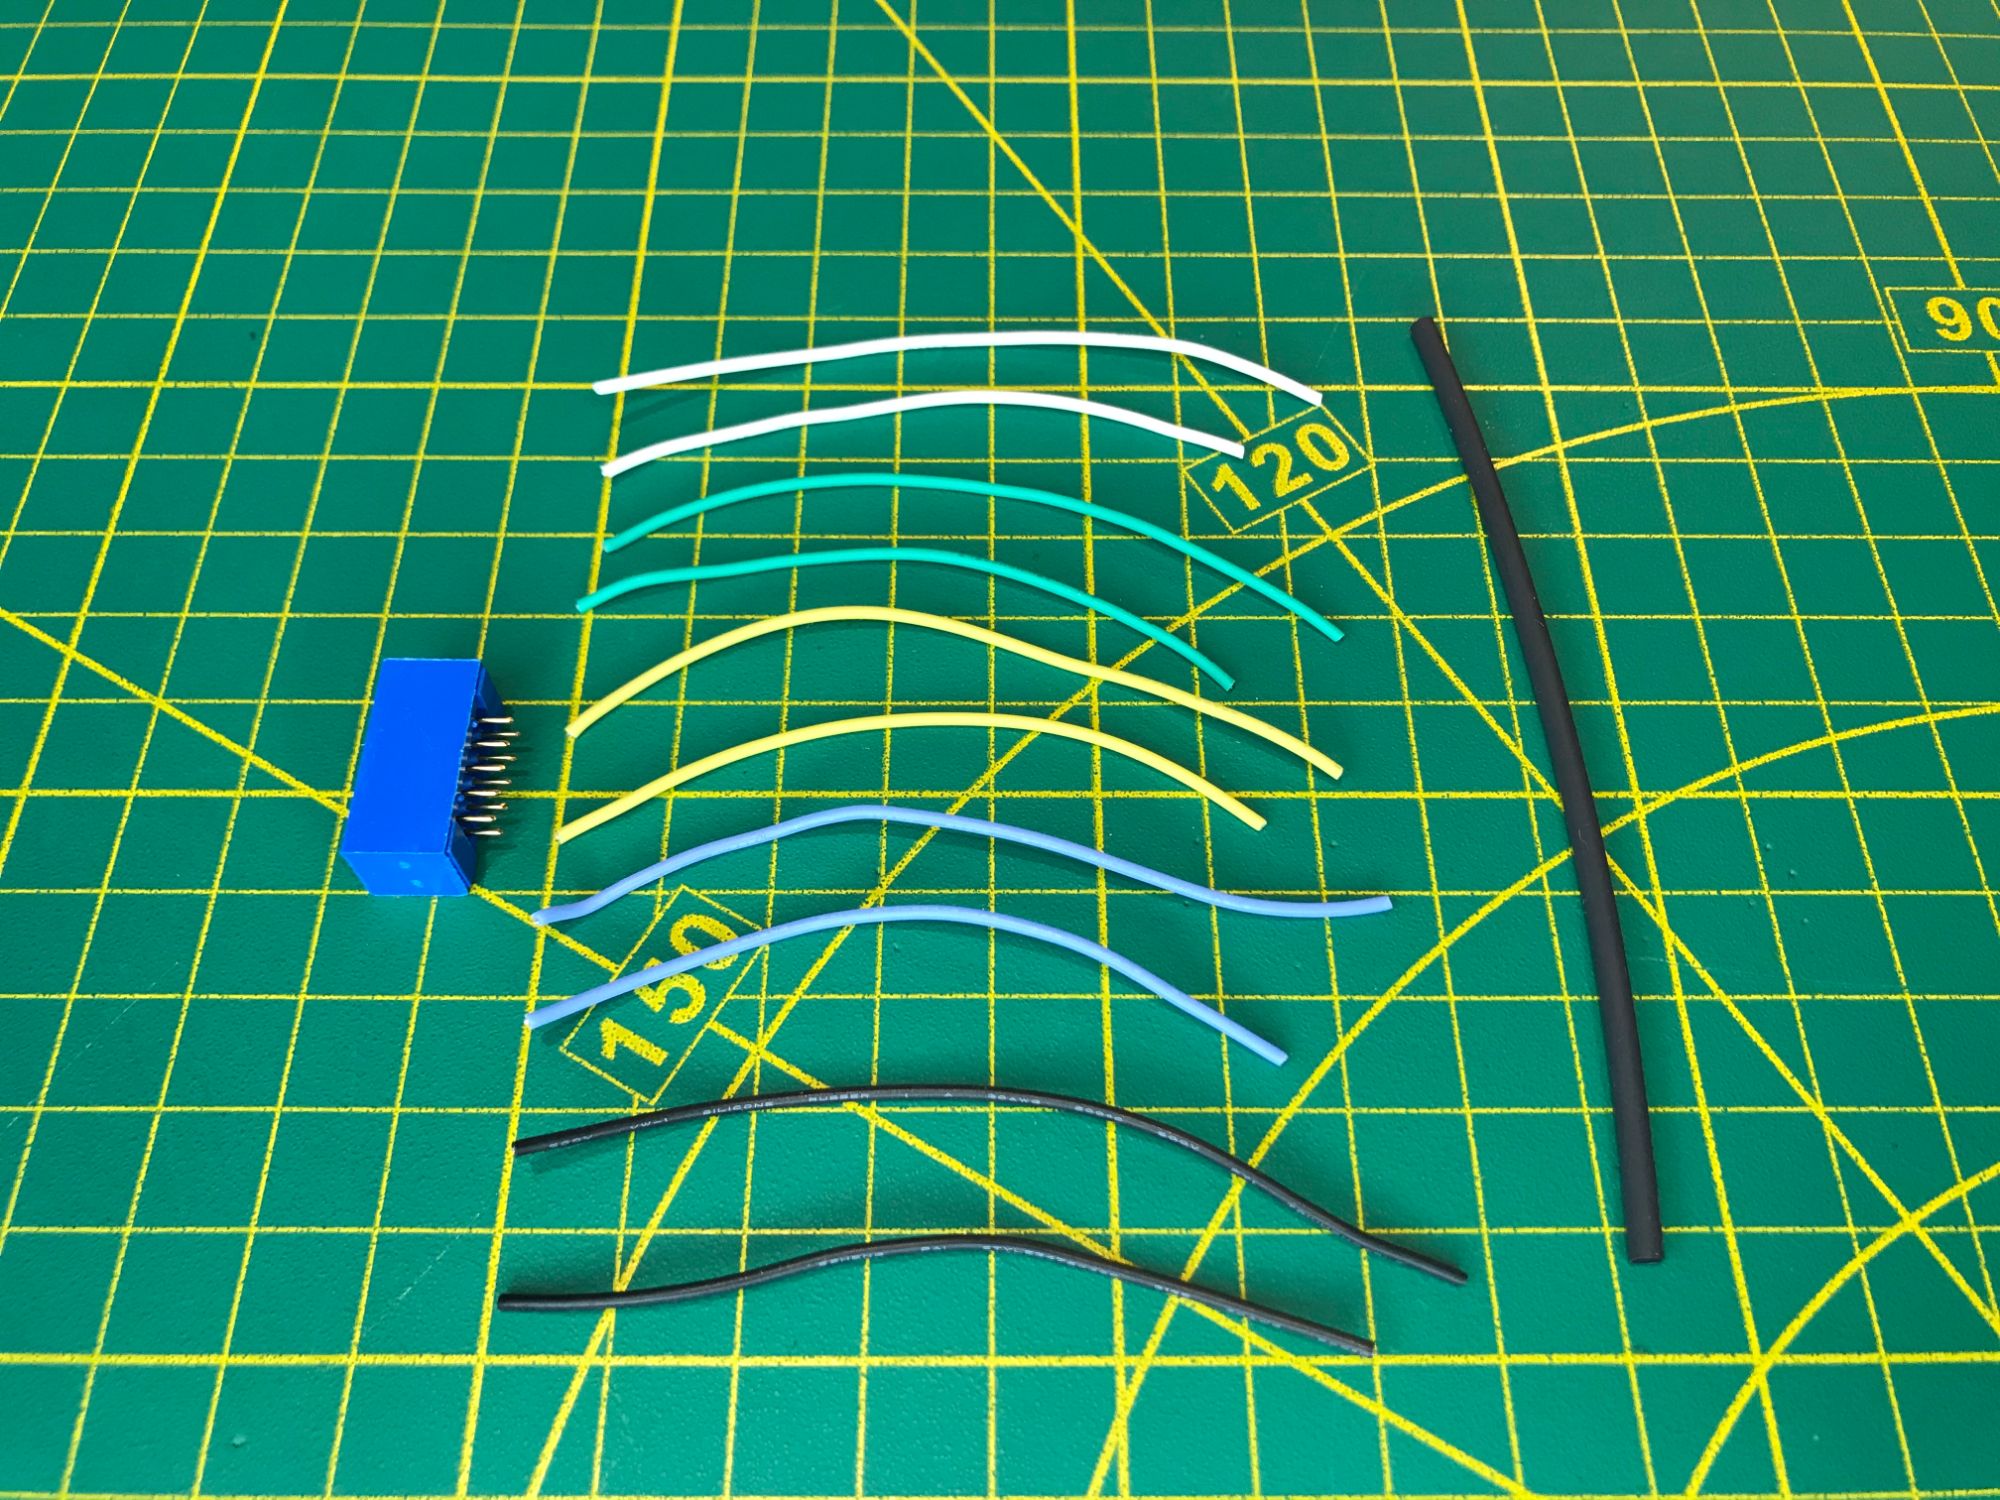
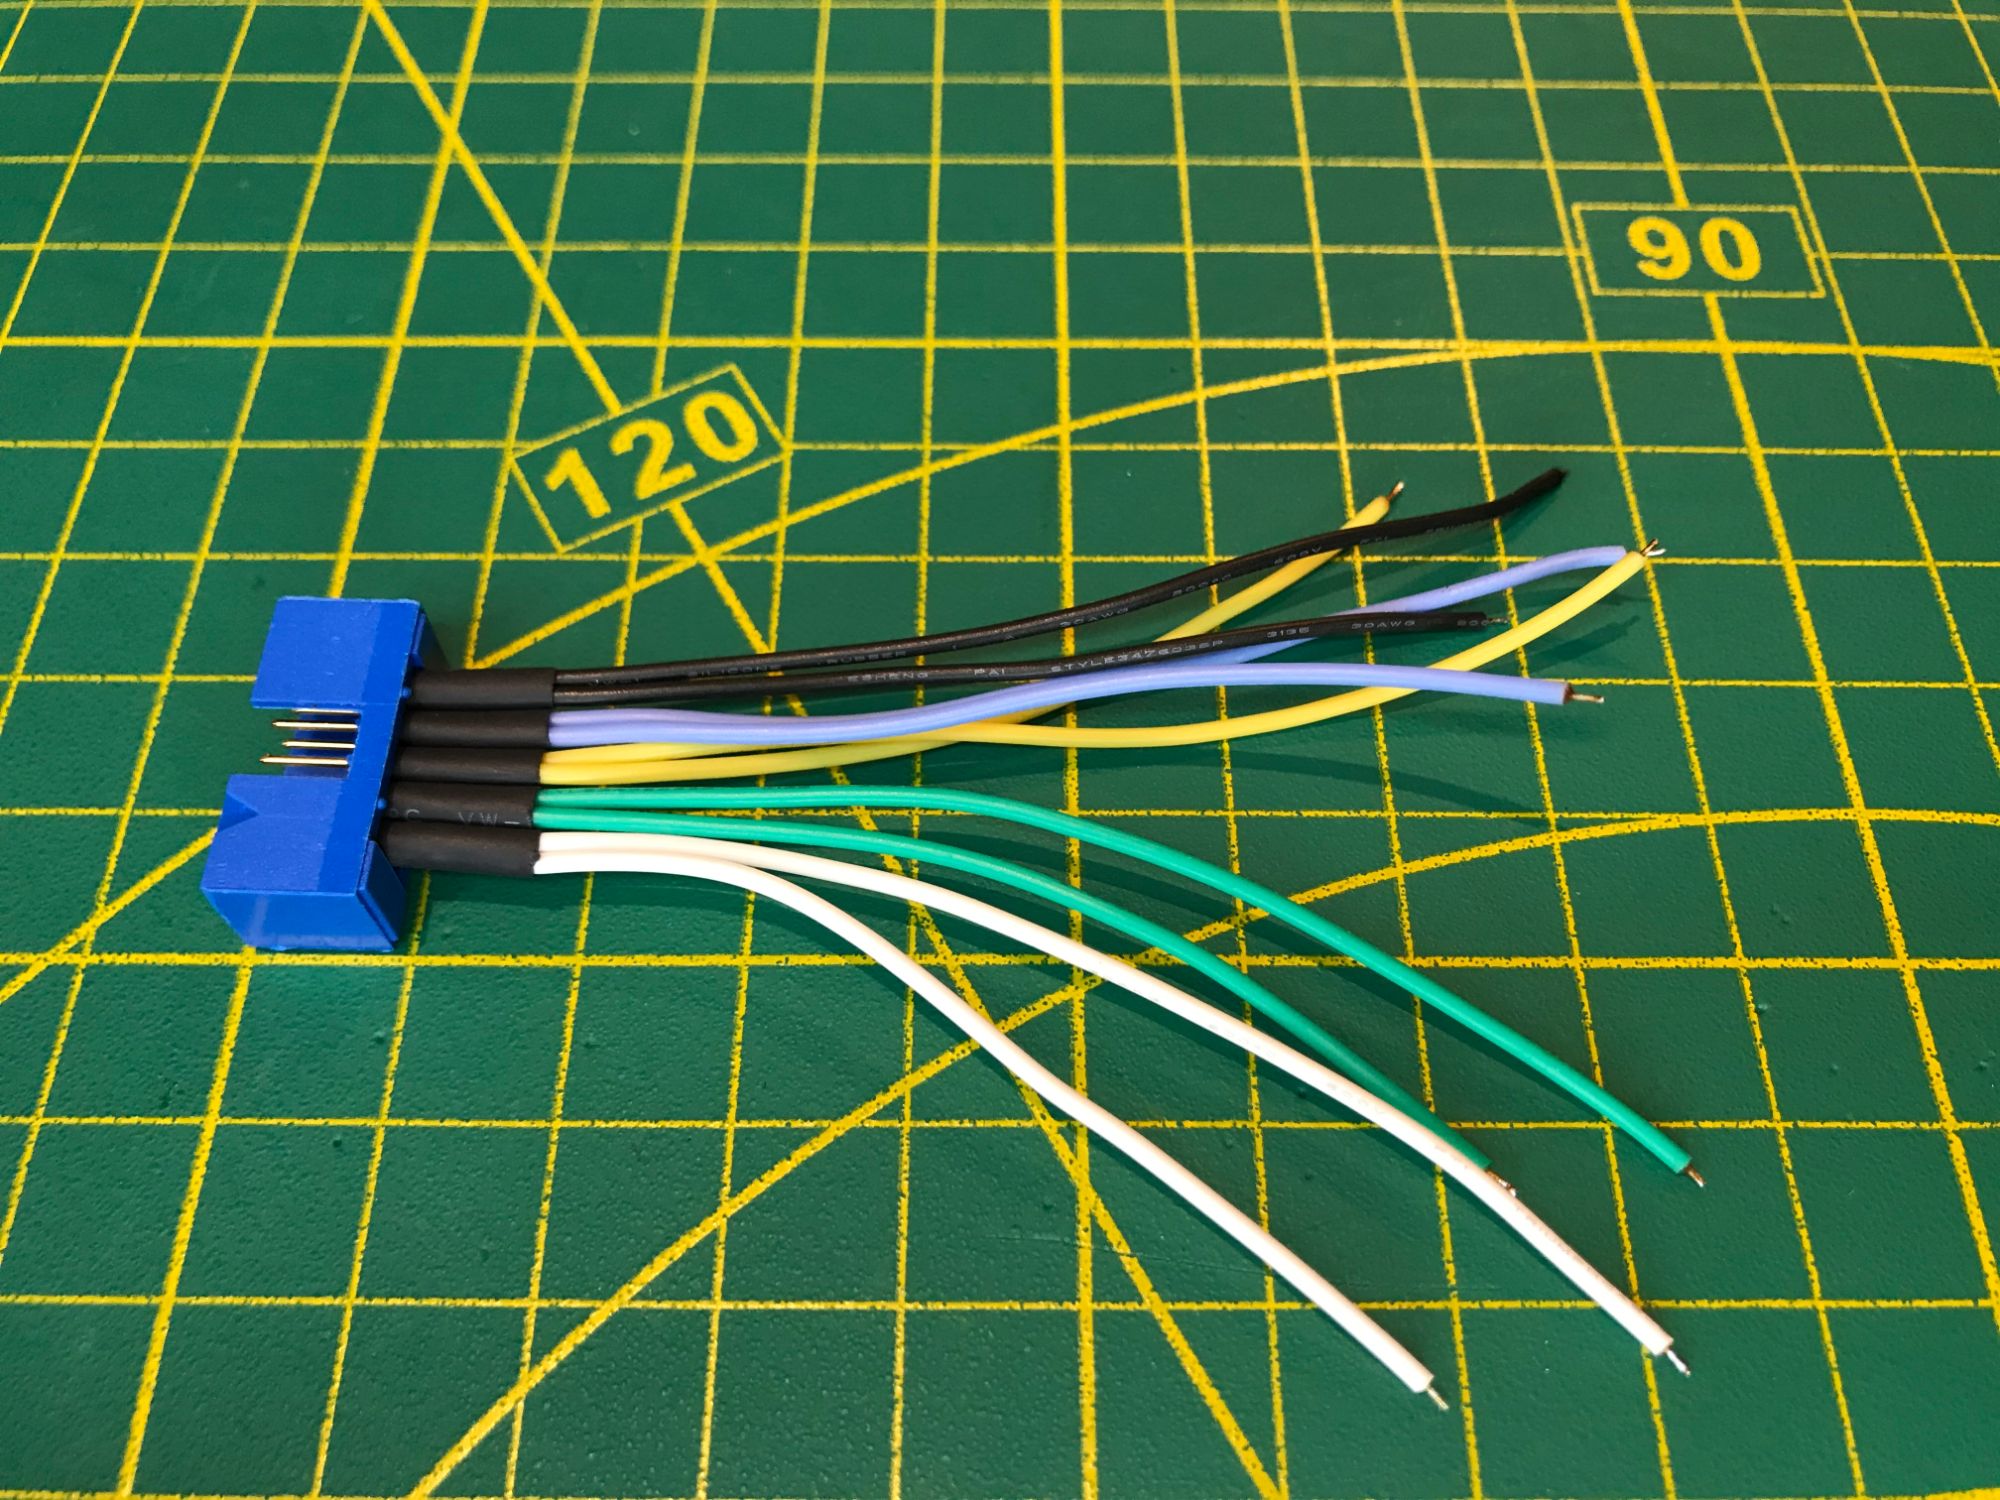
The I2C bus is available while the I2C connector is mounted on the right side of the device and can be used to connect external modules with I2C connectivity. Pimoroni Hyper Pixel display utilities all Raspberry Pi GPIO pins, therefore no additional GPIO connectors are present for the external devices.
No 'click' assembly used. This is a fully hackable device with stainless steel button socket cap screws used throughout for multiple assembly and disassembly cycles.
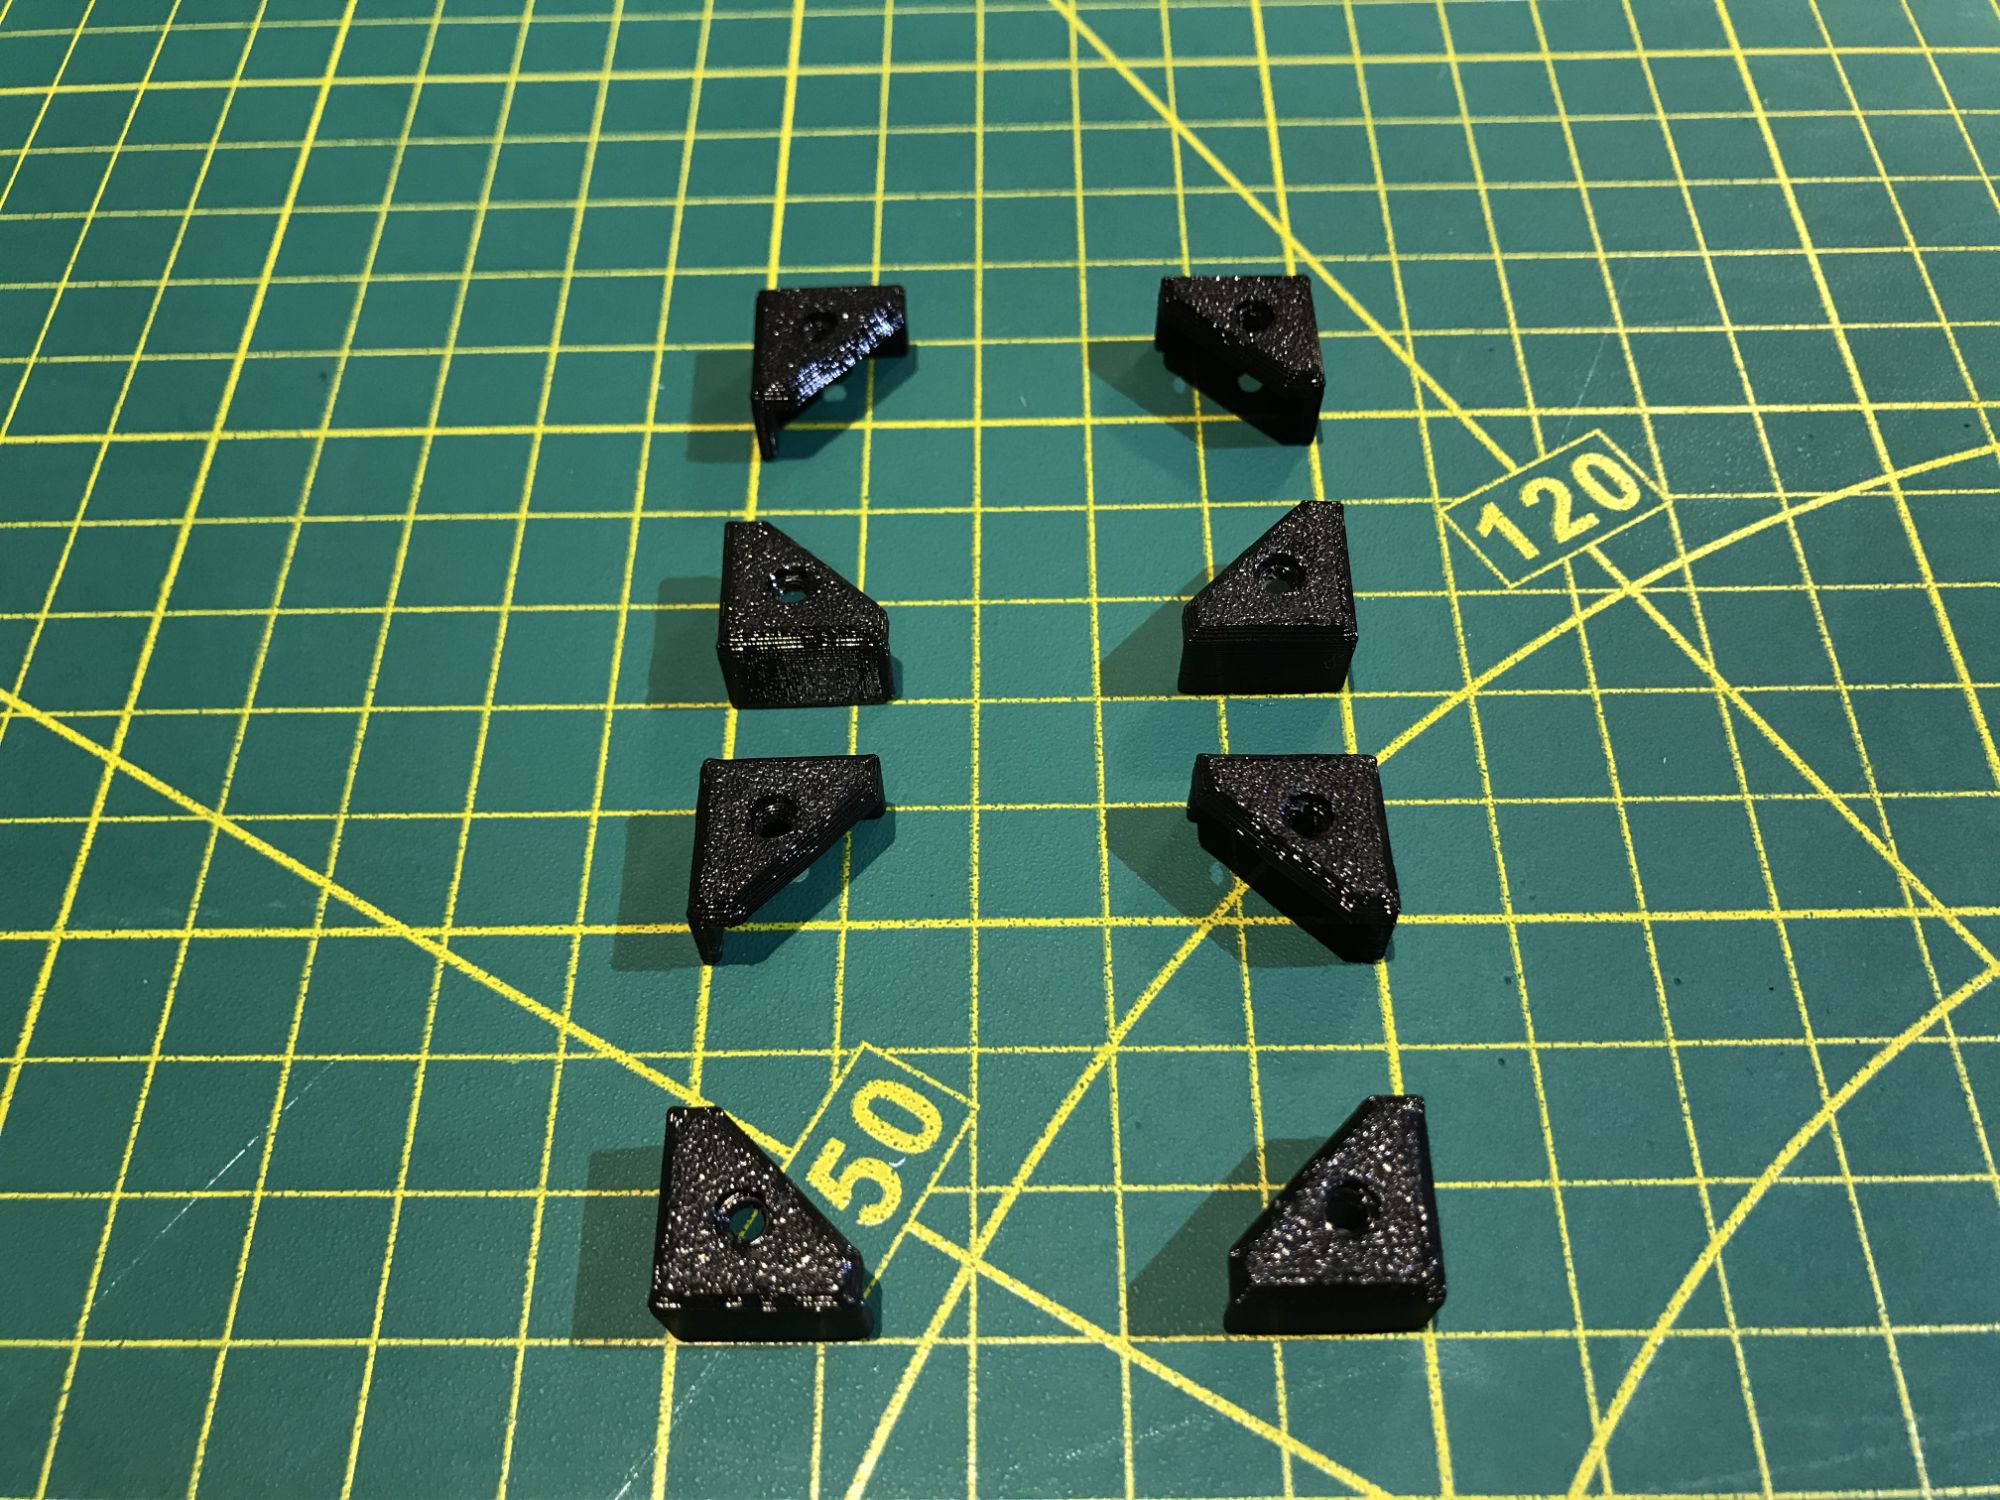
The corners of the housing are protected with eight rugged-design rubber bumpers.
All parts are 3D printed using PLA and Flex plastics. ABS and ASA plastics can be used as an alternative, but require use of advanced printers and techniques.
The list of parts used for the YARH.IO project can be purchased from Amazon and other online stores is available below.
| Part | Link |
|---|---|
| Raspberry PI 3B+ | Amazon |
| Display | Pimoroni |
| Keyboard | Amazon |
| Power Supply | Amazon |
| Battery | Fenix Tactical |
| RTC | Amazon |
| proMicro | Amazon |
| Power Switch | Amazon |
| USB Type A Right Angle Jack Socket Connector x 2 |
Amazon |
| USB Type A Straight Jack Socket Connector x 2 |
Amazon |
| 10 Pin IDC Socket Connector Male | Amazon |
| Flexible Silicone Rubber Wire 24AWG, 28AWG, 30AWG | Amazon |
| MicroSD card | Amazon |
| #2-56 Button Socket Cap Screw Stainless Steel . 1/4" x 12, 3/8" x 6, 1/2" x 4. |
Trimcraft Aviation RC |
YARH.IO Micro 2 Project at a Glance.
The outcome of this YARH.IO Micro 2 is a micro-size (116mm x 123mm x 27mm) handheld with the potential to run a unlimited applications and to be extended with an unlimited range of external USB devices. It is portable, has minimalist design, and can be relatively easily 3D printed and assembled.
The release of YARH.IO Micro 2 marks a new success in our line-up of goals towards the design, development, and release of innovative handhelds for hacking, coding, and creative use by computer experts and enthusiasts.
